
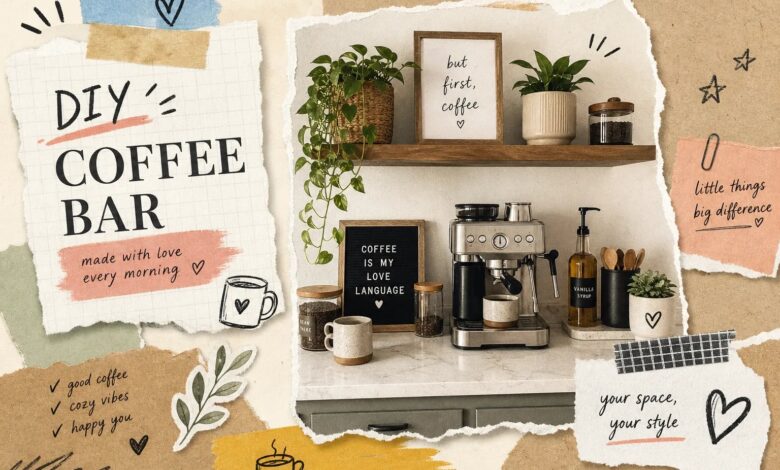
Your coffee maker sits in the corner, surrounded by a pile of stray mugs, a tangled cord, a canister that never quite fits, and probably a rogue packet of sweetener that belongs somewhere else entirely. It’s functional, technically. But it looks nothing like the cozy, organized coffee nook you had in mind when you first set up your kitchen.
As an Amazon Associate I earn from qualifying purchases. Some links in this post are affiliate links, at no extra cost to you.
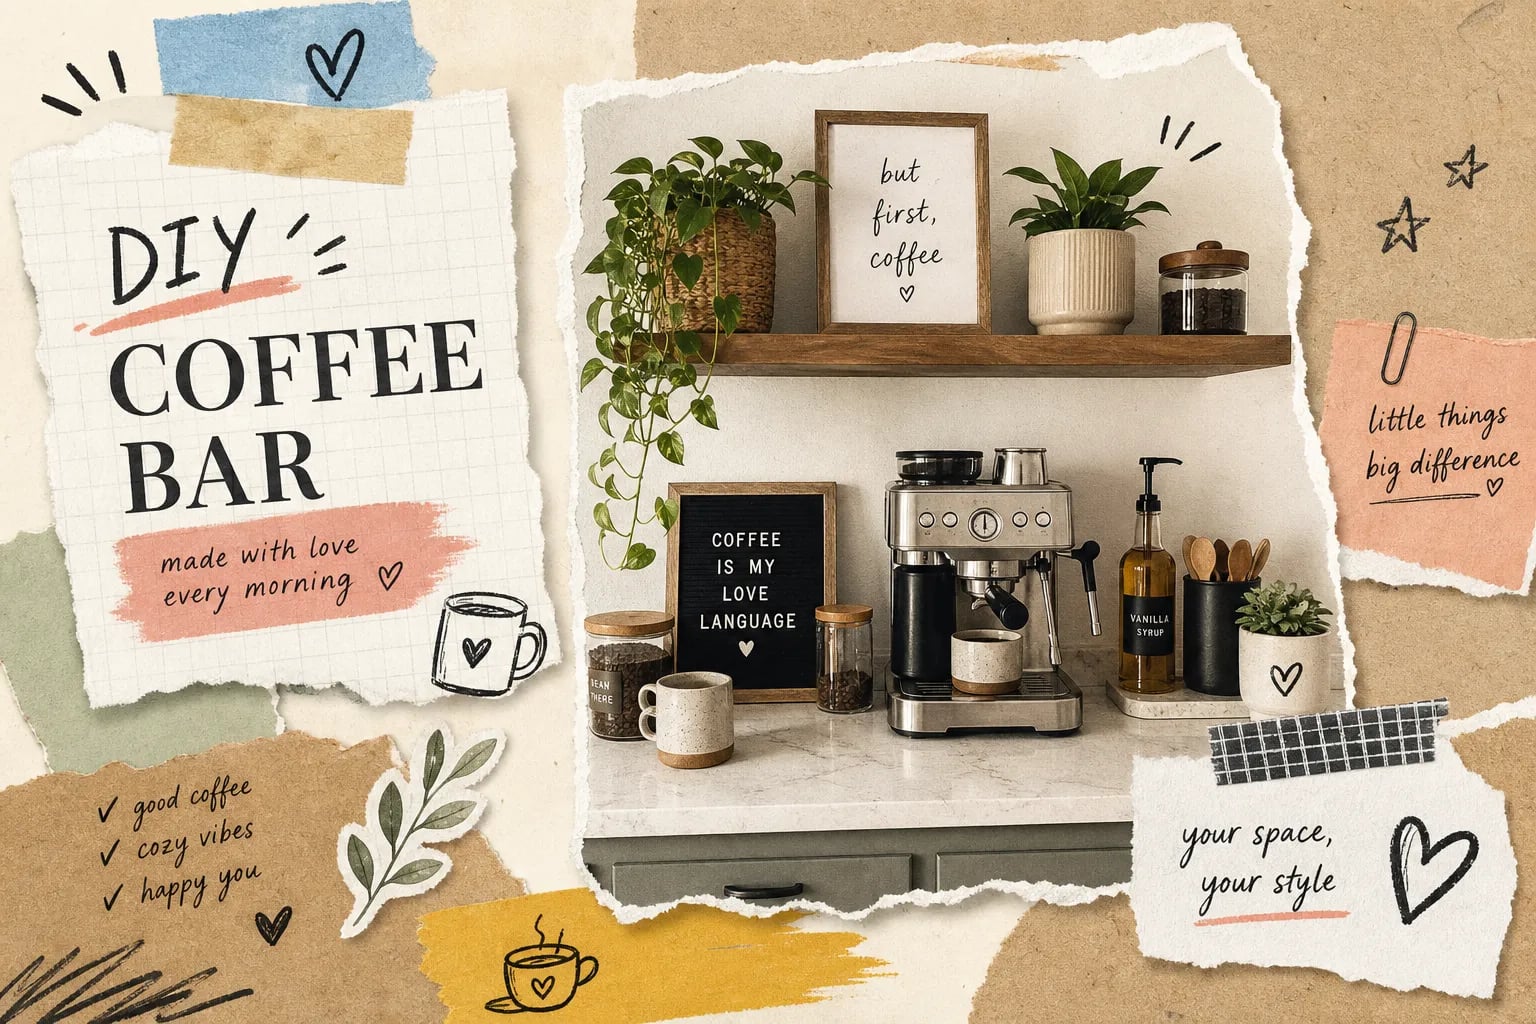
The good news: you don’t need a dedicated piece of furniture, a kitchen renovation, or even a full Saturday to fix it. These DIY coffee bar ideas for kitchen countertops work with the counter space you already have, no extra square footage required. This article covers three specific methods: tray styling, pegboard backsplash installation, and mini shelf riser builds. If you want to go deeper on layout planning and accessory sourcing, Aesthetic Nest Decor’s full coffee station setup guide covers every detail from appliance arrangement to where to find the best organizing accessories.
By the end of this article, you’ll know which method suits your counter size and kitchen style, and you’ll have a clear, actionable starting point for each one. For more on this, see our kitchen & dining guide.
Measuring and zoning your counter before you build anything
Skipping the measuring step is the fastest way to end up with a setup that either crowds your counter or leaves your coffee maker marooned in the middle of nowhere. A few minutes with a tape measure before you commit to any DIY coffee bar idea will save you from redoing everything later.
For the wider picture beyond the countertop, see our coffee bar setup guide.
How much counter space you actually need
For a compact coffee station, 24 inches of counter width is the functional minimum. A comfortable setup with room for a grinder, mug rack, and landing area runs 36 to 48 inches wide. Depth-wise, plan for 20 to 24 inches to accommodate most coffee machines, 24 inches is the sweet spot that handles even larger drip brewers and espresso machines without overhang issues.
Upper clearance matters too. Leave at least 18 to 24 inches between the counter surface and the bottom of any upper cabinet directly above the zone so you can actually use the machine without crouching.
Picking the right spot in your kitchen
Look for a counter section near an existing outlet and away from your main food prep area. Corner counter space is frequently underused and works beautifully as an L-shaped coffee nook because it gives you two surfaces without claiming any dedicated wall space. The location you choose also determines which DIY method makes the most sense: corner spots work well with vertical storage options like pegboards or shelving rails, where a wall section sits behind the counter junction; open counter stretches work best with tray and riser combinations that keep everything organized in one contained zone.
DIY coffee bar ideas for kitchen countertops: tray styling
A tray-based station is quick to assemble and requires no tools, making it the most accessible of these three DIY coffee bar ideas for kitchen countertops. This method works for renters, beginners, and anyone who wants the option to rearrange or move the station later. The tray becomes the visual anchor for everything, turning a loose collection of items into one intentional, contained zone. For more on this, see our DIY & decor ideas guide.
Choosing the right tray for your counter
A standard 18-by-12-inch rectangular tray works well for a full-size coffee maker plus two or three accessories. If your setup is wider, a 16-by-20-inch tray gives you more breathing room without overrunning the counter. The tray should be wide enough to hold the coffee maker and a couple of accessories while leaving a few inches of free counter on each side so the station doesn’t feel crammed. Material matters for style: wooden trays suit warm, farmhouse-style kitchens; metal or acrylic reads as modern and clean; wicker adds texture and casual warmth. One practical detail most people overlook: choose a tray with a raised lip or edge. It contains drips, keeps items from sliding, and makes the whole setup feel more intentional.
How to layer items inside the tray for a clean look
Think of the tray in three rows, back to front. Place the tallest item, usually the coffee maker or French press, at the back. The middle row holds mid-height accessories: a canister for beans, a small mug rack, or a sugar jar. The front row is for the smallest daily-use items, including a spoon rest, sweetener packets, or a compact plant. A common styling tip is to use odd numbers per layer, one or three items rather than two or four, because asymmetry tends to read as more visually balanced and less like a grocery shelf. This simple front-to-back layering is a technique commonly used by designers for coffee corner styling, and it scales to any budget.
Shop the tray setup
Best value
Bamboo Serving Tray with Metal Handles
The whole tray-styling method depends on a tray with a lip and handles. This is the size that fits a standard machine plus canisters.
Check price on Amazon →Upgrade pick
Acacia Wood Serving Tray with Metal Handles
Warmer grain and a heavier build. Worth it if the coffee bar sits on an island where people see it from every angle.
Check price on Amazon →As an Amazon Associate we earn from qualifying purchases.
Installing a pegboard backsplash, DIY coffee bar ideas for kitchen countertops
The pegboard method is the one that genuinely changes how much you can fit in a small coffee bar. By moving mug storage and supply organization off the counter and onto the wall, you free up the entire surface for brewing. The visual result looks far more designed than it is to actually build.
What you need to mount a kitchen pegboard
For a standard install, you need a 2-by-4-foot or 2-by-2-foot pegboard panel (pre-painted or paintable), 1-inch-thick wood spacer strips, short wood screws, wall anchors, and a level. Tools include a drill, stud finder, measuring tape, and pencil. The spacer strips are critical: pegboard hooks need a standoff gap behind the board to sit properly, and without that gap, nothing fits. Total material cost is generally low, often under $50 depending on board size and how many hooks and baskets you add.
For renters or anyone avoiding permanent wall holes, a freestanding pegboard frame that sits on the counter and leans against the backsplash is a practical alternative. Heavy-duty removable adhesive strips can work for light loads, but they’re less reliable in humid kitchen conditions, so reserve them for lighter items like small wire baskets rather than a row of full ceramic mugs.
Arranging hooks, baskets, and mugs for maximum function
Try grouping the pegboard into horizontal zones by function. The top tier works well for S-hooks; hanging several mugs here removes them from the counter entirely and keeps them within easy reach. The middle zone uses small wire baskets for coffee pods, paper filters, and sweetener packets. The bottom section works well for a narrow shelf attachment that holds a grinder or a small trailing plant. Keep the layout slightly asymmetrical rather than perfectly symmetrical, an asymmetrical arrangement looks styled rather than utilitarian, and it’s what separates a genuinely attractive kitchen coffee nook from a storage wall.
Shop pegboard and backsplash
Best value
Modular Pegboard Wall Organizer Kit
Comes with the accessories, so you are not sourcing hooks and cups separately after the board arrives.
Check price on Amazon →Renter safe
Peel and Stick Subway Tile Backsplash, 102 Pack
If drilling a pegboard is not an option, this gives the zone its own backdrop and peels off later.
Check price on Amazon →As an Amazon Associate we earn from qualifying purchases.
Building a mini shelf riser to add a second tier to your coffee station
The riser build takes the most time of the three methods, but it also delivers the biggest visual payoff. A two-tier countertop shelf makes a small coffee station look custom-built and adds practical elevation that makes everything easier to reach and display.
Simple materials list and approximate cost
For a budget pine build, grab one 1-by-6 or 1-by-8 pine board for the top shelf, two side support pieces cut to 4 to 6 inches tall, wood screws or wood glue, sandpaper, and a stain or paint finish. Add non-slip furniture pads to the bottom of the legs to protect your counter surface. Most hardware stores will make straight cuts for you if you don’t own a saw, which eliminates the biggest barrier for first-time builders. A pine build typically runs $25 to $50 in materials; a hardwood version in oak or bamboo costs $60 to $100 and holds up significantly better to daily use and the occasional coffee splash. Finish the wood with an oil-based polyurethane or epoxy resin topcoat for water resistance, both options handle kitchen spills without warping or staining the wood over time.
Styling and using your new two-tier coffee bar shelf
Put the tallest items on top: the coffee maker, grinder, or French press all benefit from being slightly elevated. Use the counter level underneath the riser for mugs, a bean canister, or a small tray that corrals pods and sweeteners. Finish the riser in a color that matches your cabinet hardware or countertop trim. A white riser disappears cleanly into a light kitchen; a stained wood riser anchors a warmer, more textured look. This small detail is what makes a DIY mini coffee bar countertop look intentional rather than improvised.
Shop the second tier
Best value
Two-Tier Wooden Display Riser Stand
Adds a second level without mounting anything. Doubles the usable surface on a shallow counter.
Check price on Amazon →Upgrade pick
Wood Floating Shelves, Set of 3
If you can drill, a wall shelf clears the counter entirely instead of just stacking on it.
Check price on Amazon →As an Amazon Associate we earn from qualifying purchases.
Organizing accessories and hiding cords for a finished, clutter-free setup
Most countertop coffee stations look great in concept and messy in practice because the organizing accessories and cord management get treated as afterthoughts. Getting both of these right is what separates a truly finished setup from one that just looks like a slightly tidier version of the original problem.
The most effective accessories for a compact coffee bar
This organizing formula tends to work well across many kitchen sizes and styles: display mugs on hooks or a wall-mounted rack, store coffee beans in an airtight opaque canister, hide pods in a dedicated drawer insert or pod holder, and group the brewer setup on a tray or riser. An airtight canister protects bean freshness and removes the visual noise of a half-open bag sitting on the counter. Pod drawer inserts keep capsules sorted by type and completely out of sight. The system scales whether your station spans 24 inches or 48 inches, you adjust the number of accessories, not the approach itself.
Hiding cords so the station actually looks done
Place a single slim power strip behind the counter lip or tucked under the counter overhang so every appliance plugs into one location. Route each individual cord vertically behind the machine using adhesive cable clips, cords that run along the back edge rather than across the counter surface become nearly invisible from the front. Wrap any excess cord length with a cord tie and tuck the bundle directly behind the appliance so the machine body blocks it from view. For a permanent kitchen setup where drilling is an option, a flush-mount countertop outlet or a pop-up outlet with USB ports eliminates visible cords almost entirely and gives you one clean power source for the coffee maker, grinder, and any small accessories like a milk frother or phone charger.
Diy Coffee Bar Countertop shopping list
- Pegboard organizer kit — the whole project starts here
- Shelf riser — instant second tier for mugs or syrups
- Mug rack — keeps mugs visible and off the counter
- Coffee canister — airtight storage that looks styled too
- Coffee bar serving tray — corrals everything into one clean zone
- Peel and stick backsplash — finishes the pegboard wall without tools
Prices and availability change. Links open on Amazon.
Shop accessories and cord control
Best value
Airtight Coffee Containers with Shelf, 2 Pack
Sealed storage that also hides the bag clutter behind the machine.
Check price on Amazon →Also useful
Mug Holder Tree, 6 Hook Countertop Stand
Gets six mugs off the counter and into one vertical footprint.
Check price on Amazon →As an Amazon Associate we earn from qualifying purchases.
Putting it all together: which DIY coffee bar idea is right for your kitchen countertop?
Which method fits your counter comes down to budget and how permanent you want the setup to be. Tray styling gives you an organized, attractive coffee station with no tools and minimal time investment. A pegboard backsplash significantly expands your vertical storage and clears the counter surface. A DIY shelf riser creates a custom-looking two-tier setup for $25 to $50 in materials. You don’t need to combine all three at once, starting with the tray method first gives you a chance to live with the layout before committing to anything that involves a drill.
The countertop space is already there. Use it intentionally, and you’ll have a coffee station that looks as good as it functions, and if you want more detail on accessory sourcing and appliance layout, Aesthetic Nest Decor’s full coffee station setup guide is the next place to look.