
As an Amazon Associate I earn from qualifying purchases. Some links in this post are affiliate links, at no extra cost to you.
Many homeowners find the kitchen island one of the most challenging surfaces to style well. Most people land on one of two extremes: either the island sits completely bare, looking like an afterthought, or it becomes a catch-all for mail, keys, charging cables, and whatever didn’t make it back to its proper spot. Neither version is what anyone pictured when they first fell in love with that island during the home tour. Getting your kitchen island accessories right means navigating that middle ground with intention. For more on this, see our kitchen & dining guide.
The fix isn’t more accessories or fewer accessories. It’s the right mix, placed deliberately. At Aesthetic Nest Decor, our kitchen island styling guides come back to one core principle: every accessory on that surface should either earn its place visually or earn it functionally, ideally both. This guide covers the best picks across both categories, plus the anti-clutter rules that hold the whole look together.
The Spacing Rules That Make Island Styling Actually Work
Before buying a single tray or stool, do a quick gut-check on your actual usable space. Styling an island that’s already functionally cramped will always look worse regardless of how good the accessories are.
Walkway clearance is non-negotiable. Plan for 36 inches minimum on all sides, 42 inches for a comfortable working aisle, and 48 inches in multi-cook kitchens where two people need to move around each other and open appliance doors. If your kitchen runs tight, keep surface accessories minimal so nothing gets bumped or displaced during daily prep. You will find more ideas in kitchen tools every home cook needs.
For seating, the numbers that matter most break down like this:
- 12 to 15 inches of countertop overhang for knee room
- 24 inches of width per seated person
- 42 to 48 inches of clearance behind the seating side for passing traffic
That overhang depth also tells you how deep your decorative layer can run on the opposite side of the island. If your overhang is shallow, your trays and bowls need to sit back from the seating edge or they’ll constantly be in the way.
Top Kitchen Island Accessories for Style and Visual Impact
The decorative layer gives your island its personality and ties it to the rest of the kitchen. The goal is curated, not collected. In practice, three categories tend to deliver the highest visual impact with the smallest footprint, and each one doubles as functional kitchen island decor when chosen well.
Trays and Bowls: The Easiest Anchor for Any Island Style
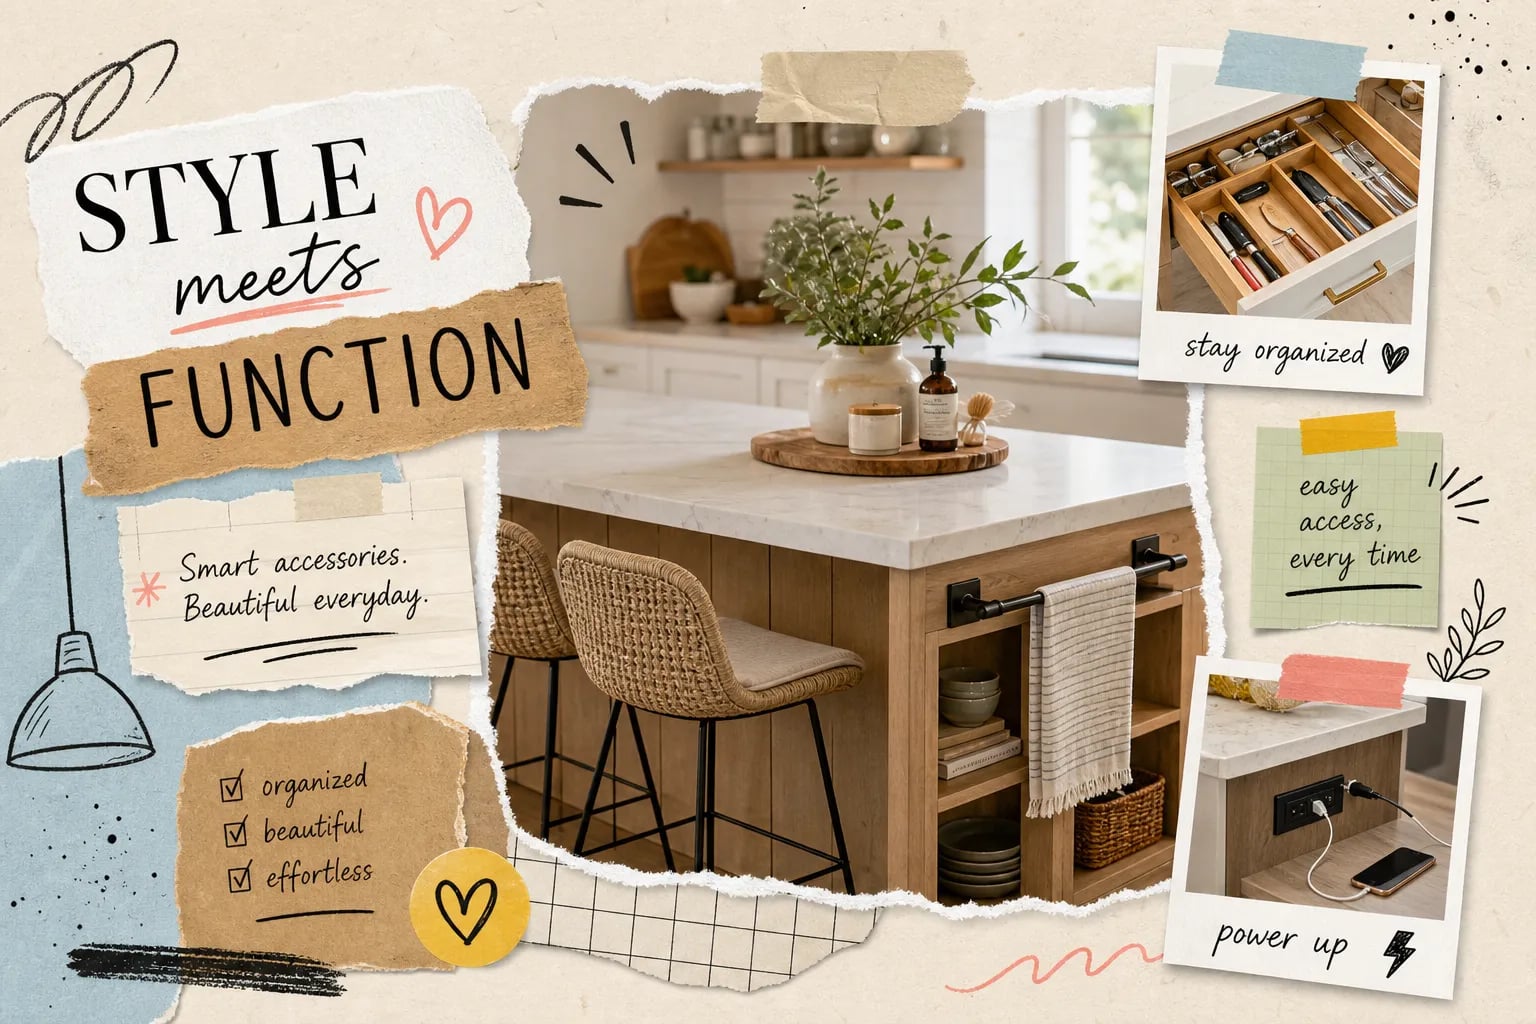
A tray is one of the most effective island countertop accessories you can add. It creates a contained moment that reads as intentional rather than cluttered, and it gives you a clear boundary so your decorative items don’t slowly migrate across the whole surface. A useful rule of thumb: size the tray to roughly one-quarter to one-third of your visible counter length so it makes a statement without dominating the workspace.
For 2026, the strongest material directions are natural wood, rattan, seagrass, handmade-feeling ceramic, and honed stone. Matte and textured finishes are clearly edging out high-gloss for a warmer, more organic look. Pair the tray with a ceramic or wood bowl as your primary object inside it, and you’ve already built the foundation of a styled island.
Pendant Lighting as the Island’s Statement Maker
Pendant lights are treated as accessories, not just fixtures, because they’re one of the first things a visitor’s eye goes to. Sculptural and organic-modern styles are the strongest trend right now: rattan, seagrass, ceramic, and wood pendants in warm tones and matte finishes. These work especially well because they visually reinforce the tray and bowl materials sitting on the counter below them, creating a cohesive thread through the space.
On the practical side: hang pendants 30 to 36 inches above the countertop, measured from the counter surface to the bottom of the fixture. Space multiple pendants 24 to 30 inches apart center-to-center, and keep about 12 inches from the island’s edge to your first pendant. These numbers keep the lights functional as task lighting while still reading as a design feature.
Fresh Elements: Herb Gardens and Fruit Displays
A mini herb garden or a fresh fruit arrangement in a ceramic bowl or wood fruit stand does double duty as an island centerpiece and a functional kitchen tool. Live herb gardens and fresh fruit displays tend to be favored over faux versions in organic-modern kitchens because they add real color, texture, and function to the surface. Place them on the prep side of the island rather than the seating end so they’re close to where you’re actually cooking. If you rotate seasonally, swapping the herb garden for a small gourd arrangement in fall, for instance, you get fresh visual interest without adding new pieces.
Kitchen Island Accessories That Justify Their Countertop Space
Every functional item on your island should solve a real daily problem. The following island storage solutions and prep tools earn their place by serving a clear purpose and looking good doing it.
Prep and Serving: The Multifunctional Tier
A quality wood or marble cutting board doubles as a display surface when not in use, good options land in the $50 to $100 range. A cookbook stand keeps recipes visible during cooking without occupying much depth, typically running $25 to $40. A bread box removes one of the bulkiest clutter contributors from the general pile, usually for $30 to $50. What makes each of these work is that they transition fluidly between functional and decorative roles depending on the time of day.
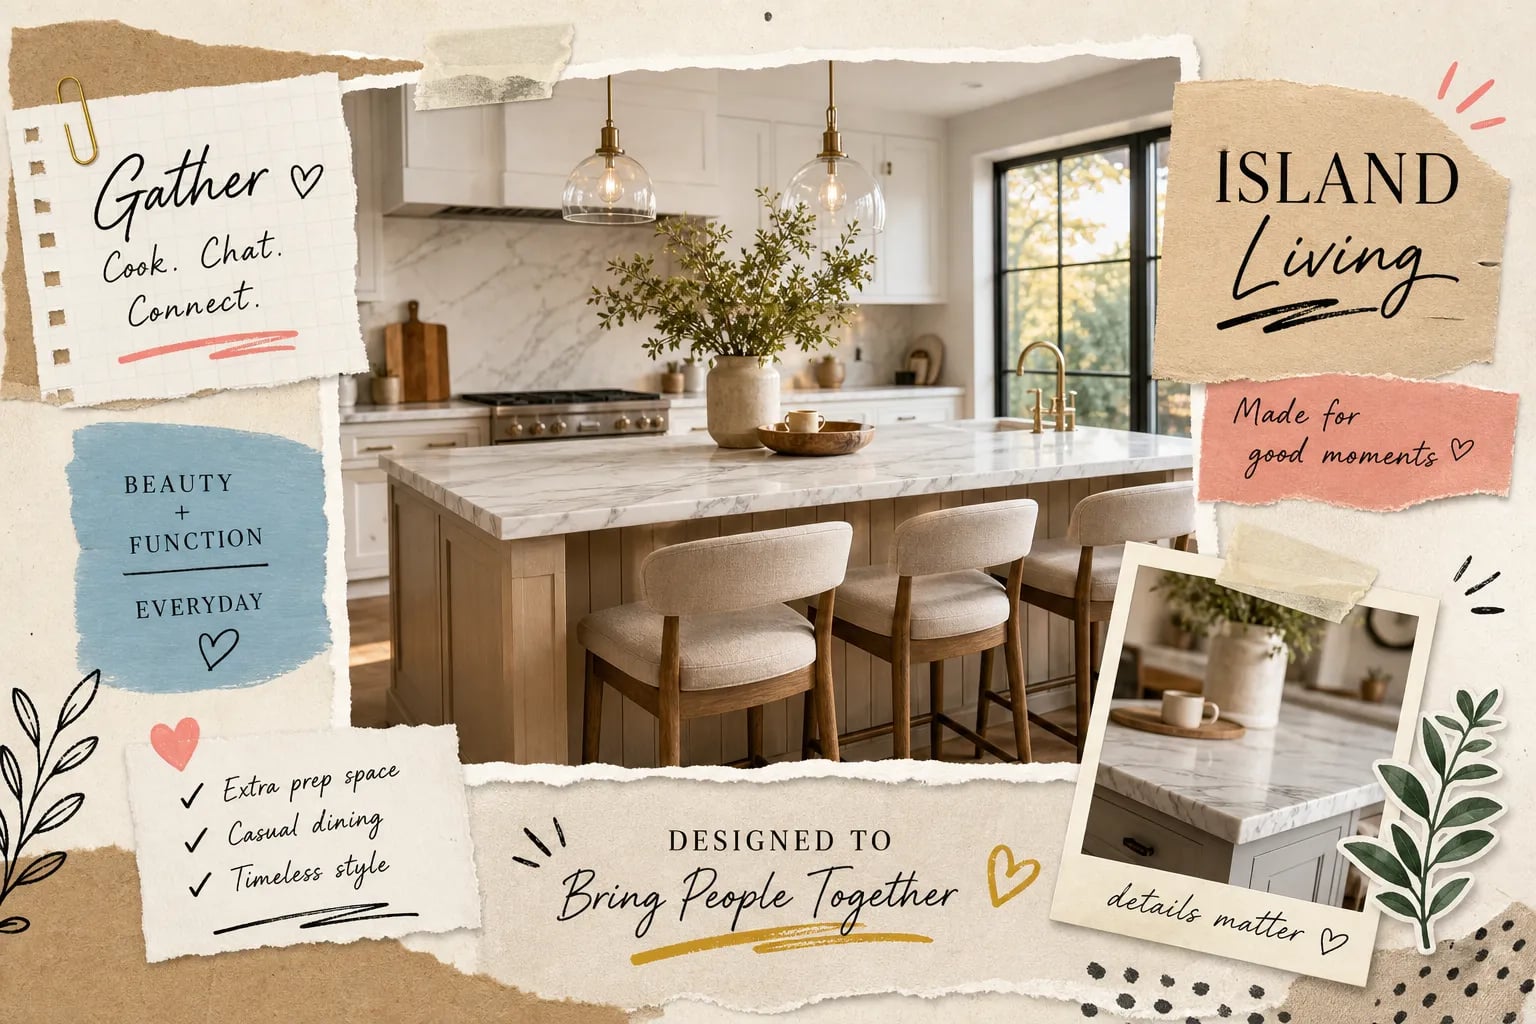
Island Storage Solutions for Islands Without Built-In Cabinets
If your island has minimal or no built-in storage, the strongest approach is pairing pull-out or rolling storage with drawer inserts and dividers. Inserts run $10 to $20 for basic organizers and keep the storage from becoming a jumble of sliding items. A compact spice rack is a useful add-on near the prep side, but it works best as a targeted supplement, not a primary storage strategy. You will find more ideas in best shoe storage ideas for your entryway.
For a completely open island, a freestanding rolling cart with integrated storage fits the design better than forcing cabinet-style solutions into a layout that doesn’t support them. Quality rolling islands with drawers, shelving, and integrated USB charging ports typically run $235 to $350 or more. That investment pays off most in high-use kitchens where the island functions as a secondary workstation or homework zone. You will find more ideas in kitchen coffee nook ideas: layout, storage, and style.
Island Stools That Balance Comfort and Style
Seating is the most impactful accessory category because it affects both the function and the overall visual weight of the island. Getting the height wrong is the most common, and most fixable, mistake people make.
Getting Stool Height Right
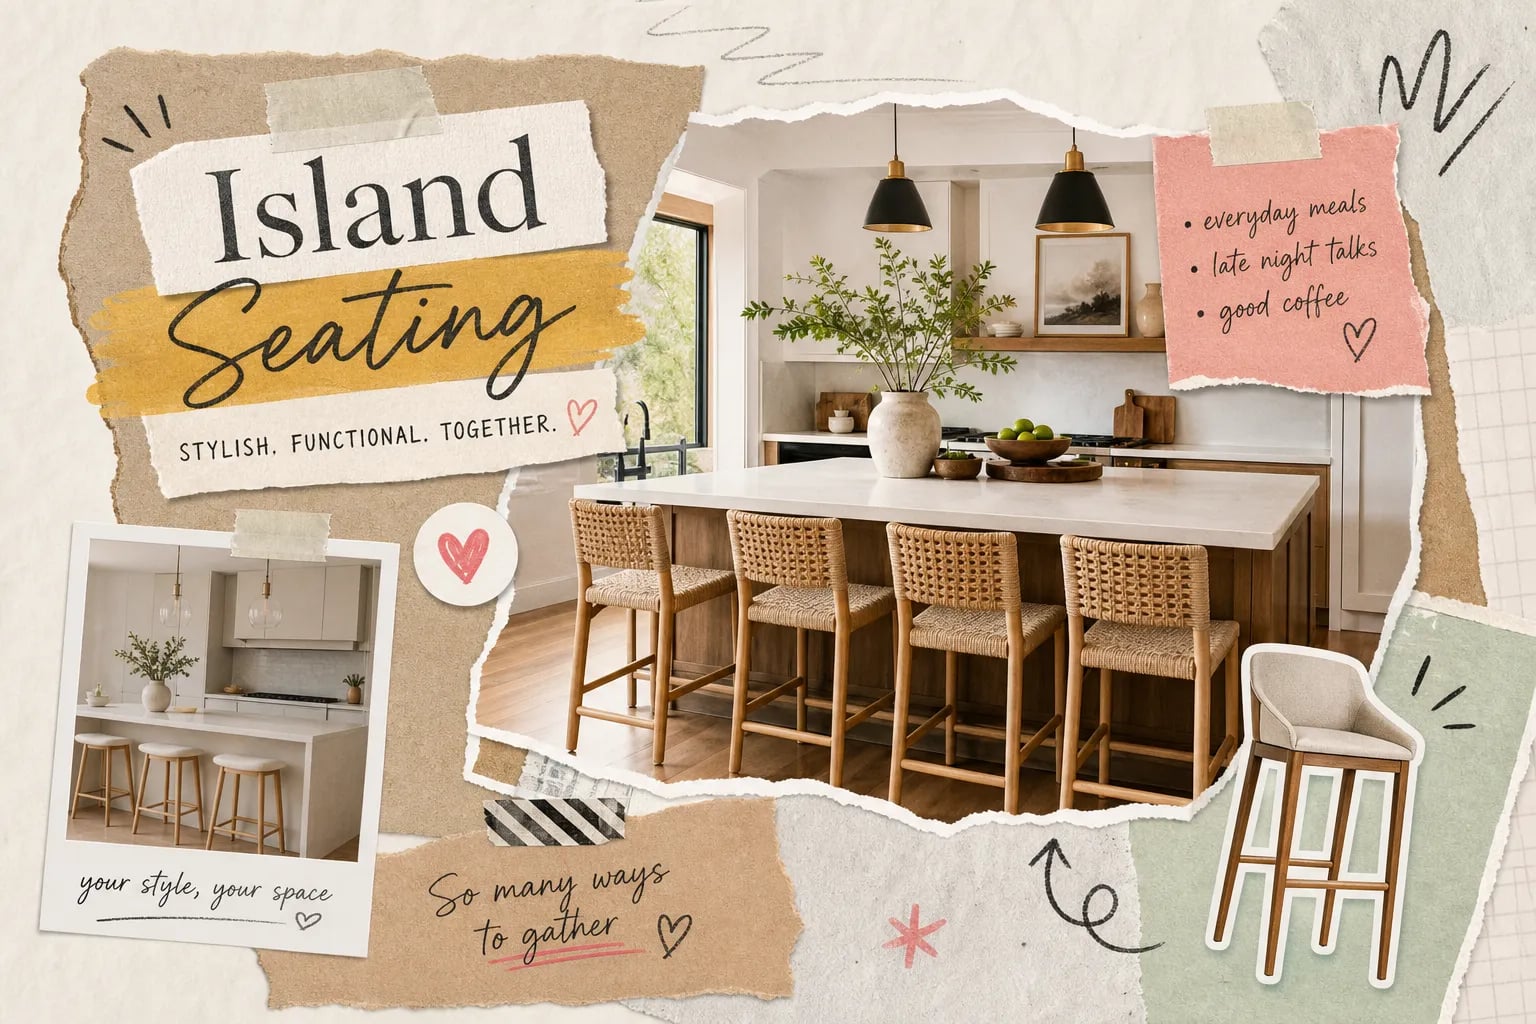
Counter-height islands (34 to 36 inches tall) need stools with a 24 to 26 inch seat height. Bar-height islands (40 to 42 inches tall) need stools with a 28 to 30 inch seat height. Leave roughly 10 to 12 inches between the seat and the underside of the counter for comfortable legroom. Swivel stools work especially well in family kitchens where people rotate between eating, working, and watching someone cook.
2026 Barstool Material and Finish Trends
The clearest trend is wood-framed stools, often with upholstered seats in warm neutrals, ochre, or forest green. Metal-framed options in matte black, brushed nickel, or brushed gold are still strong, but the move is clearly away from high-gloss chrome toward matte and patinated finishes. These material choices connect directly back to the trays, bowls, and pendants covered earlier. When your stools, lighting, and countertop accessories share a material language, the island reads as designed rather than assembled.
How to Style Your Island Without Creating Clutter
The accessories are only as good as the editing decisions that surround them. A styled island and a crowded island often contain the same number of objects. The difference is structure.
Divide your island surface into two zones: the prep and work zone (near the sink or stovetop side) and the display and styling zone (the far end or seating-adjacent end). The tray lives in the styling zone and contains everything decorative within its footprint. The prep zone stays clear or holds only functional items that earn their place. This one structural rule resolves most clutter problems before they start.
For every item currently on your island, identify its one job: visual anchor, prep tool, storage, or ambiance. If two items are doing the same job, one gets removed. Start with two to three accessories maximum and only add more if the surface still feels sparse after living with it for a week. Most people find they don’t need to add anything.
Building Your Island Shopping List From the Ground Up
A curated accessory list is more useful than a comprehensive one. Start with the highest-impact, lowest-cost pieces and only move up the price range when the foundation is solid.
The best starting point for kitchen island accessories: a quality tray ($25 to $45), a ceramic or wood bowl to place inside it ($15 to $30), and a cookbook stand ($25 to $40). Depending on your choices, these three pieces can often come in around $100 or less, and they form the visual foundation everything else builds around.
The mid-range and functional tier covers a wood or marble serving board that doubles as a prep surface ($50 to $100), statement pendant lights in a rattan, ceramic, or wood style ($80 to $200 per fixture), quality barstools in a trending material and finish ($80 to $200 per stool), and a rolling island cart with integrated storage and charging for kitchens that need serious functional upgrading ($235 to $350 or more).
Bring It All Together
Get the spacing right first so you know what you’re actually working with. Build your decorative and functional layers second, using the tray as your anchor and the two-zone structure as your guardrail. Then edit until what remains is fully intentional.
The 2026 kitchen island accessories landscape makes this easier than it’s ever been. Organic materials, warm earthy tones, matte finishes, and sculptural pendant lighting create a cohesive visual language that ties together without looking overdone. You don’t need a lot of pieces to make an island look great. You need the right ones, selected with a consistent material story and scaled to your actual space.
For a step-by-step framework that takes you from individual picks to a complete island look, browse the kitchen island styling guides at Aesthetic Nest Decor. The goal is an island that looks considered from every angle.