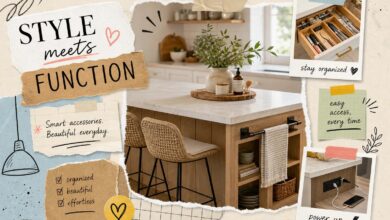

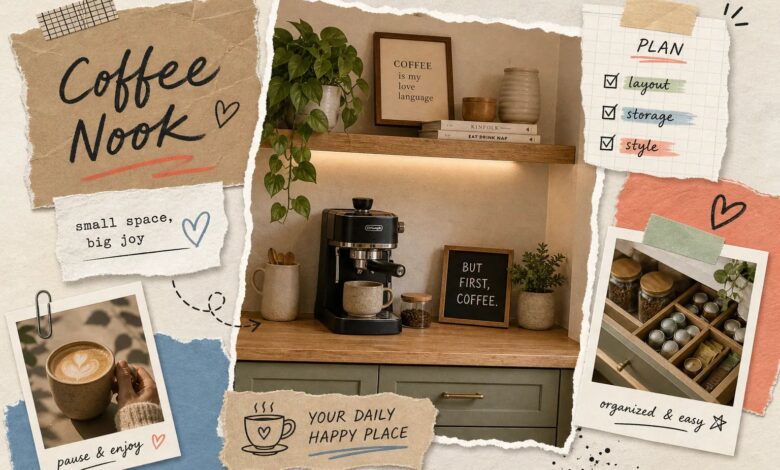
You know the morning: the kettle is screaming, you’re rifling through the drawer for coffee filters, the grinder is on one end of the counter, and your mugs are somehow across the kitchen near the toaster. Your kitchen coffee nook can fix this, carving out one organized corner and putting everything you need in one place, so your morning routine gets faster and calmer without any renovation required. By the time you get everything together using a scattered setup, the water has sat too long and the whole routine feels like a small defeat before 7 a.m.
As an Amazon Associate I earn from qualifying purchases. Some links in this post are affiliate links, at no extra cost to you.
Readers often ask about coffee corners, especially when working with tight counter space in a small or rental kitchen. So this guide covers exactly what you need: where to put your station, which appliances actually fit, how to style open shelves without chaos, what storage works best, which surfaces hold up, and what the whole thing realistically costs. By the end, you’ll know exactly what your kitchen coffee nook needs and how to build it. For more on this, see our how to style kitchen countertops like a designer guide. See also: best shoe storage ideas for your entryway.
Picking the right spot for your kitchen coffee nook
Before you buy a single thing, you need a physical location. Every decision after this one, from the machine you choose to the shelving you install, depends on how much space you’re actually working with. Related reading: 35 aesthetic bedroom ideas for every style & budget.
If you are starting from scratch, our home coffee bar setup guide covers the whole build.
How much counter space do you actually need?
The bare minimum for a single-machine setup is 24 inches wide. That gets you the machine and not much else. A 36-inch run is the more comfortable standard: it fits the machine, a small grinder or mug beside it, and gives you room to actually work. For depth, 12 to 15 inches works for an ultra-narrow nook with a slim machine, but 18 inches is the safer target for most espresso machines and their accessories.
Vertical clearance often gets overlooked and causes real problems. Leave at least 6 to 8 inches between the top of the machine and the bottom of any upper cabinet, and ideally, aim for the standard countertop-to-cabinet clearance of 15 to 18 inches when planning the full setup. You need that space to swap out a mug, open a top-fill reservoir, or work a steam wand without banging into the cabinet above. Always measure your machine’s full height with the lid or steam wand extended before committing to a spot.
Outlet access and corner placement
Keep the nook within 2 to 3 feet of an electrical outlet. Cord clutter across the counter defeats the purpose of an organized station, and a stretched cord is a safety issue on top of being an eyesore. Many designers prefer corner spots for small kitchens because they make use of underutilized space while keeping the station visually tucked without feeling cramped. If a corner isn’t available, a blank wall section or the top of a lower cabinet run works just as well when the clearance and outlet access are there.
Counter organization and the appliances that fit the space
Once you have a spot, you need a machine that actually fits it. The most common mistake is buying a machine first and then trying to squeeze it into whatever space remains. Getting the order right, location first, then appliance, saves you from a frustrating do-over.
Choosing a compact machine for a tight nook
Width is the most important constraint on a crowded counter. The Nespresso Essenza Mini is about 3.3 inches wide and gives you the smallest possible footprint for a pod-based setup. The De’Longhi Dedica runs about 6 inches wide and is the strongest slim option if you want a semi-automatic espresso machine with real steam capability. The Breville Bambino Plus comes in at roughly 7.7 inches wide, draws 1,560 watts, and fits comfortably in a 24-inch nook while offering more brewing control than either of the others. (Check the manufacturer’s spec sheet to confirm current dimensions and wattage before purchasing, as specs can vary by version.) All three typically run on a standard kitchen outlet, though it’s worth confirming your circuit isn’t already shared with other high-draw appliances.
For grinding, a manual grinder eliminates the motor footprint entirely and is the best choice for a truly tight nook. If you have room for a powered grinder, the Baratza Encore is the quality-first pick. The best small-footprint pairing is the Essenza Mini with a manual grinder when width is the main constraint.
Keeping the counter surface clean and functional
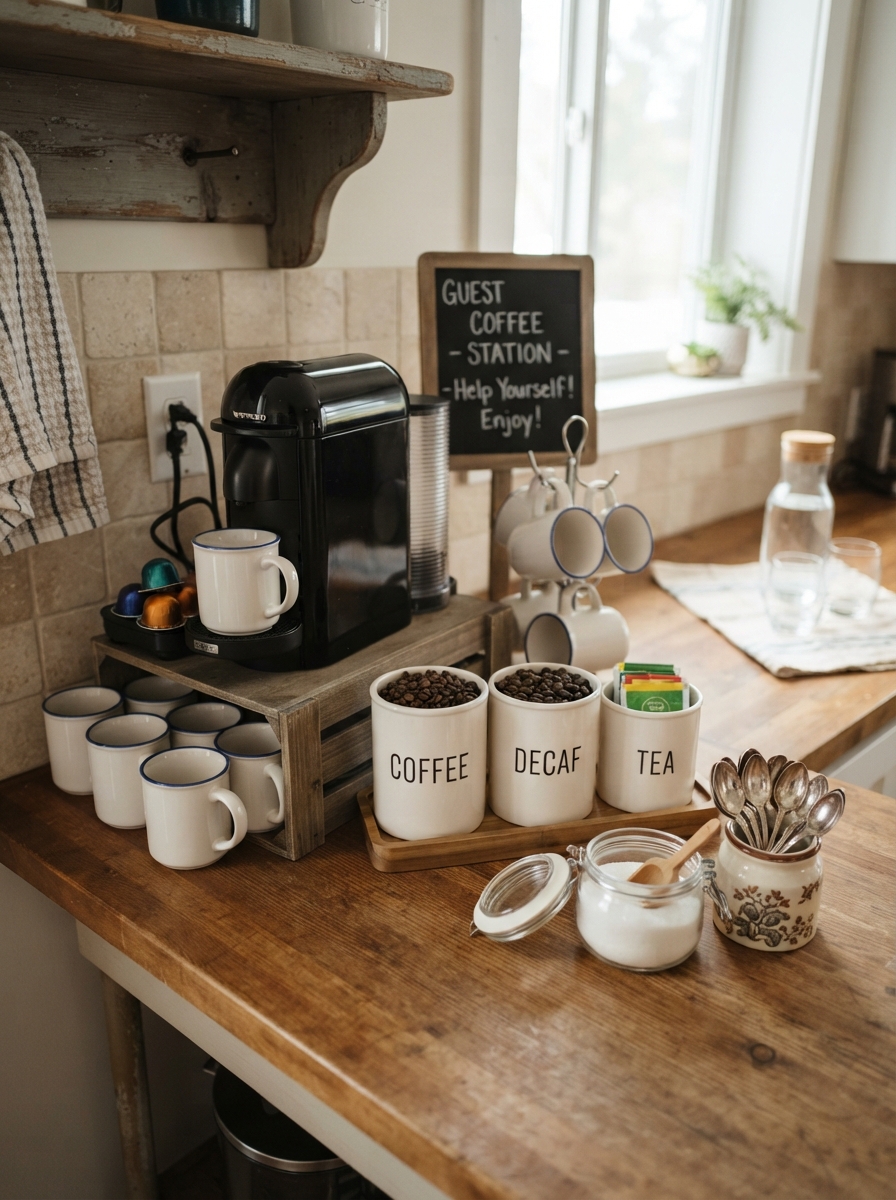
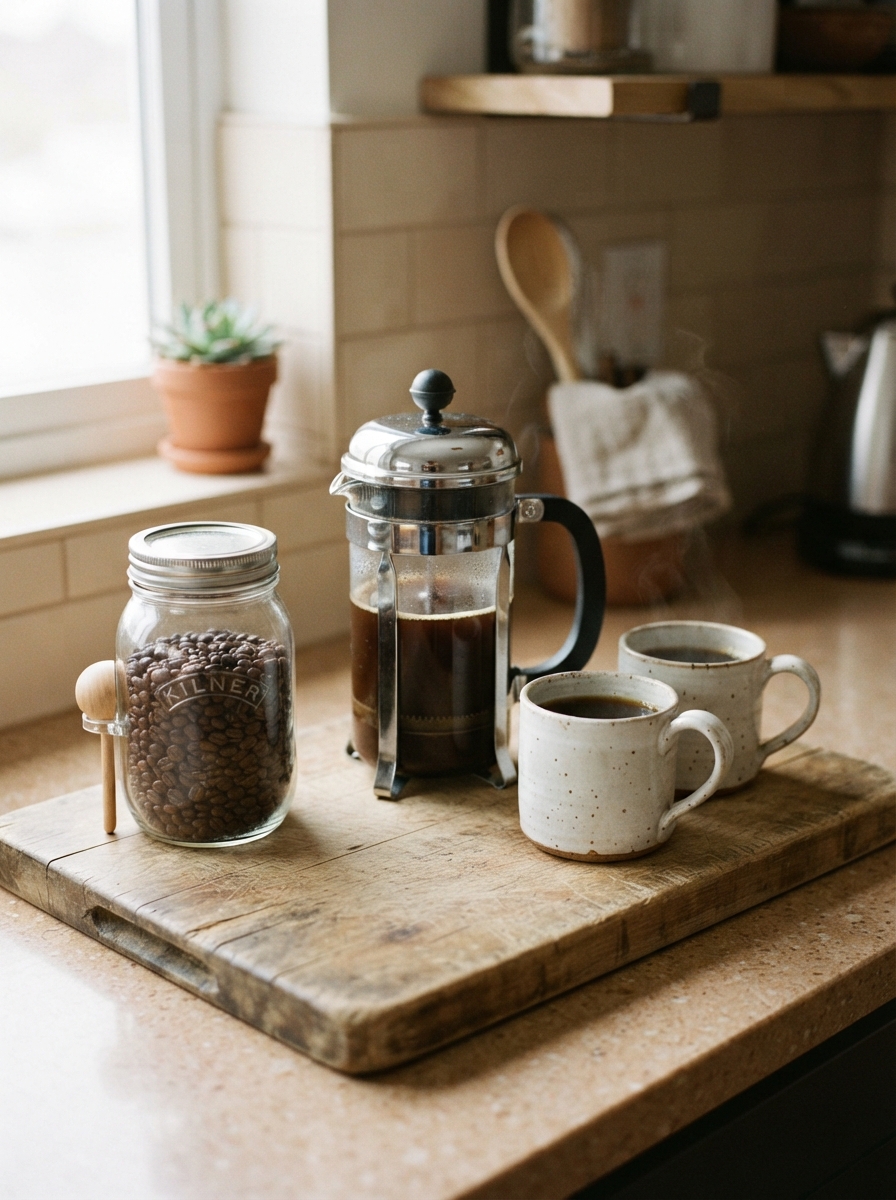
Apply the one-tray principle: group the machine, one small canister, and a mug on a single tray. The tray creates a visual boundary that separates the station from the rest of the counter and makes the whole setup easy to slide aside for wiping down. Everything else, extra pods, backup mugs, filters, and sweeteners, belongs in storage, not on the surface. A clean counter is what makes the nook feel intentional rather than cluttered.
Shop the counter setup
Best value
Airtight Coffee Containers with Shelf, 2 Pack 58oz
Two containers keep beans and pods separated and sealed, which is the difference between a styled nook and a cluttered one. Related reading: how to style a window nook for reading and relaxing.
Check price on Amazon →Upgrade pick
Conical Burr Coffee Grinder, 60 Grind Settings
A burr grinder is the single upgrade that changes how the coffee tastes. Sixty settings covers espresso through French press.
Check price on Amazon →As an Amazon Associate we earn from qualifying purchases.
Open shelving for your kitchen coffee nook: how to style it without the chaos
Open shelves above or beside a coffee corner are the most visually engaging part of the setup, and also the easiest part to get wrong. The goal is an edited display, not a storage wall.
What to display and what to hide
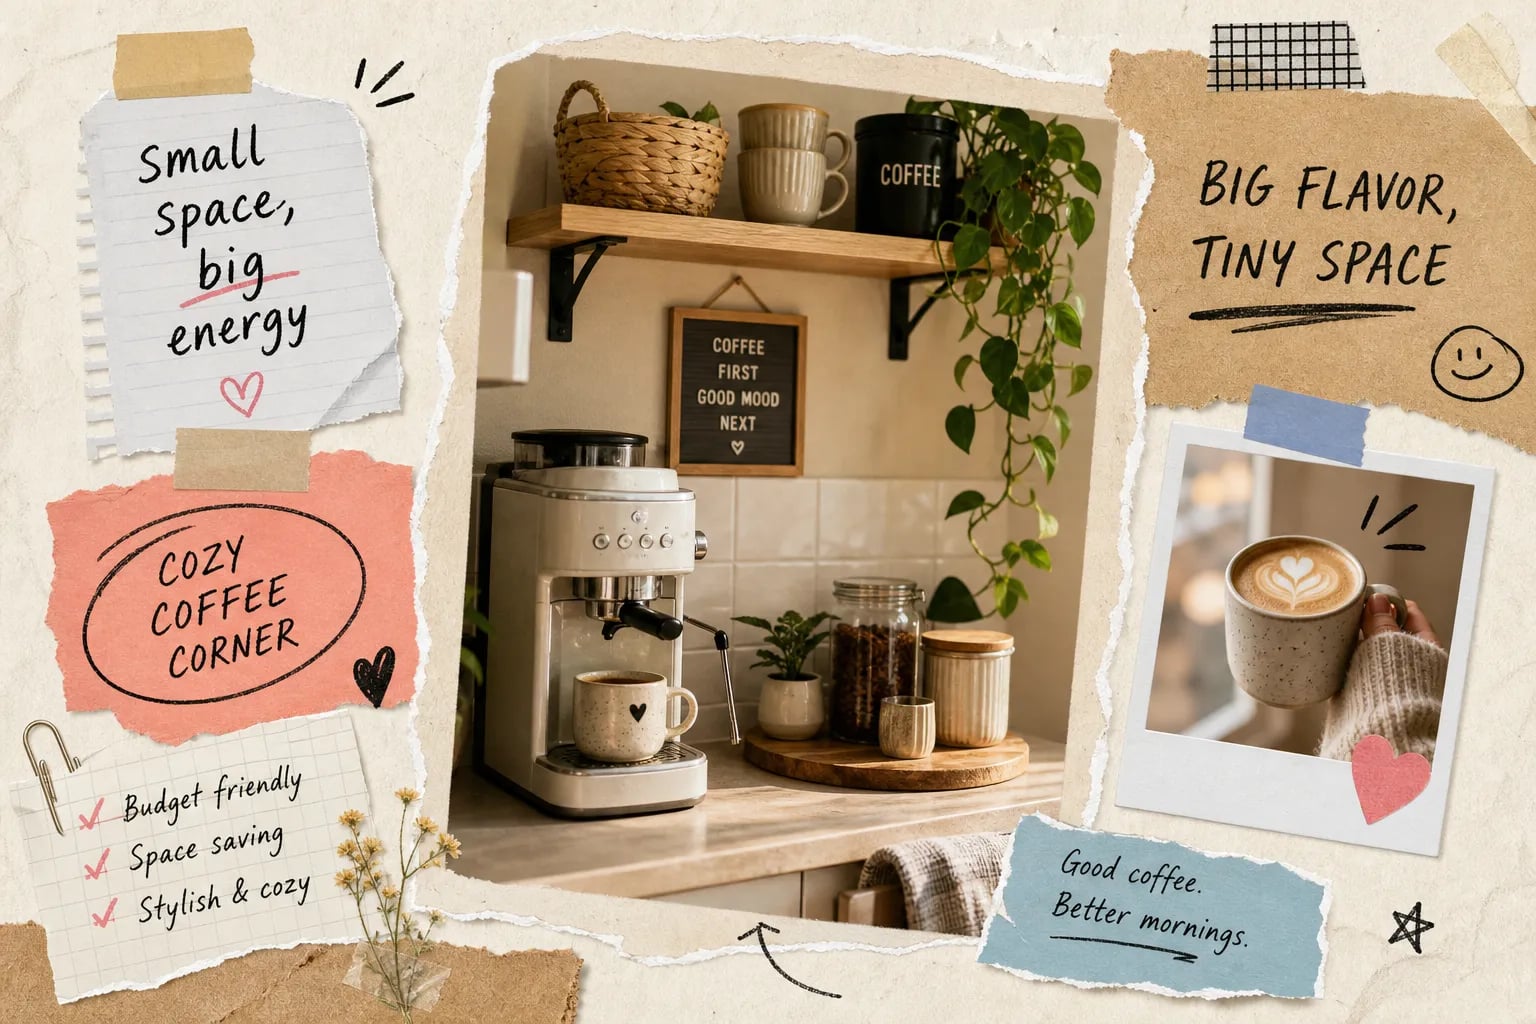
Work from top to bottom. The upper shelf holds bean canisters, a backup supply of pods or filters, and one small plant or decorative object. The middle zone is for mugs, either on hooks or a small wall-mounted rack. The lower accessible zone holds a pod tray or a small bin for sweeteners and filters. This hierarchy keeps daily-use items within arm’s reach and pushes backup supplies up and out of the way.
Open shelves only look good when they hold fewer things than they can fit. Leave intentional gaps. A shelf that’s 70 to 80 percent full reads as styled; a shelf that’s 100 percent full reads as storage. Stick to three materials maximum, a ceramic canister, a wood tray, a coordinated mug set. Mixing textures creates visual interest; mixing random colors creates noise.
Getting the shelf depth and spacing right
Use a shallow shelf depth for a coffee nook. The shelf should be sized to the item being stored on it, not oversized. Mugs and canisters don’t need a deep shelf; they just need to not fall off the front. Three levels of shelving work well for a compact coffee bar idea because they separate supplies, mugs, and the brewer zone without overwhelming a small wall section. Readers who want to extend this same visual logic to a larger surface can check Aesthetic Nest Decor’s kitchen island styling guide, which applies the same principles to a bigger footprint.
Shop open shelving and mug storage
Best value
Wood Floating Shelves, Set of 3
Three shelves lets you run one above the machine and keep the other two for mugs and beans, which is the layout this section describes.
Check price on Amazon →Renter safe
Under Cabinet Mug Hooks, 3 Pack with 9 Hooks
Clips onto the shelf edge with no drilling. Frees the entire counter surface for under ten dollars.
Check price on Amazon →As an Amazon Associate we earn from qualifying purchases.
Storage solutions that keep everything within reach
The organizing backbone of a functional coffee station is everything you can’t see. Good hidden storage is what keeps the counter clean and the shelves uncluttered.
Mug storage that saves counter space
For a small kitchen coffee station, the most effective mug storage options are under-cabinet hooks, a wall-mounted rack beside the nook, and a mug tree on the counter if space allows. Under-cabinet hooks are the highest-impact, lowest-cost solution. They free up both shelf and counter space simultaneously, and in a rental kitchen, adhesive-backed hooks can typically be installed without tools or permanent hardware. Just verify the weight rating on the packaging before loading them up, ceramic mugs vary, and it’s worth a quick check before committing. See also: 15 small bedroom storage ideas that maximize space.
Pod organizers and drawer inserts
If the nook has a lower drawer, a drawer-style pod organizer keeps pods hidden and compact. A two-tier countertop tray works when everything needs to stay visible and accessible without opening anything. A vertical stacking countertop holder is the middle-ground option when cabinet space is limited but you’d rather not fill the counter with a wide flat tray.
Inside cabinets, drawer dividers and shelf risers double the usable space for bean canisters, extra filters, and accessories that don’t need to be on display. A coffee cabinet idea worth stealing: dedicate one full cabinet to non-display supplies and treat it like a pantry for your brewing setup. The accessibility rule that ties all of this together: the three things you use every single morning (your mug, your coffee source, and your machine) should be reachable without opening any cabinet at all.
Shop storage that keeps things reachable
Best value
Bamboo Serving Tray with Metal Handles
The tray rule in action. Everything on the tray moves as one unit when you wipe the counter down.
Check price on Amazon →Also useful
Mug Holder Tree, 6 Hook Countertop Stand
For renters who cannot hang anything. Holds six mugs in the footprint of one.
Check price on Amazon →As an Amazon Associate we earn from qualifying purchases.
Surfaces, backsplash, and lighting that make the nook feel finished
Function gets you 80 percent of the way there. The right materials and lighting are what push a working station into a genuinely beautiful corner of the kitchen.
Countertop and backsplash choices worth the investment
Quartz is the top recommendation for a coffee station surface. It’s non-porous, highly stain-resistant, and wipes clean with a damp cloth after daily spills. Porcelain slab is a close second for the same reasons. Granite is attractive and extremely durable, but it requires periodic sealing, which makes it slightly higher maintenance in a space that sees daily coffee and water contact.
For the backsplash, a matching quartz or porcelain panel behind the nook is the easiest to keep clean. Tile works, but grout lines trap coffee residue over time. If you want a tile look, large-format tiles with minimal grout lines are the practical compromise. Subway tile in a running bond layout is the most timeless and affordable direction; zellige or handmade ceramic tile adds texture and warmth for a more design-forward kitchen beverage station.
Lighting that does more than look good
Our go-to recommendation is LED under-cabinet strips: long-lasting, energy-efficient, and positioned to put task light exactly where it’s needed. For a coffee station, aim for strips in the 300 to 500 lumen-per-foot range for focused task lighting. Litever and WOBANE are both solid options, Litever tends to offer brighter output while WOBANE is known for quick adhesive installation. For a softer ambient layer, a small plug-in pendant or clip-on light above an open shelf adds warmth without requiring an electrician or a larger fixture budget.
Shop backsplash and lighting
Best value
Peel and Stick Subway Tile Backsplash, 102 Pack
Removable and renter-safe. Defines the nook as its own zone without touching the rest of the kitchen.
Check price on Amazon →No wiring
Rechargeable Under Cabinet Light, 10 Inch
Magnetic and rechargeable, so the nook gets its own warm pool of light with no electrician and no visible cord.
Check price on Amazon →As an Amazon Associate we earn from qualifying purchases.
How much does a kitchen coffee nook actually cost?
The range is wide, and the good news is that most of the function and all of the visual appeal are available at the lower end of that range.
DIY freestanding setups and cabinet conversions
A freestanding DIY station, a thrifted cart, a small credenza, or a simple open shelf unit, runs $50 to $200 before the machine. A cabinet conversion, where you repurpose an existing piece or buy a new cabinet and add inserts, hooks, and a countertop, typically lands between $150 and $600. (These ranges reflect common DIY project costs and may vary by region and material availability.) A clean, styled $100 freestanding nook often looks just as intentional as a more expensive built-in when the organizing and styling principles from the sections above are applied consistently.
When a professional built-in coffee nook is worth it
A true built-in espresso station setup starts around $2,000 for materials and labor and can reach $12,000 or more when plumbing for a small sink and electrical work are included. Adding a sink alone runs an additional $220 to $600. A built-in is the right choice for readers who are already planning a kitchen renovation, not as a standalone upgrade. Most readers get 90 percent of the function and all of the visual appeal from a well-organized freestanding or cabinet-conversion approach, without the timeline or cost of a full build.
Kitchen Coffee Nook shopping list
- Floating shelf — open storage that keeps the nook feeling airy
- Coffee canister set — matching canisters instantly look intentional
- Espresso machine — the centerpiece, size it to your counter depth
- Mug hooks — frees up shelf space for everything else
- Peel and stick backsplash — a rental-safe way to finish the look
- Kitchen drawer organizer — keeps filters and pods from turning into clutter
Prices and availability change. Links open on Amazon.
Bringing it all together
A well-designed kitchen coffee nook does not require a renovation or a large budget. It requires a clear spot, the right machine for that space, intentional shelving, and smart storage. Follow the decision path in order: find the spot, pick the machine that fits it, set up the shelves with the top-to-bottom hierarchy, organize the storage around the accessibility rule, and then finish the surfaces and lighting.
If you want to extend the same styling logic beyond the coffee corner, Aesthetic Nest Decor’s kitchen island styling guide walks through how to apply these same principles to a larger surface without losing the clean, edited feel. The broader kitchen decor guides on the site are the natural next step for readers who want to take the whole room further. Pick your spot and get started, that’s all that’s left.