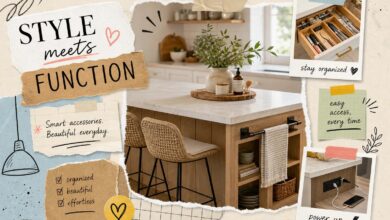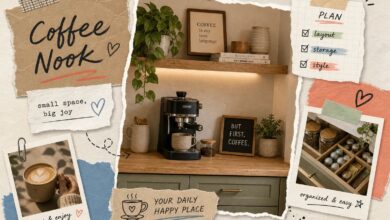

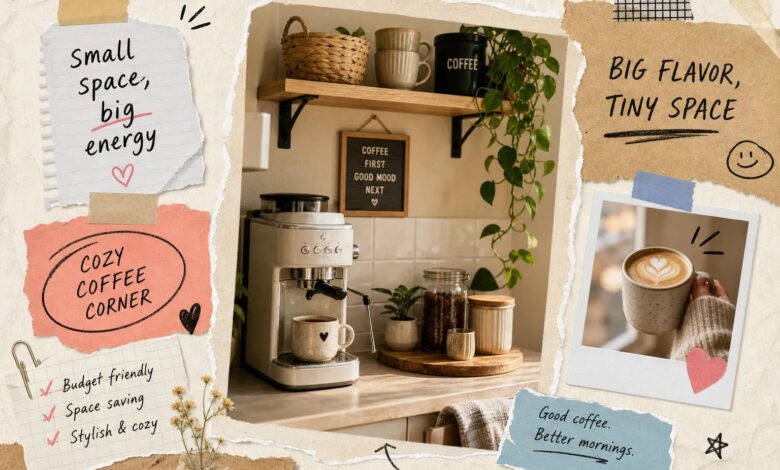
You wake up, shuffle into the kitchen, and your entire coffee setup is a machine wedged between the dish rack and a stack of mail. There’s no dedicated space, no real system, and every morning feels like you’re working against your own kitchen instead of with it. If that sounds familiar, you’re not missing square footage, you’re missing a plan.
As an Amazon Associate I earn from qualifying purchases. Some links in this post are affiliate links, at no extra cost to you.
If you’re searching for coffee nook ideas for apartment kitchens on a budget, the good news is that a functional setup doesn’t require a gut renovation, a contractor, or even a weekend of heavy lifting. It requires three decisions: a layout that matches your actual counter geometry, furniture that fits your measurements and your budget, and a few smart organizers that keep everything tidy once it’s in place. Readers who want to go deeper on apartment-specific styling can find more room-by-room ideas at Aesthetic Nest Decor, where the apartment decor and budget decorating guides follow the same practical logic as everything here.
This article gives you a layout decision framework, a furniture and appliance shopping list broken into budget tiers, and rental-safe installation tips so you finish with a real, functional nook, not just a saved list you never execute.
Coffee Nook Ideas for Apartment Kitchens on a Budget: Pick Your Layout First
The single biggest mistake people make when building a budget coffee station is shopping before measuring. They buy a cart that’s two inches too deep, or a shelf that can’t clear the cabinet above it, and the whole project stalls before it starts. Spend five minutes with a tape measure first, and you’ll shop with confidence instead of guessing.
Working with more space than a nook? Our full coffee bar setup guide scales up.
Corner nook, cart, or floating shelf: which suits your kitchen?
Three main formats work in apartment kitchens, and each has a different footprint and a different installation requirement. A dedicated counter corner with wall shelves above works best when you have 24 to 36 inches of counter width available; it gives you the most surface area and the most vertical storage. A rolling cart parked against a wall or at the end of an island works anywhere you have floor space, and it moves when you need it to. A single floating shelf over a narrow strip of counter suits renters with very tight counters and a usable wall nearby, minimal commitment, minimal footprint.
Most apartment kitchens can support at least one of these formats. The question is which one fits your specific geometry without forcing a compromise you’ll regret in three months.
How to measure for a coffee nook in 5 minutes
Take four measurements before you open a single product page. First, measure the counter width you can dedicate to the nook. Second, measure the depth from wall to counter edge so you know how deep a cart or shelf can be without blocking counter workflow. Third, check the ceiling clearance above your planned nook space to confirm upper shelves will actually clear the cabinet or soffit above. Fourth, locate your nearest outlet and measure whether your appliance cord can reach it without creating a tripping hazard across the counter.
Knowing these four numbers before you shop prevents wasted returns. A cart that’s 22 inches deep sounds fine until you discover your counter depth is only 24 inches, which leaves two inches of working space at the front. Measurements take five minutes. Returns take two weeks.
Budget Furniture That Actually Fits a Small Kitchen
The rolling cart is the most flexible piece of furniture you can buy for a small kitchen coffee nook, and it’s where most people should start. It requires no installation, no tools, and no commitment. If your layout changes, the cart changes with it. For renters especially, a cart-based space-saving coffee station is the lowest-risk entry point into the whole project.
Rolling carts and IKEA hacks under $100
Two off-the-shelf carts work particularly well as apartment coffee stations. The Amazon Basics 3-Tier Metal Rolling Utility Cart measures approximately 19 inches wide by 14 inches deep by 31 inches tall and costs well under $100, narrow enough for tight spaces and sturdy enough for a machine, mugs, and supplies on three tiers. The AKSG Coffee Cart runs approximately 22 inches wide by 15.8 inches deep by 29.5 inches tall, giving you slightly more surface area and a dedicated storage-focused layout.
For IKEA fans, the classic RÅSKOG cart is one of the most documented DIY coffee corner hacks available. Add the HÖGSMA chopping board on top to create a clean, enclosed work surface, then use SUNNERSTA side hooks and containers to hang mugs and corral pods, spoons, and sugar packets without eating shelf space. For a more polished look without added cost, cut a sheet of marble-pattern peel-and-stick contact paper to fit the top tier; it transforms the look completely and peels off cleanly when you’re done.
What to look for at thrift stores and Facebook Marketplace
Secondhand shopping for a rental-friendly coffee nook base is straightforward once you know what you’re hunting for. Target bar carts, small console tables, narrow side tables, and wooden bookshelves between 12 and 16 inches deep. For a standing coffee bar, look for pieces between 28 and 36 inches tall. For a lower coffee-table-style nook beside seating, aim for 16 to 18 inches. The ideal thrift find is solid wood or wood veneer with clean lines, open shelving or a drawer, and simple legs or a boxy silhouette.
Before you buy anything secondhand, check three things: stability (no wobble), shelf weight rating if labeled, and surface condition. A piece with a dinged-up top or dated finish is a perfect candidate for chalk paint on the frame and peel-and-stick wallpaper liner on the shelf backs or drawer fronts. Chalk paint unifies the structure; peel-and-stick liner supplies the accent detail that makes a thrifted piece look purpose-built. Together, they turn a $15 Facebook Marketplace find into the anchor of a styled budget coffee station.
Shop budget coffee carts
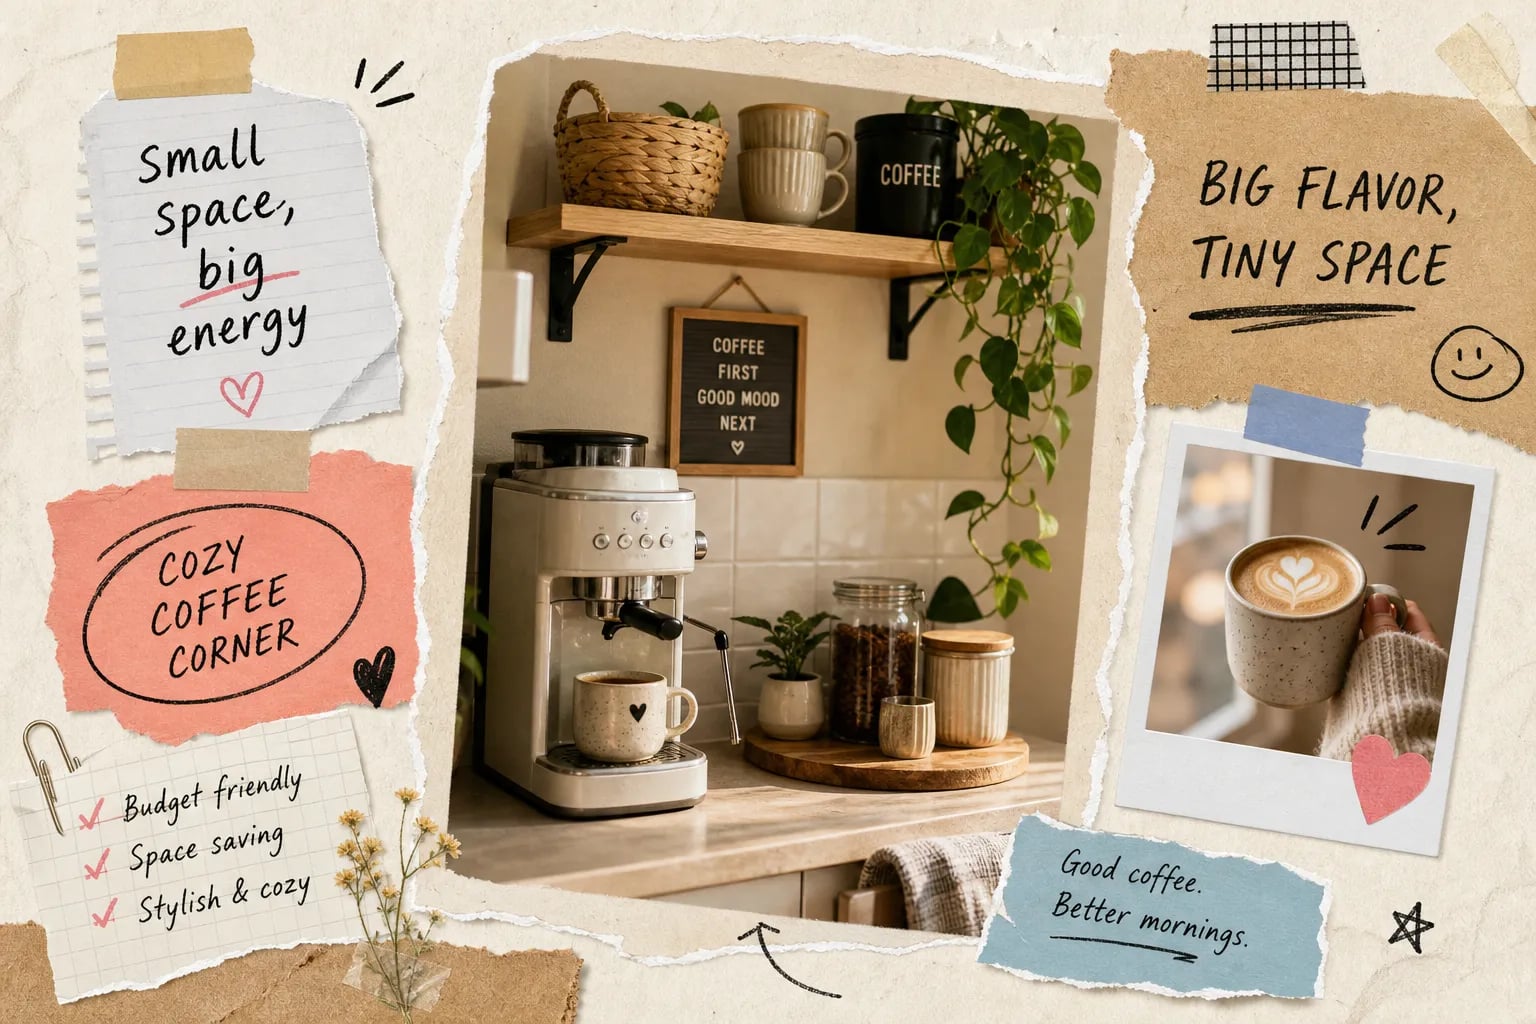
Best value
Rolling Kitchen Cart, 3 Tier
Rolls out when you need counter space and tucks back against the wall. For an apartment this beats installing anything.
Check price on Amazon →Upgrade pick
Bar Cart with Wheels and Wine Rack
Doubles as a drinks cart in the evening, which is a lot of use out of one piece in a small kitchen.
Check price on Amazon →As an Amazon Associate we earn from qualifying purchases.
Compact Appliances That Won’t Eat Your Counter
Counter width is the constraint that drives every appliance decision in a small kitchen. Start with the footprint, then work backward to price and features, not the other way around. These coffee cart ideas for tiny kitchens hold up whether you’re starting from scratch or upgrading an existing setup.
Best small coffee makers by footprint and price
Under $50, the Mr. Coffee 5-Cup Mini Brew measures approximately 5.7 inches wide and handles basic daily drip coffee with a minimal footprint. The AeroPress Clear, also in this price range, is the true zero-counter-footprint option: it stores completely in a drawer and needs nothing but a mug and a source of hot water (a kettle or even a microwave works fine). Under $100, the Keurig K-Mini is one of the narrowest electric machines available at approximately 4.7 inches wide, designed specifically for counters with very little room to spare.
Under $200, the Nespresso Essenza Mini delivers espresso-style drinks from a body that measures approximately 4.3 inches wide, making it the most compact electric option for anyone who wants more than drip coffee. If your budget stretches further, the Breville Bambino Plus offers full espresso capability in a compact form at around $300 to $350, though its footprint is slightly larger at approximately 7.5 inches wide. The AeroPress remains the only option with a true zero counter footprint, which matters when every inch of counter is accounted for.
Kettle and grinder choices that don’t steal space
For grinding, a manual hand grinder in the $25 to $80 range is the most space-efficient choice by a wide margin: it stores in a drawer between uses and takes up no counter space at all. If you prefer an electric grinder, look for a compact burr grinder in the four-to-six-inch width range, it delivers better consistency than a blade grinder without a significant footprint penalty.
For kettles, a compact gooseneck electric kettle between 0.6 and 0.8 liters typically measures well under seven inches wide and doubles as a styling object on the nook tray. The Fellow Stagg EKG Gooseneck Mini, for example, has a base footprint of just 5.2 by 5.2 inches. Avoid large-capacity kettles, they routinely exceed ten inches in width, which eliminates much of the space you just saved by choosing a narrow coffee maker.
Shop compact appliances
Best value
Conical Burr Coffee Grinder, 60 Settings
Narrow footprint and a burr mechanism, so it fits the counter and still grinds properly.
Check price on Amazon →Upgrade pick
OXO Brew Compact Conical Burr Grinder
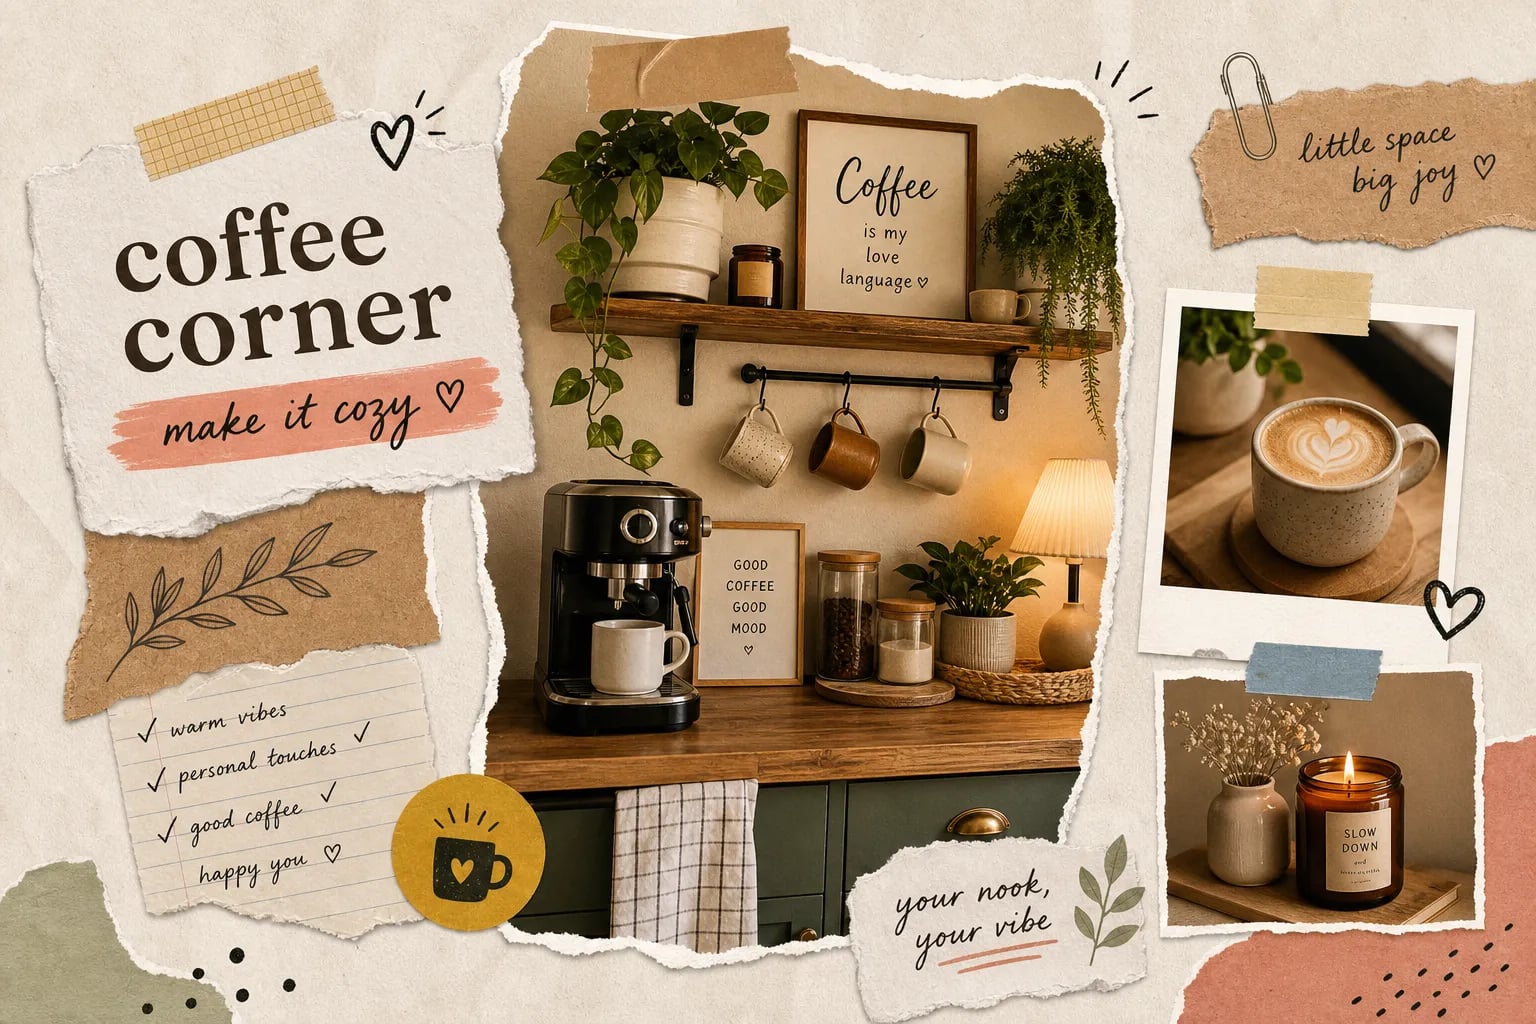
Genuinely compact at about 5 inches wide. Pay the premium if counter inches are the real constraint.
Check price on Amazon →As an Amazon Associate we earn from qualifying purchases.
Rental-Safe Shelving and Hook Solutions
The biggest anxiety renters bring to any DIY project is the security deposit. The good news: you don’t need to touch your walls to build a functional, good-looking coffee nook for apartment kitchens on a budget. But if you do want wall storage, there are options that work safely beyond the standard adhesive strip.
Adhesive options and their honest weight limits
Command strips and Command hooks are reliable for exactly one thing: light loads on smooth painted drywall. Depending on the specific product line, they’re rated for roughly 4 to 20 pounds. That’s fine for a single mug hook or a lightweight display piece, but it’s not adequate for a shelf holding jars, a mug rack, and a canister. If you need to hang something with real weight, the 3M CLAW picture hanger is a significantly stronger choice. It uses a mechanical claw rather than adhesive, is rated up to 65 pounds on the largest size, and removes cleanly from drywall without the pull-and-pray anxiety of adhesive strips.
For a mug rail or a light display shelf, the 3M CLAW is the most honest recommendation for renters who want genuine wall storage. Command products work for decorative accents. The CLAW works for things that actually have to hold weight.
Freestanding and leaning shelf alternatives
For renters who want storage without touching walls at all, a leaning shelf unit or A-frame ladder shelf is the most reliable option available. Most leaning shelves are rated to support 15 to 20 pounds per shelf, check the manufacturer’s listed capacity before loading them up, and require zero installation. They’re stable by design, they move when you move, and they leave no evidence behind when you’re done renting.
Pair a leaning shelf with a rolling cart and you have a complete two-zone coffee nook with zero wall contact. The cart handles the appliance and daily-use items at counter level; the leaning shelf stores mugs, spare beans, syrups, and extras above it. Both pieces are fully portable, require no tools to set up, and won’t cost your security deposit a cent.
Shop rental-safe shelving and hooks
No drilling
Under Cabinet Mug Hooks, 3 Pack with 9 Hooks
Clips to the underside of a shelf. Nothing to patch when the lease ends.
Check price on Amazon →Also useful
Clip-On Mug Hanger for Cabinet Shelves
Slides onto a shelf edge and holds heavier mugs than adhesive hooks manage.
Check price on Amazon →As an Amazon Associate we earn from qualifying purchases.
Styling and Organizing the Nook Without Overspending
A coffee nook looks intentional when everything on it belongs to a clear visual unit. Without that, it’s just stuff on a cart. The tray is the tool that creates that visual boundary.
Trays, canisters, and mug hooks that do double duty
A large tray corrals the machine, a sugar jar, and a small plant into a single composition that reads as designed rather than cluttered. Place the coffee machine slightly off-center toward the back of the tray, the canister beside it for easy workflow access, and a small plant on the opposite side to visually balance the heavier machine. Keep the total item count between three and five objects on the tray itself, leaving breathing room between them. Budget $5 to $25 for a tray, depending on material and size.
For canisters, choose clear stackable containers in square or rectangular shapes, they stack vertically, make contents visible at a glance, and fit into tighter shelf configurations than round canisters do. Under-cabinet adhesive mug hooks or a small wall-mounted mug rail free up tray space and add a café-style detail that elevates the whole setup. Budget $5 to $15 for canisters and $5 to $20 for hooks, and you’ve got the full organizational layer sorted without a big spend.
What a complete DIY coffee nook actually costs by tier
A low-budget nook built around a thrifted cart, a basic appliance, simple jars, and a few hooks runs approximately $50 to $125 total. A mid-budget nook with a sturdier cart or an IKEA hack, matching accessories, an electric kettle, and a better drip machine lands between $125 and $345. A higher-budget nook with new furniture, premium storage, and an espresso-capable appliance starts around $345 and climbs from there.
The most important thing to know: you don’t have to hit one tier all at once. Start with the cart and a basic machine this month. Add the kettle and canisters next month. Upgrade the appliance when it makes sense. The nook takes shape one piece at a time, and each addition improves both the function and the look without requiring a single lump-sum commitment.
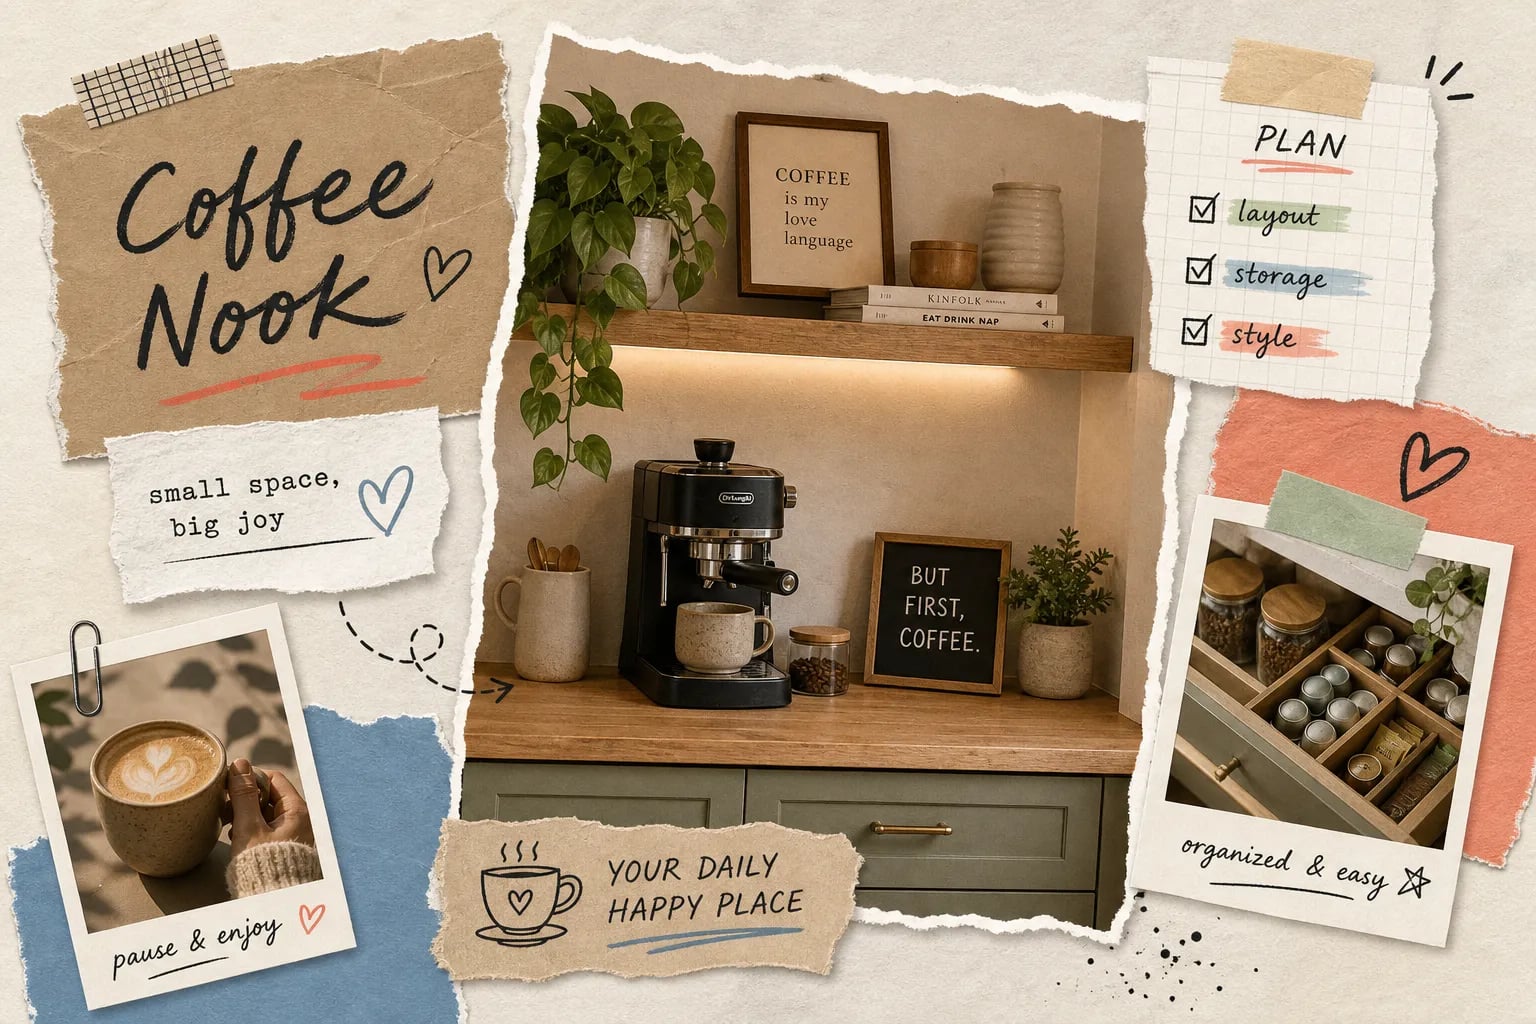
Budget Apartment Coffee Nook shopping list
- Bar cart — rolls anywhere and needs zero installation
- Floating shelf — rental-safe storage that adds no bulk
- Coffee canister set — budget-friendly way to look put together
- Mug hooks — no-drill options exist for rentals
- Under cabinet light — cheap upgrade that makes the whole corner feel finished
- Glass storage jar — keeps beans and filters visible and fresh
Prices and availability change. Links open on Amazon.
Shop the styling pieces
Best value
Airtight Coffee Containers with Shelf, 2 Pack
Matching containers do more for the look of a budget nook than anything else at this price.
Check price on Amazon →Also useful
Bamboo Serving Tray with Metal Handles
Corrals the loose pieces so a rented counter still reads as intentional.
Check price on Amazon →As an Amazon Associate we earn from qualifying purchases.
Your Coffee Nook Is a Sunday Afternoon Project, Not a Renovation
You started this article with a machine shoved against a backsplash and no real system. By now, you have a clear path out of that situation. The work isn’t complicated, it’s sequential.
Make three decisions in order: pick a layout format that matches your measurements, choose a cart or shelf that fits your counter geometry and your budget tier, and start with the appliance that matches what you’re willing to spend right now. Everything else, the tray, the hooks, the canisters, the plant, follows naturally once the structure is in place. None of it requires a drill, a contractor, or a landlord conversation.
At Aesthetic Nest Decor, the same practical approach applies to every room in the apartment. If you want to take this logic to your entryway, bedroom, or balcony, the site’s apartment decor guides and budget decorating resources are built on the same framework: measure first, shop smart, and make every piece earn its place. Start with your first thrift store run this weekend or pull up that IKEA cart and get it ordered. Your setup will be functional before the week is out.