
You’ve seen the photos: a beautifully styled counter with a gleaming machine, matching mugs hanging in a row, a little jar of beans sitting just so. Then you look at your kitchen and wonder where to even begin. Many guides focus on gear recommendations without covering the foundational decisions that determine whether your coffee bar setup actually works for your home or just creates a cluttered corner you’ll abandon by February. This guide starts at the beginning.
As an Amazon Associate I earn from qualifying purchases. Some links in this post are affiliate links, at no extra cost to you.
Whether you’re working with a narrow stretch of apartment counter or a dedicated nook beside the kitchen window, the core questions are the same: where does it go, what goes in it, and how do you keep it looking intentional without reorganizing it every week? At Aesthetic Nest Decor, our mission is helping readers build functional, beautiful kitchen spaces that reflect how they actually live. This guide pulls all the essentials into one clear starting point so you can move from idea to actual setup without second-guessing every purchase.
Picking the right coffee bar setup for your space
Before you buy a single piece of equipment, you need to decide which format fits your kitchen. The three most common setups in American homes right now are the dedicated counter station, the rolling cart, and the small-space coffee corner. Each one suits a different living situation, and choosing the wrong format first is what leads to machines that don’t fit and accessories with nowhere to go.
Not sure what to buy first? Our home coffee bar checklist lists the essentials in order.
Short on counter space? See our kitchen coffee nook ideas, the DIY countertop coffee bar options, and budget coffee nook ideas for apartments.
Dedicated counter station
A dedicated counter station is one of the most popular coffee bar setups, and for good reason. It claims a defined stretch of counter, usually a corner or one side of the kitchen, and commits that space entirely to the coffee workflow. You need at least 24 to 36 inches of available counter for this to feel comfortable. The biggest advantage is consistency: everything lives in one fixed spot, which makes it easy to keep organized and easy to use on autopilot at 6 a.m.
Rolling coffee cart setup
A cart is the flexible, apartment-friendly alternative. The top shelf holds the machine, and the lower shelves handle mugs, syrups, and backup supplies. Nothing is permanently committed to a single location, which makes it ideal for renters or anyone whose kitchen layout doesn’t offer a clean stretch of counter. In 2026, rolling coffee carts remain one of the most searched small-space coffee station ideas because they deliver real storage without requiring a renovation.
Small-space coffee bar setup
For tight galley kitchens or studio apartments, a small space coffee bar can work with as little as 18 inches of counter, though anything under that is extremely tight and usually limited to very compact pod machines like the Nespresso Essenza Mini. The key is choosing your format before buying your gear. A narrow corner that works perfectly for a pod machine becomes a daily frustration if you try to fit a full semi-automatic espresso machine into the same footprint. Decide on the format first, then select equipment that fits it.
Counter space requirements before you commit to a spot
Once you’ve picked a format, measure the actual space before buying anything. The numbers matter more than most people expect, and the difference between a drip station and an espresso setup is significant enough that choosing the wrong spot creates problems that are annoying to undo.
Drip and pour-over stations
A comfortable drip or pour-over station needs roughly 24 to 36 inches of width and 18 to 24 inches of depth. That footprint fits a machine, a grinder, a kettle, a small scale, and cup space without things stacking on top of each other. Standard kitchen counters run 24 inches deep, so this type of station usually works without any modification to your existing layout.
Espresso setups need more room
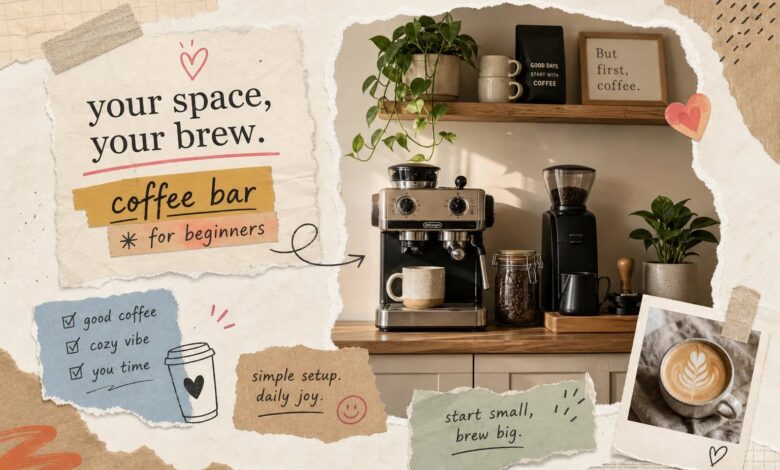
An espresso station setup is a different calculation. Plan for 30 to 36 inches wide and 24 to 30 inches deep to fit the machine, a grinder, and a small working area. Larger machines push that depth closer to 36 inches. If the space feels tight on paper, buy the compact machine, not the bigger counter. A De’Longhi Dedica, for example, is about 6 inches wide and fits counters where a standard semi-automatic simply won’t.
Electrical planning basics
Before finalizing your spot, check your outlets. Countertop outlets work best positioned 4 to 6 inches above the work surface, spaced every 24 inches along the station. Any outlet within six feet of a water source requires GFCI protection. If your machine draws 1,200 watts or more, or if you plan to run a machine and grinder at the same time, a dedicated 20A circuit is the smarter choice. Sharing a standard 15A line with that load will trip the breaker. You don’t need to renovate for a basic drip setup, but knowing these limits before you plug in your espresso machine prevents an unpleasant surprise on your first morning.
Coffee bar essentials: what equipment you actually need
The gear conversation is where most beginners get overwhelmed. The range of machines, grinders, and accessories available is genuinely enormous, so narrowing it down by how you actually drink coffee, and what you’re willing to spend, cuts through the noise quickly.
Choosing your machine by budget and lifestyle
Three machine categories cover almost every home coffee bar setup. Drip and pod machines (such as the Keurig K-Mini or Nespresso Essenza Mini) are the simplest and most affordable; expect to pay roughly $50 to $150 for entry-level models, though prices vary by retailer and configuration. Semi-automatic espresso machines give you more control and better output, with solid beginner options like the De’Longhi Dedica starting around $150 to $300. Bean-to-cup machines grind and brew automatically, trading some control for convenience, the Philips Baristina is the most compact option in that category if counter space is a constraint. You will find more ideas in affordable interior design principles every homeowner needs.
For a drip- or pod-based starter setup that includes a machine, a hand grinder, and basic storage accessories, expect to spend roughly $150 to $400. That range builds a genuinely functional station without overbuying equipment you won’t use.
Grinders, scales, and the small tools that matter
The grinder matters as much as the machine because freshly ground beans produce noticeably better coffee than pre-ground. For small spaces, options like the Timemore C2 or 1Zpresso hand grinder cost $40 to $100, store in a drawer, and take up zero counter space. A kitchen scale in the $10 to $30 range removes the guesswork from your brew ratio and pays for itself in saved beans within a few weeks. If you’re building an espresso station, add a tamper ($15 to $40) and a steaming pitcher ($10 to $25) to round out the setup. For a full gear list organized by machine type and budget tier, Aesthetic Nest Decor’s dedicated coffee nook guide goes deeper on every category.
Storage and organization that keeps your coffee bar setup functional
A coffee bar that looks great on day one but dissolves into clutter by day ten isn’t a coffee bar, it’s a mess with good intentions. The organization system you build around the station determines whether it stays functional long-term. The core logic is straightforward: daily items stay visible and within arm’s reach; everything else goes in a cabinet or drawer.
Vertical storage: shelves and mug hooks
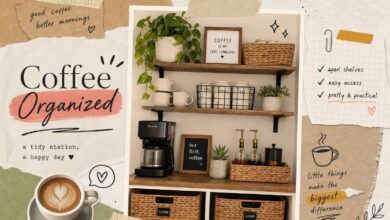
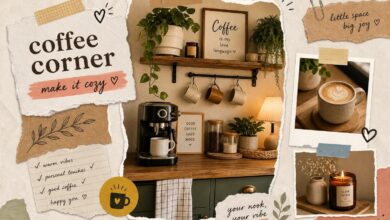
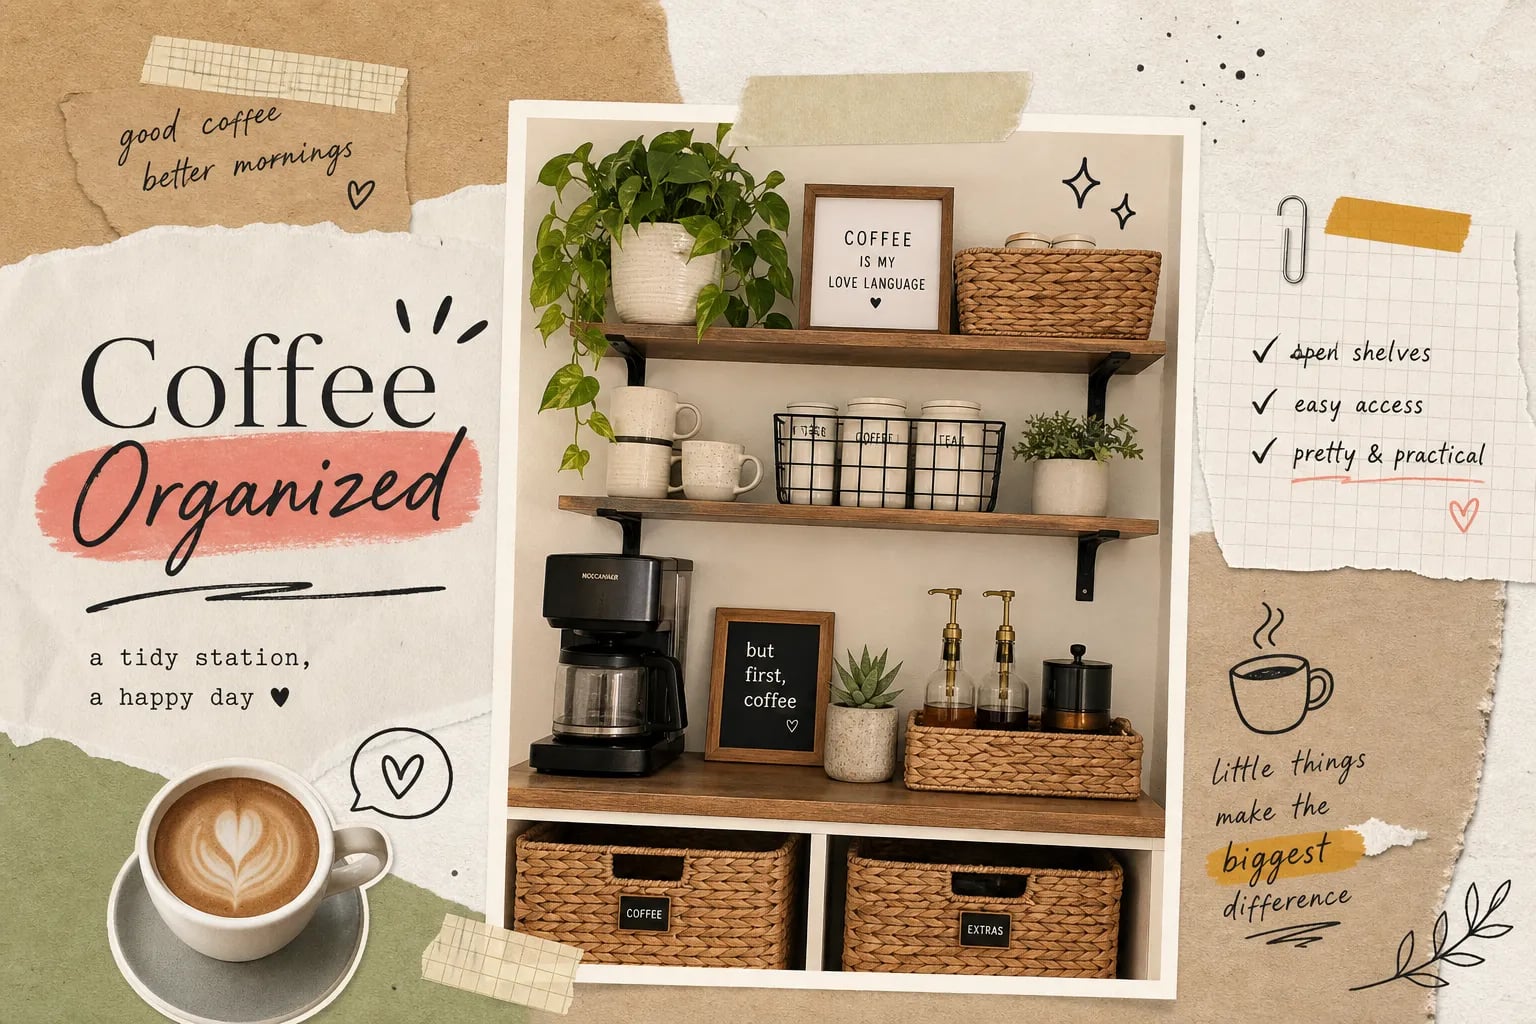
Floating shelves above the machine keep mugs, bean jars, and syrups accessible without eating counter space. Set the bottom of the shelf roughly 18 to 20 inches above the countertop, or at least 2 to 3 inches above the machine’s open height, whichever is taller. A mug rail or under-cabinet hooks free up shelf space for beans and tools. The more you move off the counter and onto the wall, the more the station stays usable instead of crowded.
Trays and canisters for countertop order
A tray is one of the highest-impact, lowest-cost moves you can make. Group the machine, a small sweetener holder, stirrers, and a compact creamer container on a single tray, and the station immediately reads as intentional rather than assembled at random. Labeled canisters or glass jars keep beans, pods, and sugar visible and easy to grab without opening cabinets. This single organizational layer is often the difference between a styled home coffee bar and a counter that looks like a supply closet.
Drawers and cart shelves for overflow
Drawer inserts sort filters, scoops, and pods so small items don’t accumulate into a jumbled mess. On a cart setup, dedicate the lower shelves to supplies you don’t reach for every day: backup mugs, extra syrups, a spare bag of beans. The goal is a station where the morning workflow runs without hunting for anything. Every item should have a home, and that home should make intuitive sense based on how often you use it.
Quick coffee bar setup checklist
- Measure your available counter width and depth before buying any equipment
- Confirm outlet placement and circuit capacity for your chosen machine
- Select a format (counter station, rolling cart, or small-space corner) before selecting gear
- Choose one dominant finish for hardware and accessories
- Set up a tray to anchor the countertop arrangement
- Add floating shelves or mug hooks to move items off the counter
- Assign a dedicated home for every daily-use item
Styling your coffee bar so it looks as good as it works
Function comes first, but a home coffee bar that looks cohesive and intentional is genuinely more enjoyable to use every morning. Good styling doesn’t require expensive accessories or a design background, just a few clear decisions, followed through.
Choosing a finish and texture palette
Pick one dominant finish for your hardware and accessories and stick to it throughout the station. Matte black, brushed gold, natural wood, and warm brass are all strong choices for 2026 kitchen aesthetics, and each works well with neutral countertops. A common design pitfall is mixing too many finishes; designers typically recommend repeating one finish at least twice across the station so the eye reads it as intentional. Chrome next to matte black next to brushed nickel reads as unresolved. A wooden tray, ceramic canisters, and two or three matching mugs in coordinating tones create a cohesive look without overcomplicating it.
The strongest finish pairings for a kitchen counter station right now are warm wood with brass or matte black, white or cream with natural wood and clear glass, and sage green with white and light stone. All three create a calm, curated look that photographs well but, more importantly, feels pleasant to stand in front of every morning.
Small styling details that add up
A small potted plant, a single framed print, or a linen runner under the tray adds warmth without adding clutter. A practical rule of thumb is to keep the majority of your surface space devoted to functional items and limit decorative pieces to a supporting role, so the station stays usable as a workspace rather than becoming a display shelf. Warm task lighting, like a small plug-in puck light under a cabinet, makes the nook feel finished rather than like leftover counter space.
If you want to take the styling further, Aesthetic Nest Decor’s coffee nook guide covers building out a full corner with built-in shelving, wallpaper accents, and kitchen nook ideas that turn a basic counter setup into a proper design vignette. And if you’re looking to tie the coffee station into the rest of the kitchen, the Aesthetic Nest Decor kitchen island styling guide is a natural companion read for creating visual consistency across the whole room.
Coffee Bar Setup shopping list
- Coffee bar cart — the fastest way to add a station with zero renovation
- Espresso machine — pick the size that matches your counter depth
- Coffee grinder — freshly ground beans make the whole setup worth it
- Mug hooks — keeps mugs off the counter and off your countertop real estate
- Coffee bean storage jar — airtight canisters keep beans fresh longer
- Floating shelf — extra storage without eating counter space
Prices and availability change. Links open on Amazon.
Your coffee bar setup is easier to refine than it is to start
A great home coffee bar doesn’t require a renovation or a generous budget. What it does require is making a few choices in the right order: the format that fits your space, the machine that matches how you actually drink coffee, and a storage system that keeps daily tools within reach. Get those three things right and you have a station that works on day one and stays functional for years.
Start with the format and measure your counter. Then match your machine to the space, not the other way around. Add a tray, a shelf, and a consistent finish palette, and you have the foundation of a coffee bar setup that looks intentional because it is.
Readers who want to go further will find room-specific guidance across Aesthetic Nest Decor’s kitchen content, from coffee station layout ideas to full kitchen styling guides. But the most important step is the first one, and everything covered here gives you exactly what you need to take it. You will find more ideas in 35 aesthetic bedroom ideas for every style & budget.