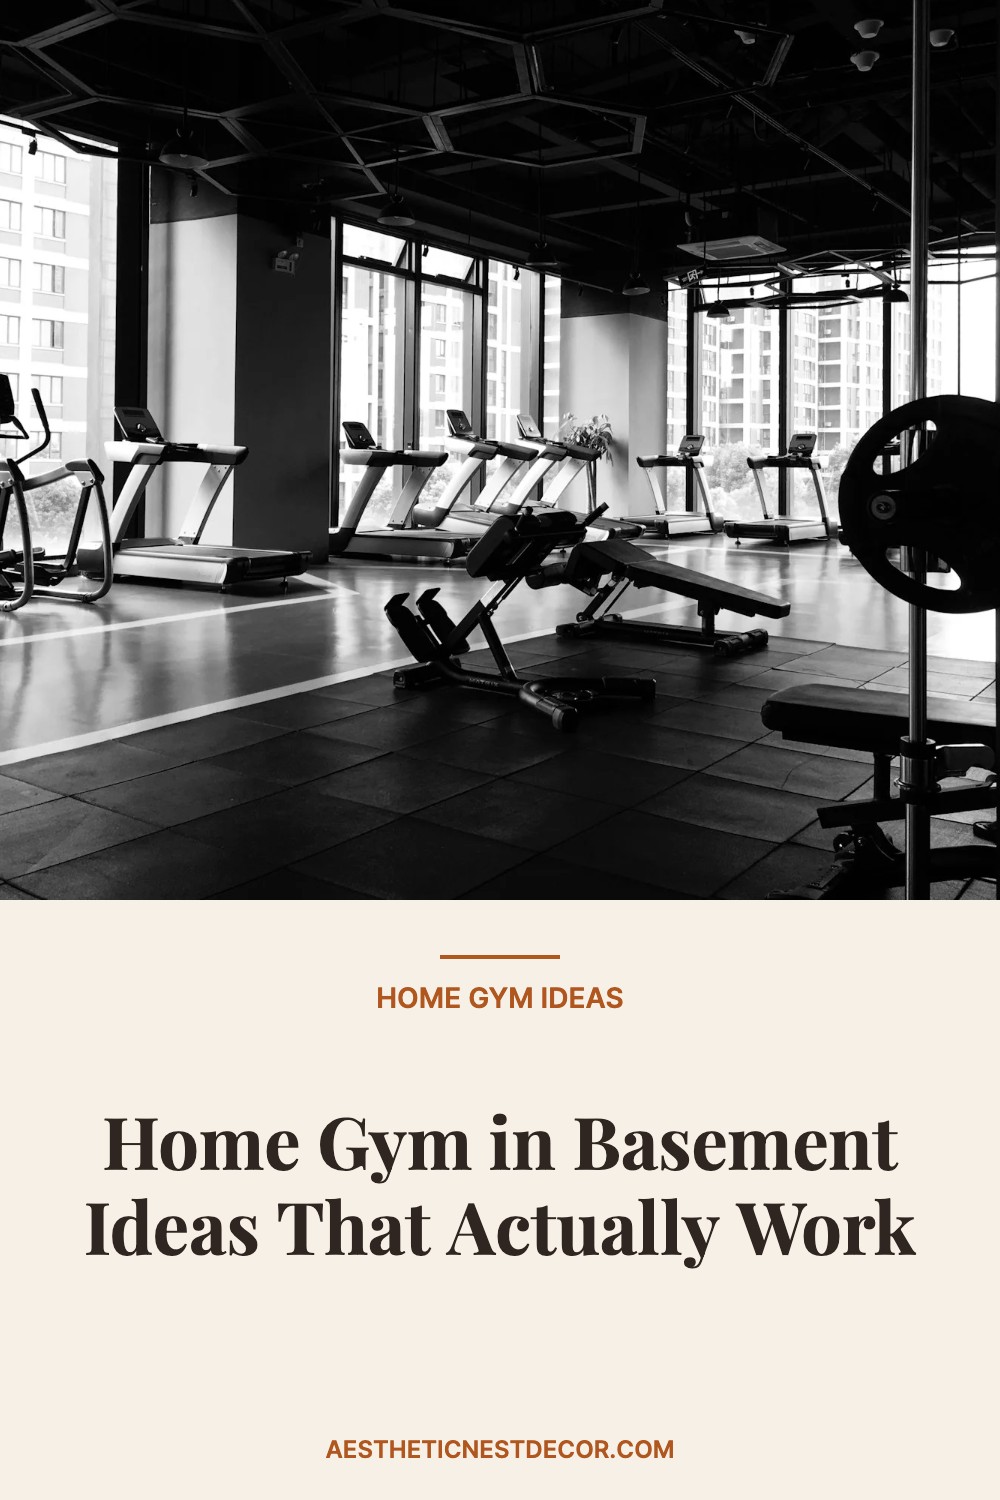

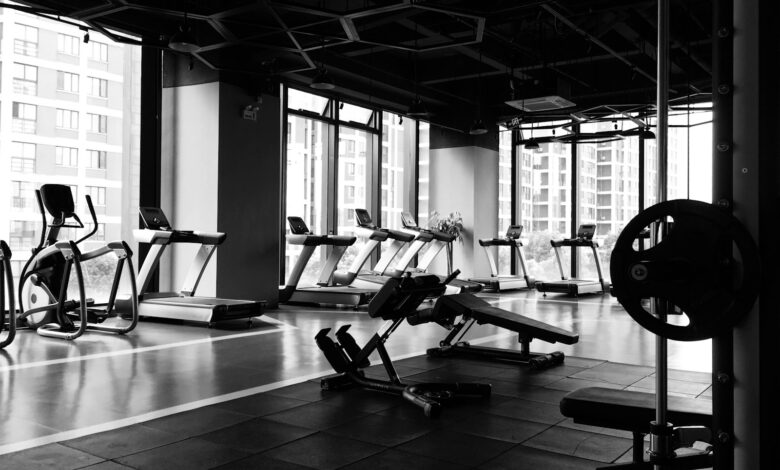
Most basements sit half-empty for years: boxes stacked in corners, a water heater in the back, and a gym membership getting charged every month. If you’ve been looking for home gym in basement ideas that actually work, you already know the space is there. The problem isn’t square footage. It’s knowing which decisions actually determine whether a basement gym gets used or quietly becomes another storage overflow zone.
At Aesthetic Nest Decor, the room-by-room design approach we apply to kitchens and bedrooms works just as well underground. A basement gym doesn’t need a contractor. It needs a plan: the right layout first, then flooring and environmental controls, then lighting, then the finishing layer that makes the space feel designed rather than thrown together. This guide covers all of it, in order.
Want the shortcut?
As an Amazon Associate I earn from qualifying purchases. Some links in this post are affiliate links, at no extra cost to you.
Top picks: ProsourceFit Puzzle Exercise Mat, FEIERDUN Adjustable Dumbbells and Portable Bluetooth Speaker.
Check price on Amazon →Home Gym in Basement Ideas: Layout and Ceiling Height
Before any equipment arrives, two numbers matter more than anything else: your ceiling clearance and your usable floor area. Most residential basements land between 7 and 9 feet of ceiling height, and that range shapes your entire equipment list. A 7-foot ceiling rules out a standard pull-up bar and makes standing overhead press uncomfortable for most lifters. Eight feet is the practical minimum for most setups. Nine feet or more opens up the full equipment menu, including rack-mounted pull-up stations and cable machines with high anchor points.
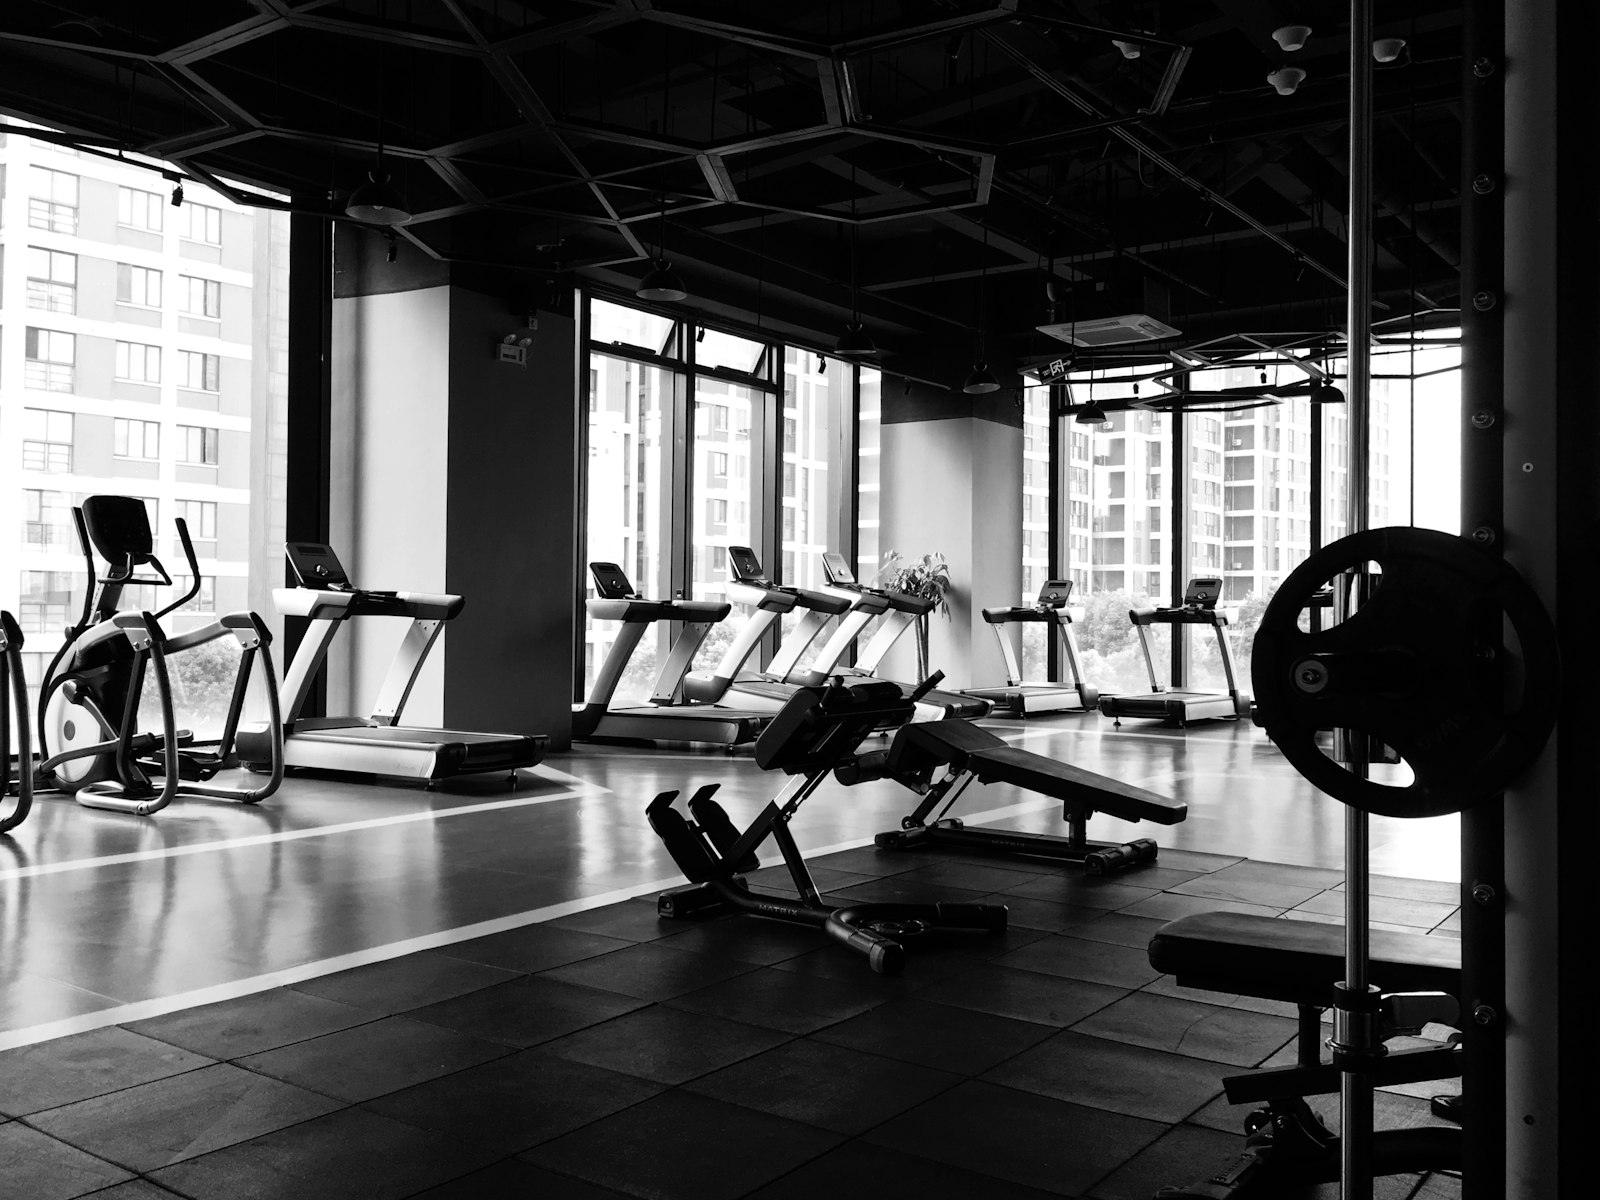
Always measure to the lowest obstruction, not the finished ceiling height. Ductwork, beams, and plumbing can reduce several inches of clearance you didn’t account for on paper, sometimes more, so verify every zone independently before committing to equipment.
How ceiling height shapes your equipment choices
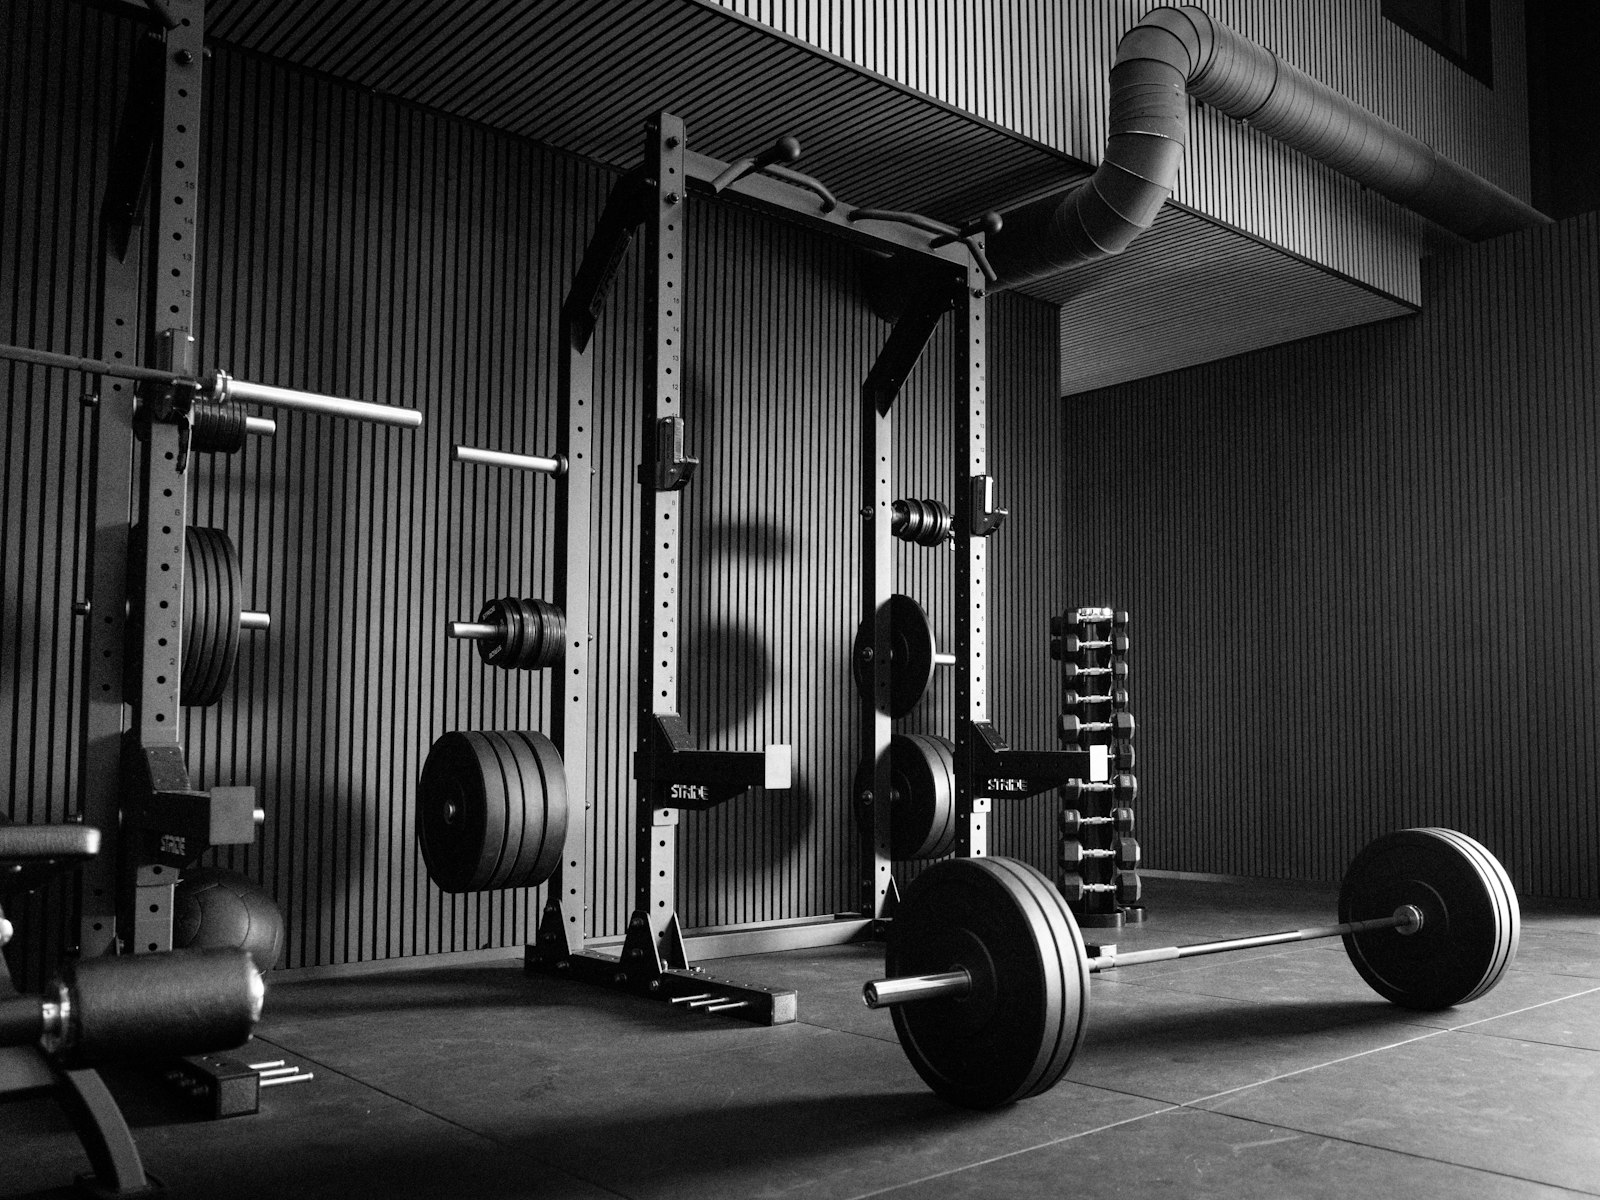
Seven feet of clearance means sticking to adjustable dumbbells, a folding bench, resistance bands, and a low-profile cardio machine like a rowing machine, these are approximate guidelines, so always verify the specific clearance requirements for any equipment you’re considering. At 8 feet, you can add a standard barbell setup, most compact power racks, and a wall-mounted pull-up bar for shorter users. Once you reach 9 feet and above, overhead pressing, kipping pull-ups, and full-size racks become genuinely comfortable to use. Height-specific racks designed for low basement ceilings run around 71 to 72 inches tall and are worth prioritizing if your clearance is tight.
Mapping your floor space before buying anything
A weights-only corner can function in roughly 100 square feet, while a mixed cardio and strength setup typically needs somewhere in the 150 to 200 square foot range depending on the equipment you choose and how much circulation space you want. A full open training layout with dedicated zones requires 200 square feet or more. Consider footprint specifics carefully: a power rack needs about an 8×8-foot working area, a treadmill requires a 4 to 6-foot rear safety zone behind the belt, and a flat bench with a barbell needs extra lateral clearance for the bar itself beyond the bench width. Draw it on paper first. Equipment is expensive to return and even more expensive to work around.
Layout options by basement size
Small basements work best as a weights-only corner or compact studio: one rack or dumbbell setup, a bench, and a mat zone. Medium basements support a two-zone split with a strength area on one side and a single cardio machine on the other. Large basements allow dedicated zones for strength, cardio, and open-floor conditioning work, with enough circulation space that the room never feels cluttered. For more ideas, see our guide to Garage Gym Design Ideas to Transform Your Space.
Home Gym in Basement Ideas: Flooring Options That Hold Up
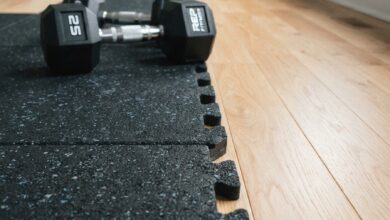
Flooring is the most consequential structural decision in the build. It has to handle moisture migrating up from the slab, impact from above during heavy lifting, and daily use without breaking down. Rubber flooring is the right default for most basement gyms because it covers all three requirements at a reasonable cost.

Why rubber flooring is the default for a basement gym
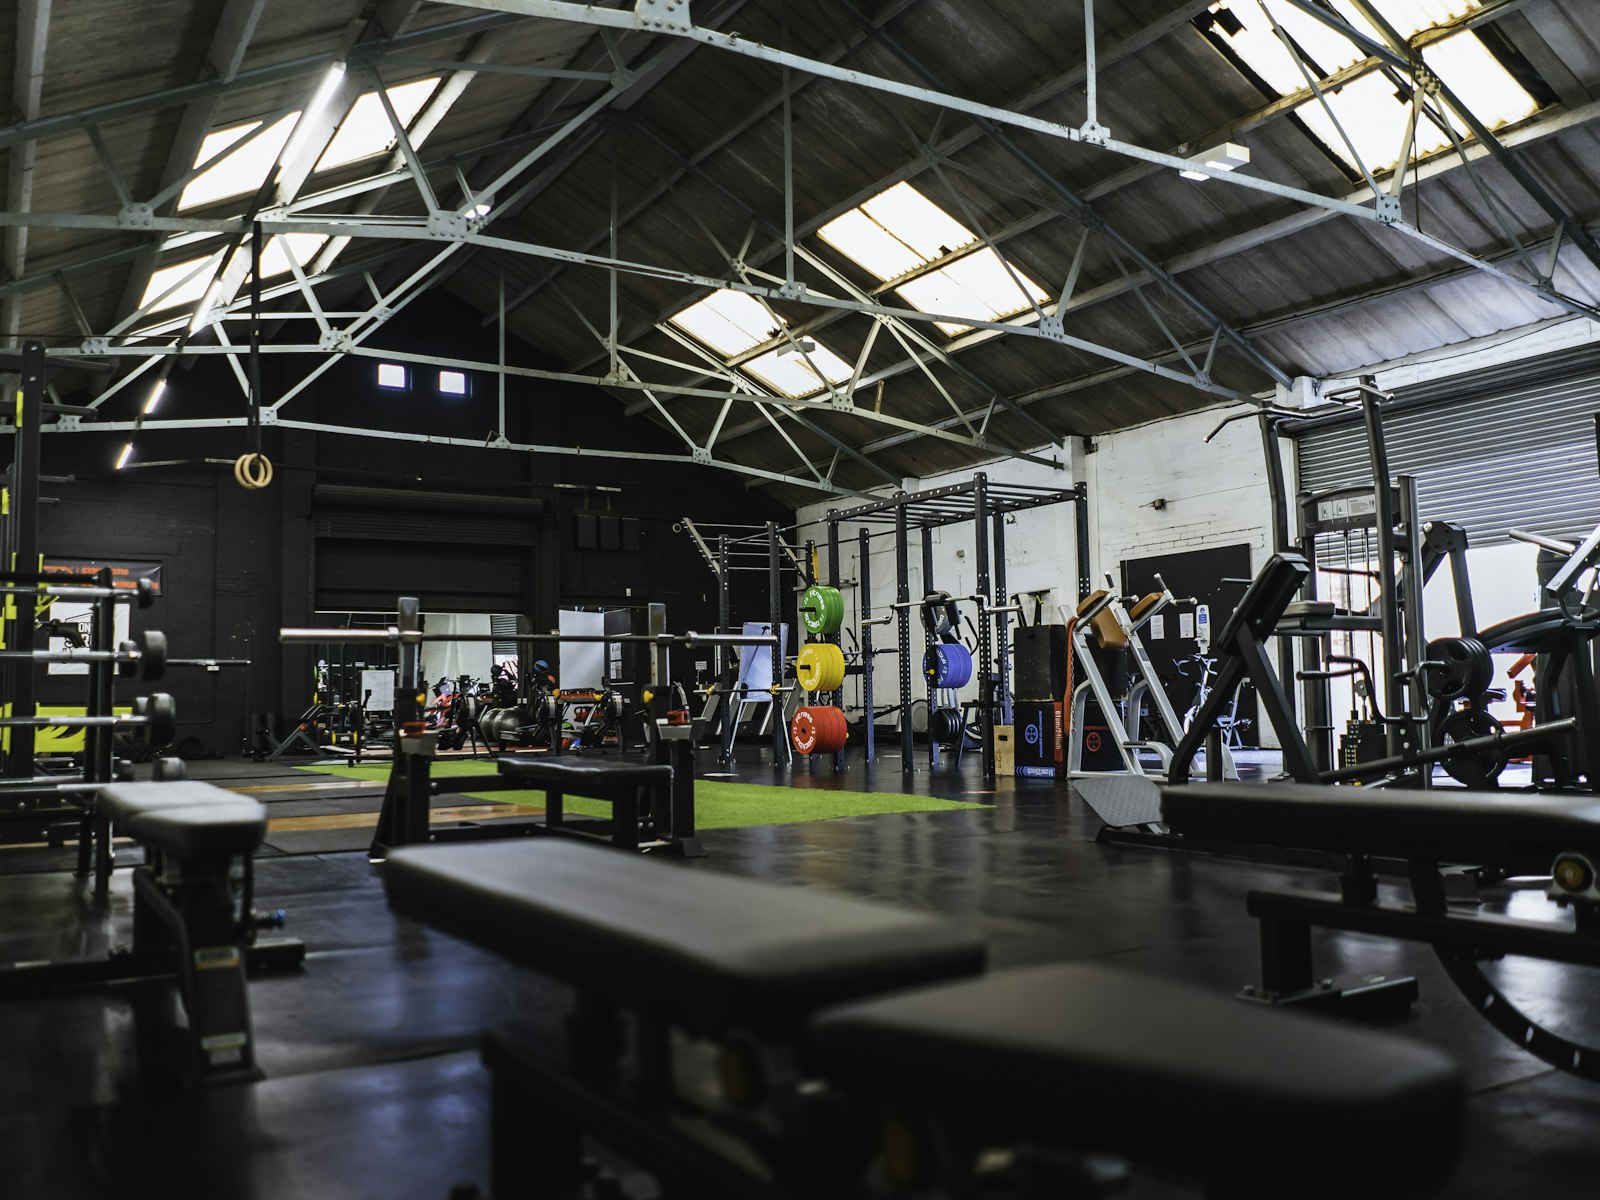
Rubber tiles, rolls, and stall mats all fall in the $1.50 to $8.00 per square foot range depending on thickness and format. Stall mats are the budget-first pick for a dedicated lifting zone: they run $1.50 to $3.00 per square foot, handle impact from dropped weights better than any other affordable option, and resist moisture without special treatment. The trade-offs are real, rubber is heavy to install, and new mats have an odor that takes a few weeks to off-gas. Neither is a dealbreaker, and both are manageable.
When epoxy or luxury vinyl makes more sense
Epoxy coating works well in damp basements where you need a seamless, waterproof surface and a cleaner finished look. It runs $3.00 to $8.00 per square foot in materials, requires careful slab prep, and creates a hard surface that benefits from rubber mats layered on top during workouts. Luxury vinyl plank (LVP) is the better choice if the basement gym shares space with a home office, playroom, or media area. It costs $3.00 to $11.00 per square foot, looks more like a finished room, and handles moisture well, but it doesn’t hold up to dropped weights the way rubber does.
What flooring costs actually look like for a typical gym zone
For a 150 to 200 square foot gym zone, rubber stall mats typically run $225 to $600 in materials. Rubber tiles or rolls in the mid-range land closer to $450 to $1,200. Epoxy for the same area runs $450 to $1,600. LVP falls between $450 and $2,200 depending on the product tier. Budget around $1,200 in materials for a rubber flooring installation in this size range. That’s a realistic starting number for planning purposes. We cover this in more detail in Home Gym Flooring: What Actually Protects Your Floor.
Lighting upgrades that change how the space feels
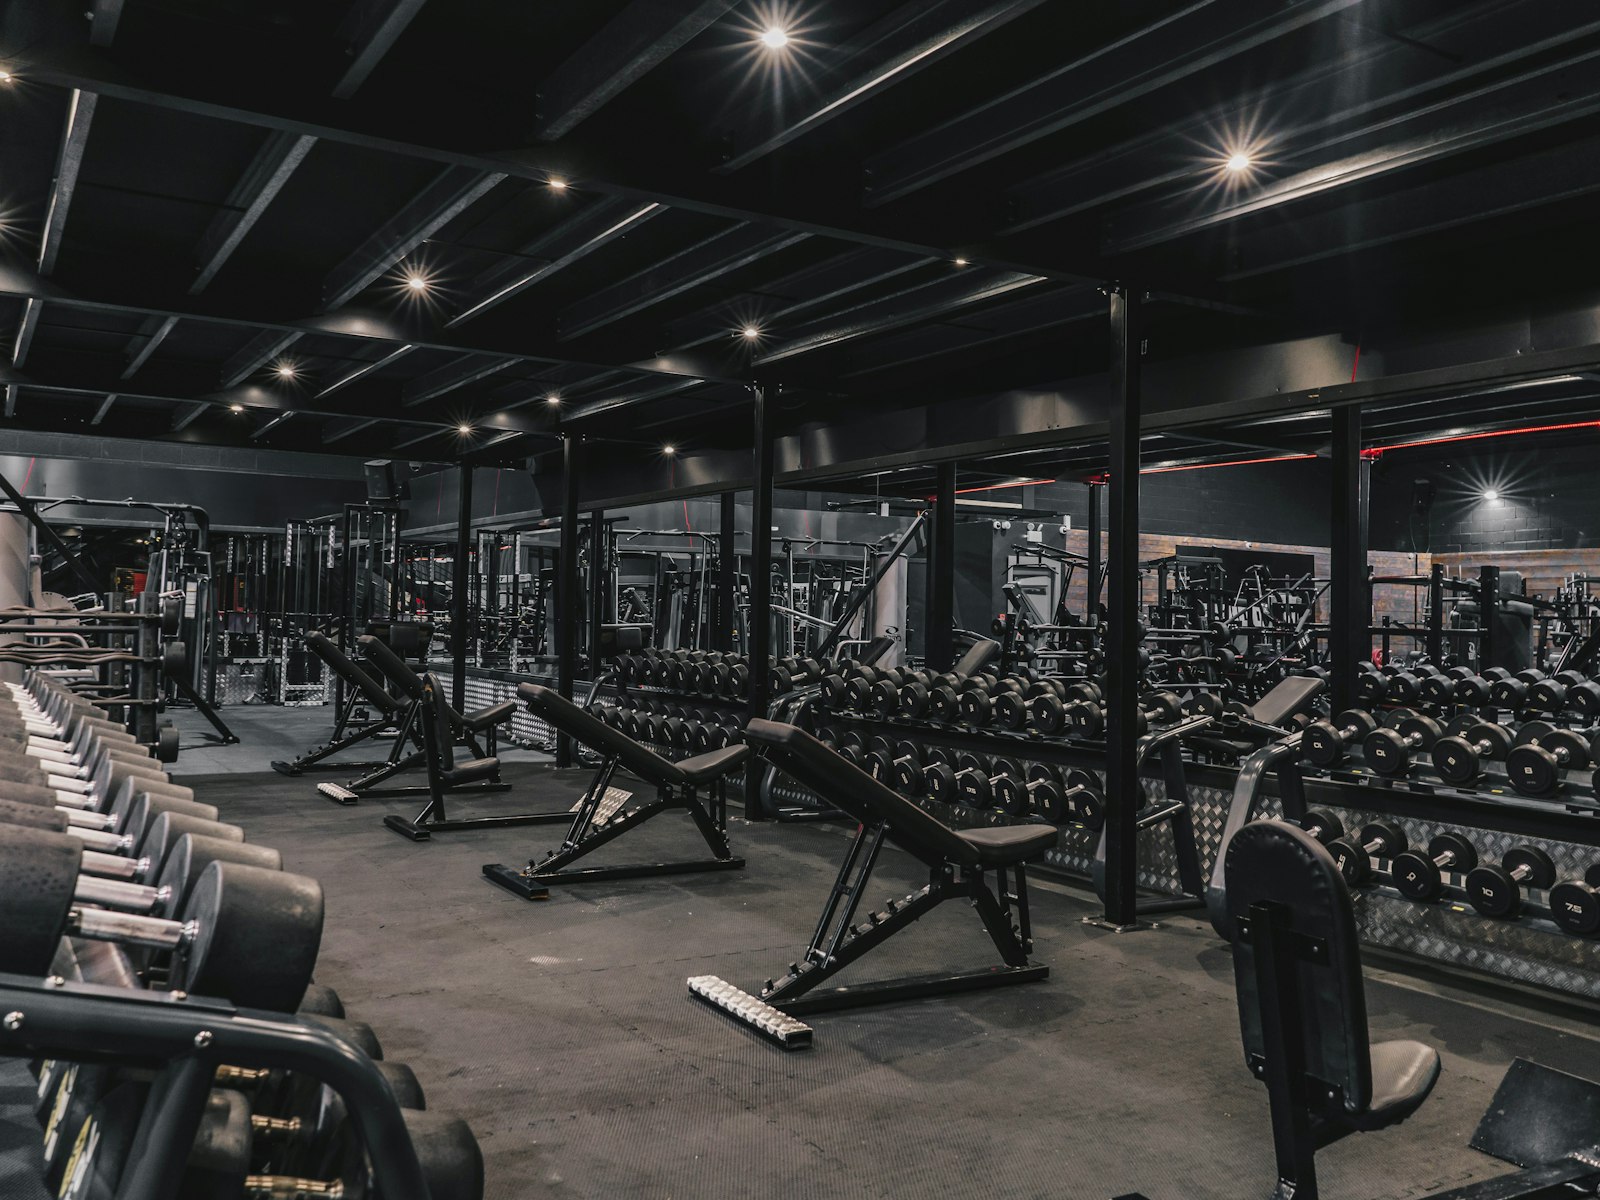
Poor lighting strongly reduces use and perceived comfort in a home gym. The typical setup, one exposed bulb or a row of outdated fixtures, creates a dim, shadowy space that feels like a storage room because it was designed as one. The upgrade path is straightforward and doesn’t require an electrician for most installations.
LED shop lights vs. recessed lighting for a gym
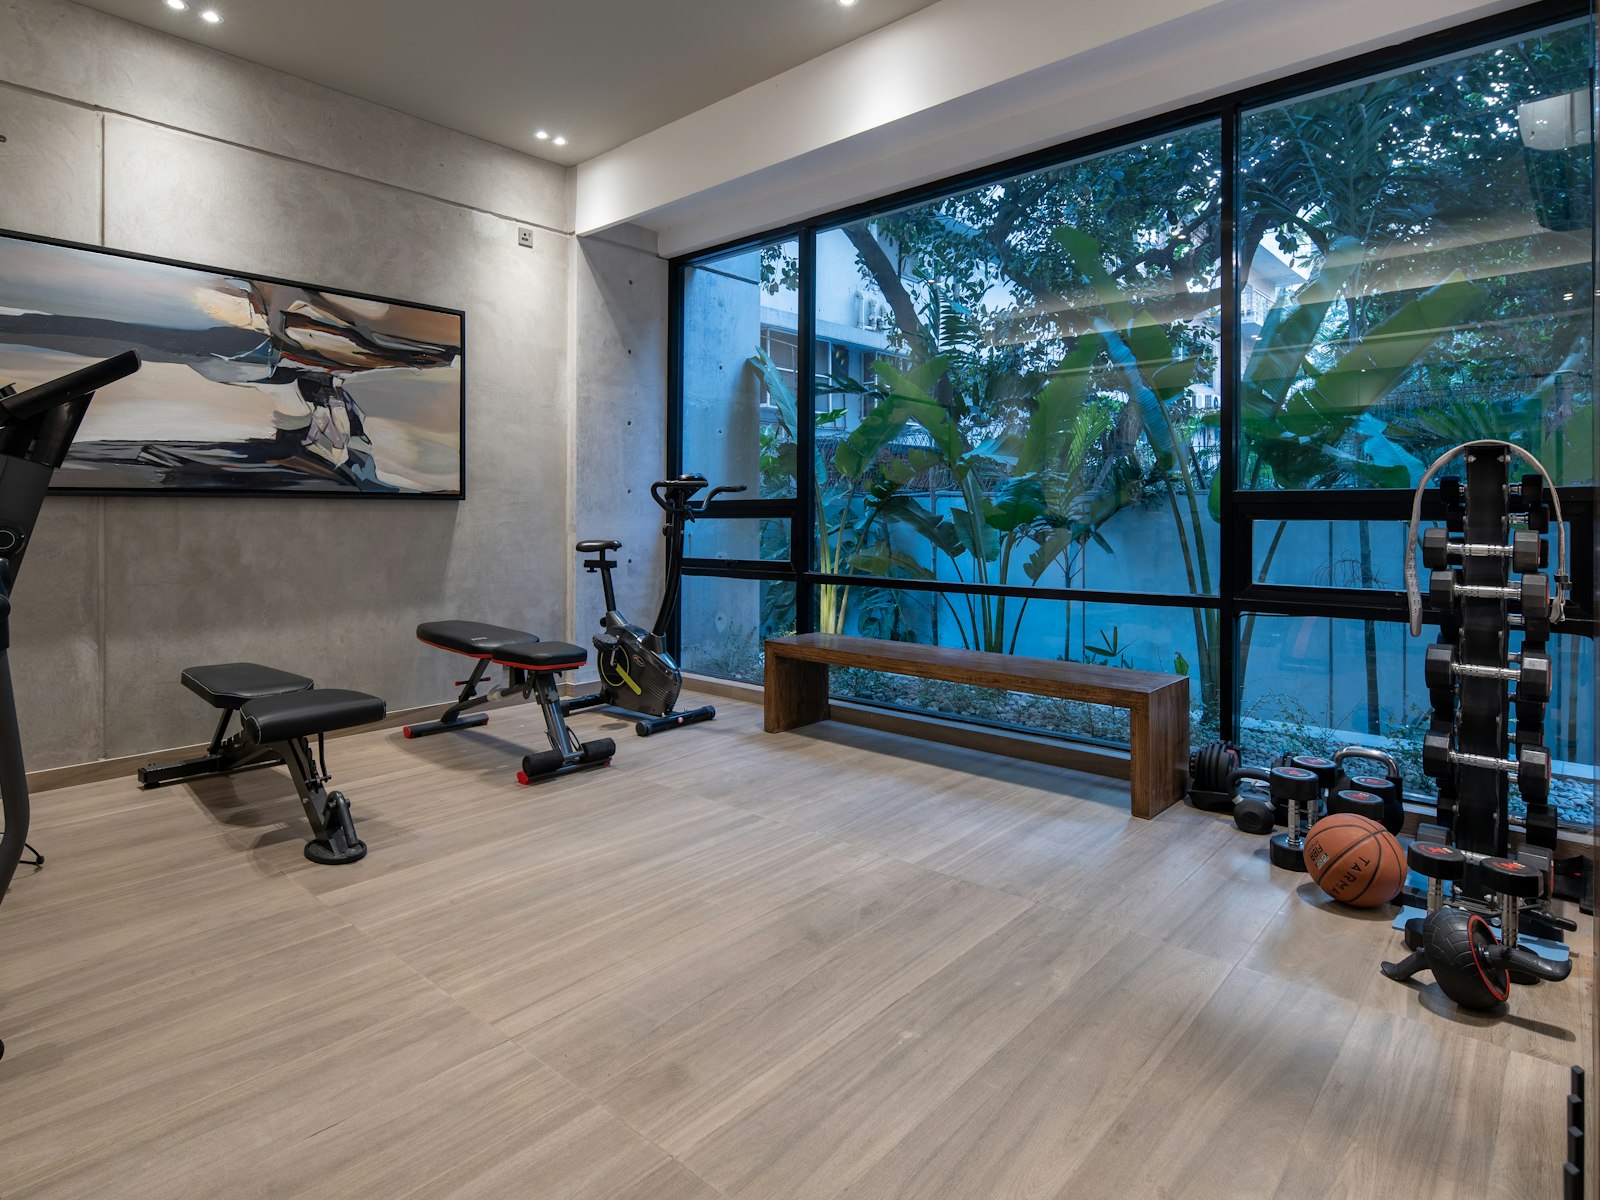
LED shop lights win for a basement gym conversion. They’re affordable, bright, and hang with basic hardware. A four-pack of 4,400-lumen linkable shop lights runs well under $200 and covers a 150 to 200 square foot space effectively. Recessed lighting is the better aesthetic choice if the basement is being fully finished to a higher standard, but the installation cost is significantly higher and the output per dollar is lower. For a gym that prioritizes function and budget, shop lights are the clear answer.
How many lights you actually need
For a 150 to 200 square foot space, three 4,000 to 5,000-lumen fixtures is the practical sweet spot for general training. If you want a brighter, high-energy environment closer to commercial gym lighting, four fixtures or two high-output 10,000-lumen models hit that level. The full lighting setup for a standard basement gym space runs around $200 in materials, making it one of the highest-return improvements in the entire project. A reader favorite for this is the Waykar 80-Pint Dehumidifier.
Placement strategy for an evenly lit space
Position lights over each workout zone rather than centering them in the room. A single centered fixture creates shadows at the edges, exactly where you’re likely to be lifting or doing floor work. Cooler, daylight-balanced color temperatures (commonly in the 5000K to 6500K range) are widely recommended for energizing workout environments. Add a portable task light near a mirror or equipment cluster if the overhead grid leaves any dead zones. Layered lighting always outperforms a single-source setup in a space this size. If you are shopping for this, the ProsourceFit Puzzle Exercise Mat is a well-reviewed option.
Shop the look: Flooring and setup
 ProsourceFit Puzzle Exercise MatProtects the basement floorCheck price on Amazon →
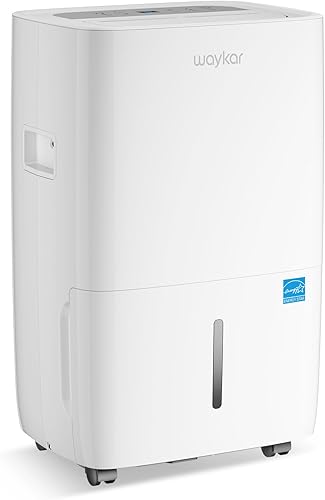 Waykar 80-Pint DehumidifierKeeps the space dryCheck price on Amazon →
 Home Gym Mirror TilesCheck form as you trainCheck price on Amazon →
 Aoretic LED Garage LightsBright light for a dark basementCheck price on Amazon →
As an Amazon Associate we earn from qualifying purchases. Prices and ratings change, so check Amazon for today’s details.
Ventilation and humidity control in a basement workout room
Moisture causes more gym failures than bad equipment choices. Without active humidity control, sweaty workouts accelerate mold growth, corrode equipment, and make the space genuinely unpleasant. The practical setup isn’t complicated, but it has to be in place before the first workout happens.
The dehumidifier baseline every basement gym needs
A 30-pint-per-day dehumidifier handles a 200 to 300 square foot basement gym with moderate humidity. That size provides enough margin for workout moisture on top of baseline basement conditions. Set the target relative humidity at 40 to 50 percent and keep it below 55 percent consistently. A continuous drain setup, where the unit empties into a floor drain via a hose, is a must-have feature. Manual emptying means the dehumidifier goes ignored during busy weeks, which defeats the purpose entirely. Budget around $250 for a quality unit in this capacity range.
Airflow setup during workouts
A high-velocity floor fan paired with an exterior-vented exhaust fan is the most effective active ventilation setup for a basement gym. Place fans at opposite ends of the room to create circular airflow across the full space rather than just one zone. Worth knowing: opening a window in humid summer weather can actually increase basement humidity by pulling in warm, moisture-heavy exterior air. Use mechanical exhaust instead of relying on windows as your primary ventilation strategy during warmer months. You might also like Budget Home Gym: Build Your Full Setup for Under $500.
Sealing moisture before the equipment arrives
If the basement has persistent dampness, wall seepage, or active foundation cracks, fix those first. A dehumidifier running on top of an active moisture intrusion problem is fighting a losing battle and running up your electric bill in the process. Check grading around the foundation, inspect gutters and downspouts, seal concrete cracks, and install a vapor barrier where appropriate. Fix the source, then layer in the ventilation equipment.
Shop the look: Equipment
 FEIERDUN Adjustable DumbbellsA whole rack in two dumbbellsCheck price on Amazon →
 MAJOR FITNESS F22 Power RackSafe heavy lifting at homeCheck price on Amazon →
 FLYBIRD Adjustable Weight BenchIncline, flat and declineCheck price on Amazon →
 Fit Simplify Resistance BandsCompact and versatileCheck price on Amazon →
As an Amazon Associate we earn from qualifying purchases. Prices and ratings change, so check Amazon for today’s details.
Wall decor and the styling principles that make a basement gym feel intentional
Most basement gym guides stop at rubber flooring and a dehumidifier. The finishing layer is what separates a space people actually use from one they avoid. A gym that feels purposeful and visually considered keeps people coming back. This is where the design side of the build earns its place in the project.
At Aesthetic Nest Decor, the approach is consistent whether the room has a kitchen island or a squat rack: function-first, with deliberate visual choices layered on top. The same room-by-room styling logic that makes a living room feel cohesive works underground too. Great gym design doesn’t require a contractor or a design degree. It requires the right principles applied in the right order. If you want to go further, read Small home gym setup done right: gear, layout, and decor.
What actually goes on a basement gym wall
Motivational prints, branded panels, and chalkboard paint for goal-tracking all work well. Acoustic panels do double duty: they reduce echo and add visual texture to an otherwise bare concrete or drywall wall. What to avoid is a cluttered gallery wall that competes visually with the workout zone. The walls should support the energy of the space, not distract from it. Keep the decor intentional and minimal rather than decorative for its own sake.
Mirrors: placement, sizing, and how to hang them without a professional
One or two large mirrors over the main lifting area reflect light, make the space feel significantly larger, and serve a real functional purpose during training. For installation on concrete block or CMU walls, use a hammer drill and masonry anchors or Tapcon-style concrete screws. A bottom J-channel carries the weight while you set the mirror, and a top J-channel or spring clips prevent forward tipping. Never rely on adhesive alone for a large mirror. Use adhesive as a supplement to mechanical support, not as a replacement for it. Budget around $400 for gym-grade mirrors for a standard setup.
Paint color and surface choices that energize the space
Dark accent walls work well in basements with strong overhead lighting: they anchor the space visually and create a focused, high-energy atmosphere. Light neutrals make small spaces feel larger but need enough light output to avoid feeling washed out. Avoid flat white across all four walls, it reads clinical rather than motivating and makes the space feel closer to a hospital corridor than a gym. One dark wall behind the main lifting zone, paired with lighter neutrals on the remaining walls, is a reliable formula for a basement gym that feels designed.
Equipment, storage, and a realistic budget for your basement gym
The gear list and the budget are where most people either overcommit upfront or underestimate what a functional setup actually requires. These home gym in basement ideas only pay off if the equipment matches the floor plan you actually have, not the floor plan you wish you had. Related: Home Gym Decor Ideas: How to Design a Workout Space You’ll Love.
Choosing equipment that fits the actual floor plan
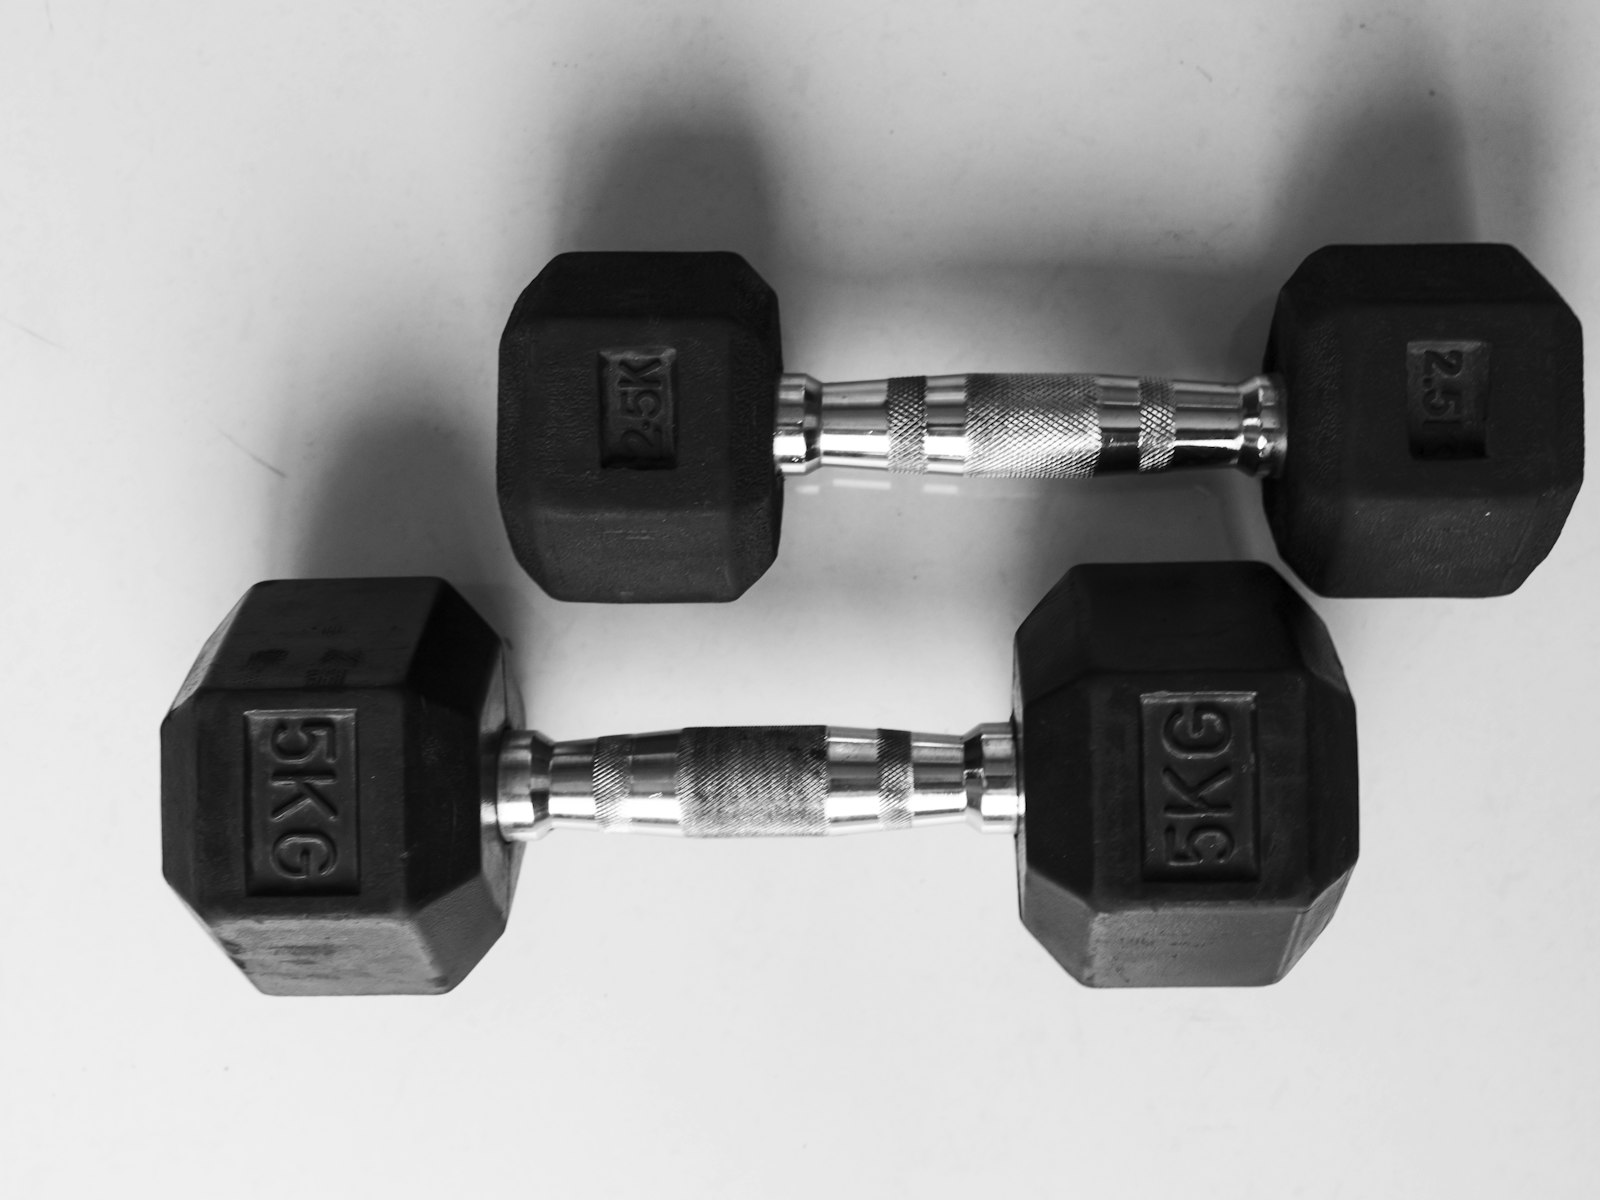
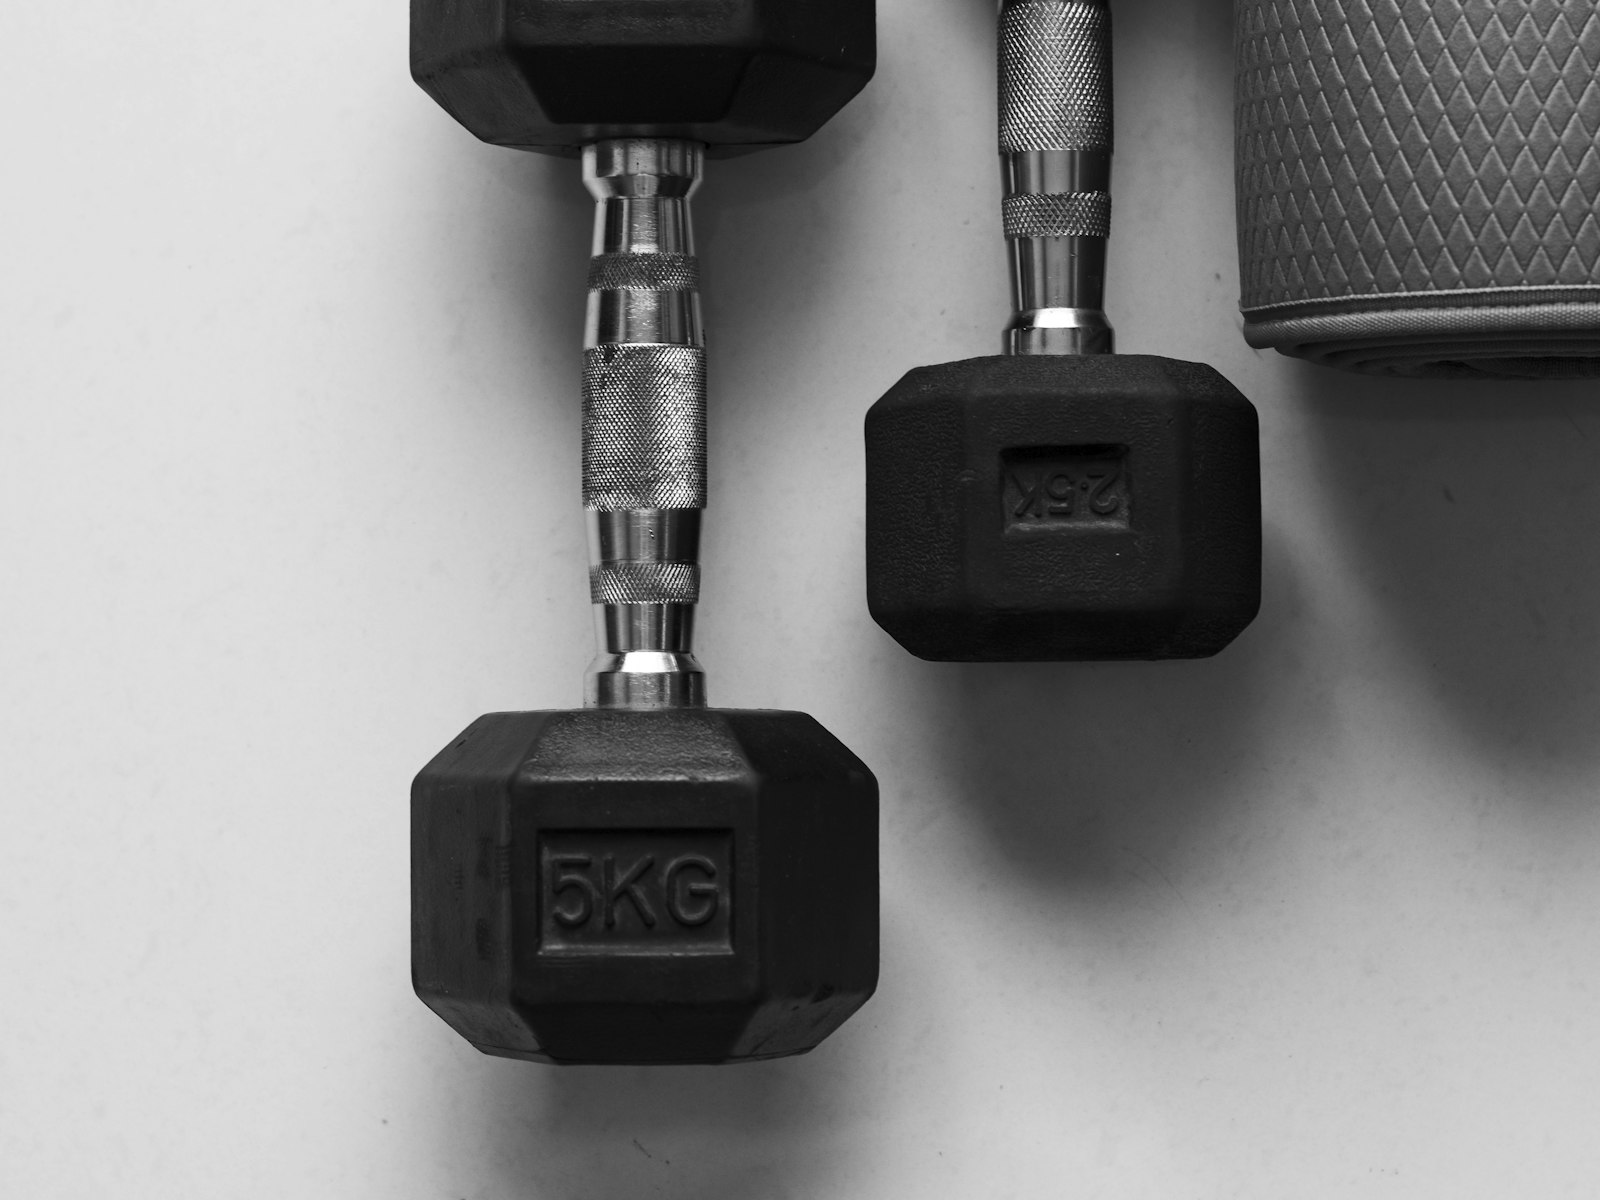
For small basement gyms under 150 square feet with limited ceiling height, the most space-efficient combination is adjustable dumbbells (replacing an entire rack in 2 to 4 square feet), a folding bench, resistance bands with a door anchor, and a wall-mounted pull-up bar. If cardio is a priority, a compact rower stores vertically and fits in spaces where a treadmill’s rear safety zone alone would eat the room. If barbell training is non-negotiable, choose a short folding rack designed specifically for low ceilings rather than a full-size power cage.
Storage solutions that keep the floor clear
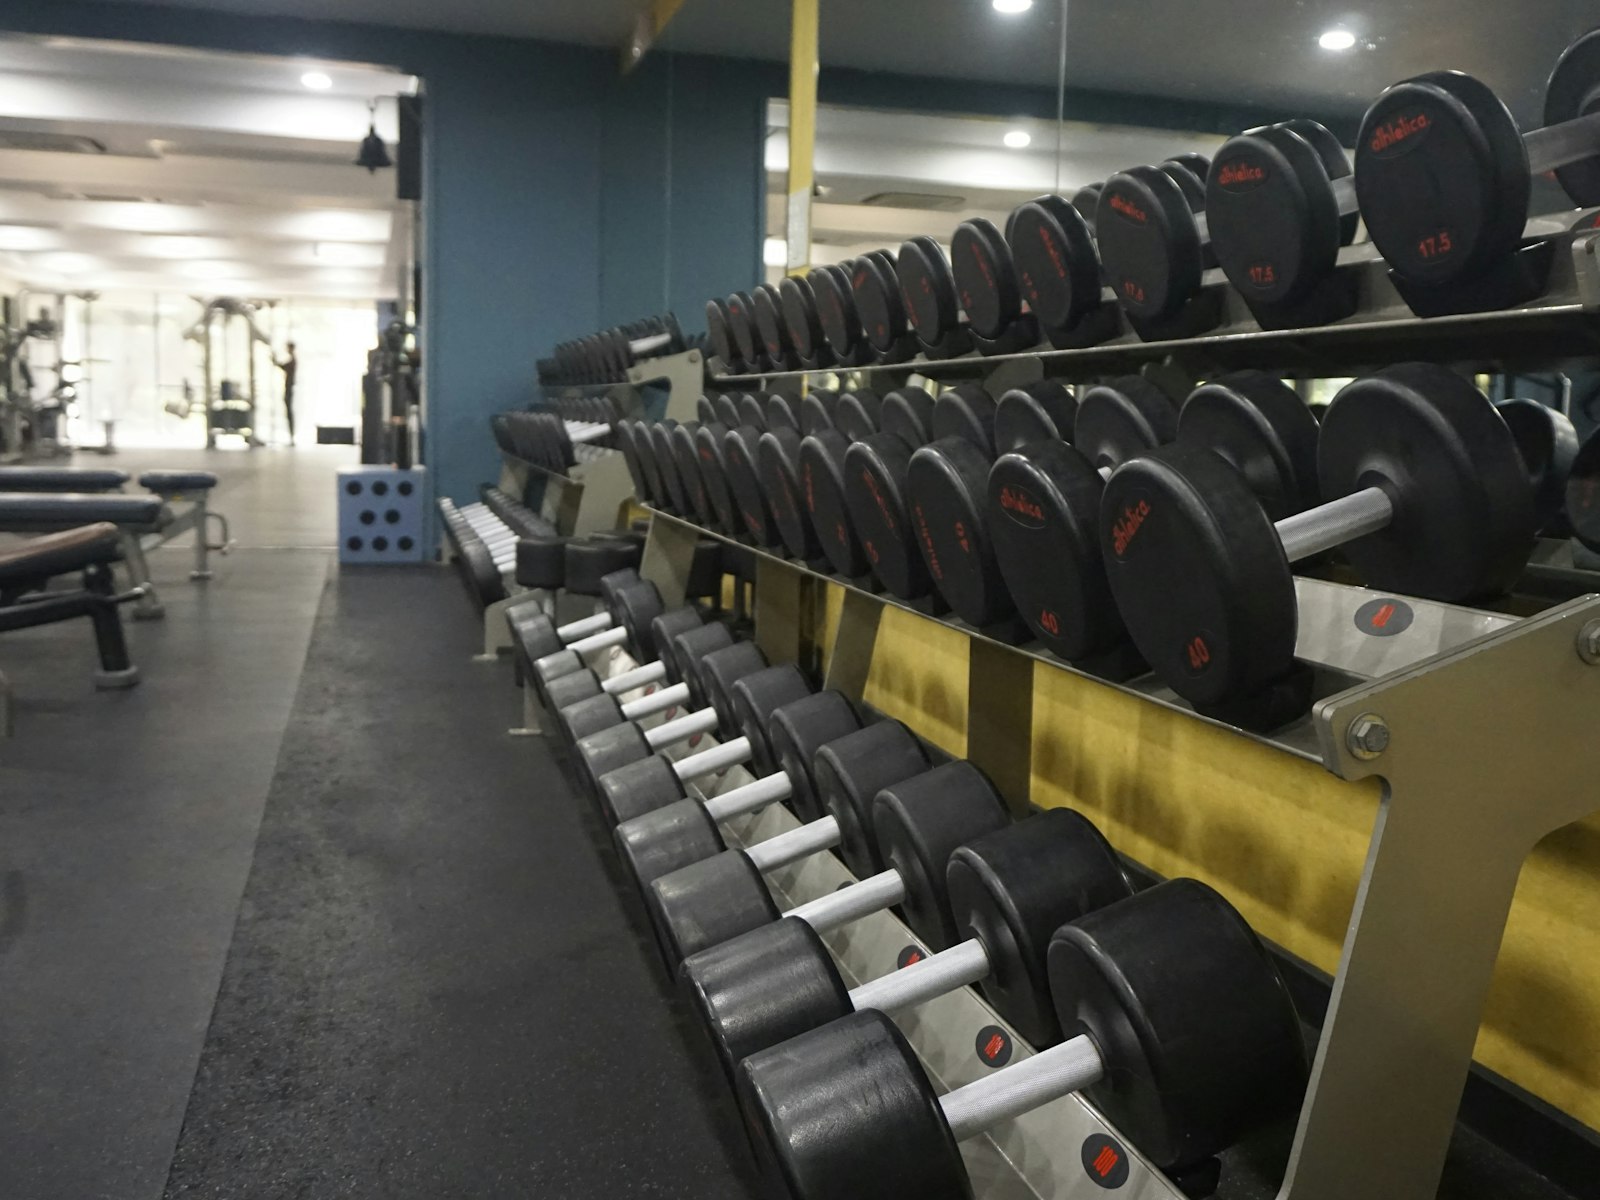
Wall-mounted plate storage, dumbbell brackets, and vertical bar holders keep the lifting area open and prevent the gym from feeling cluttered within a few months of use. Resistance band hooks mounted near the door take up zero floor space. A dumbbell tree works for adjustable sets but takes up more floor area than wall brackets for fixed dumbbells. The goal is a clear floor zone for movement work: the more wall-mounted storage, the more functional the training area stays over time.
Budget tiers from bare-bones to fully finished
Three realistic budget tiers cover most basement gym conversions. A bare-bones setup with basic flooring, a few key equipment pieces, and minimal prep runs $1,000 to $5,000. A functional build that includes rubber flooring, LED lighting, a dehumidifier, an exhaust fan, mirrors, and mid-range equipment lands at $5,000 to $15,000. A full build-out with framing, drywall, HVAC upgrades, electrical work, and premium equipment pushes to $15,000 to $40,000 and above. To make this step easy, we like the Hurricane Wall Mount Fan.
For a 150 to 200 square foot mid-range build, a sample materials breakdown looks like this:
- Rubber flooring: approximately $1,200
- LED shop lights: approximately $200
- Dehumidifier: approximately $250
- Exhaust fan: approximately $200 to $500 depending on unit and installation
- Gym-grade mirrors: approximately $400
- Equipment: variable based on your training style and the layout zones established in section one
Electrical upgrades for additional circuits or dedicated outlets add roughly $400 if needed. Check local permit requirements before starting any framing, electrical, or HVAC work. Many jurisdictions require permits for habitable basement spaces, and skipping that step can create issues when you sell the home. A reader favorite for this is the Portable Bluetooth Speaker.
Shop the look: Comfort and extras
 Portable Bluetooth SpeakerMusic for every workoutCheck price on Amazon →
 Hurricane Wall Mount FanAir flow without floor spaceCheck price on Amazon →
 Home Gym Storage RackKeeps gear organizedCheck price on Amazon →
 Gaiam Thick Yoga MatFor stretching and floor workCheck price on Amazon →
As an Amazon Associate we earn from qualifying purchases. Prices and ratings change, so check Amazon for today’s details.
Shopping list
- ProsourceFit Puzzle Exercise Mat — protects the basement floor
- Waykar 80-Pint Dehumidifier — keeps the space dry
- Home Gym Mirror Tiles — check form as you train
- Aoretic LED Garage Lights — bright light for a dark basement
- FEIERDUN Adjustable Dumbbells — a whole rack in two dumbbells
- MAJOR FITNESS F22 Power Rack — safe heavy lifting at home
- FLYBIRD Adjustable Weight Bench — incline, flat and decline
- Fit Simplify Resistance Bands — compact and versatile
- Portable Bluetooth Speaker — music for every workout
- Hurricane Wall Mount Fan — air flow without floor space
- Home Gym Storage Rack — keeps gear organized
- Gaiam Thick Yoga Mat — for stretching and floor work
Prices and availability change. Links open on Amazon.
Keep reading: Garage Gym Design Ideas to Transform Your Space · Home Gym Flooring: What Actually Protects Your Floor · Budget Home Gym: Build Your Full Setup for Under $500 · Small home gym setup done right: gear, layout, and decor · Home Gym Decor Ideas: How to Design a Workout Space You’ll Love
Helpful resources: the EPA radon testing guide, Mayo Clinic on strength training, the ENERGY STAR light bulb guide.
Frequently Asked Questions
How do I prepare a basement for a home gym?
Control moisture with a dehumidifier, test for radon, lay rubber flooring and add bright lighting before buying equipment.
What flooring is best for a basement gym?
Interlocking rubber mats protect the concrete, absorb impact and are easy to replace.
What equipment do I need for a basement gym?
Start with adjustable dumbbells, a bench and resistance bands, then add a power rack if you have the ceiling height.
The right order makes all the difference
A basement gym conversion doesn’t require a general contractor, an unlimited budget, or a perfectly finished space to get started. It requires the right decisions made in the right sequence. Start with ceiling height and layout, those two factors determine every equipment choice that follows. Then solve for flooring and moisture control. Then lighting. Then the finishing layer that makes the space feel designed rather than assembled from random purchases.
Basement gym design follows the same principles we apply to every room at Aesthetic Nest Decor: function-first, with thoughtful visual choices layered on top. A workout space that’s practical and visually intentional is one that actually gets used. That’s the goal for any room in the house, whether it has a window or not.
Use these home gym in basement ideas to map your layout, lock in your flooring and ventilation plan, and build from there. When you’re ready to take on the next space, browse the Aesthetic Nest Decor archives for guides covering everything from small-space solutions to budget-conscious styling ideas across every room in the house.
Save This for Later
Pin this image to your Pinterest board so it is ready when you need it.