
Many coffee stations for home start by accident. The machine ends up wedged between the toaster and the microwave, a canister of beans gets shoved to the back of the counter, and the whole situation looks more like a storage problem than a design choice. That’s the starting mistake, and it’s an easy one to fix. A well-planned home coffee station adds both function and personality to your kitchen, whether you’re working with 24 inches of borrowed counter space or a full dedicated wall.
At Aesthetic Nest Decor, we treat kitchen corners like this as genuine design opportunities, and the coffee nook is one of the most rewarding ones to get right. For most coffee drinkers, it’s the first thing they interact with in the morning, and in open-plan kitchens it stays visible throughout the day. That combination makes it worth doing well. This guide covers layout planning, gear selection by brew method, smart storage picks, honest budget tiers, a step-by-step installation checklist, and styling tips that pull the whole thing together.
Want the shortcut?
As an Amazon Associate I earn from qualifying purchases. Some links in this post are affiliate links, at no extra cost to you.
Top picks: Breville Barista Express, Mind Reader Condiment Station and Giikin Countertop Shelf.
Check price on Amazon →Choosing the right layout for your home coffee station
Layout is the first decision, not an afterthought. Before you buy a single piece of furniture or equipment, you need to know what kind of footprint you’re working with and which configuration makes sense for your space. Getting this right upfront prevents the most common coffee station problem: buying something that doesn’t fit or doesn’t work with the kitchen’s flow.
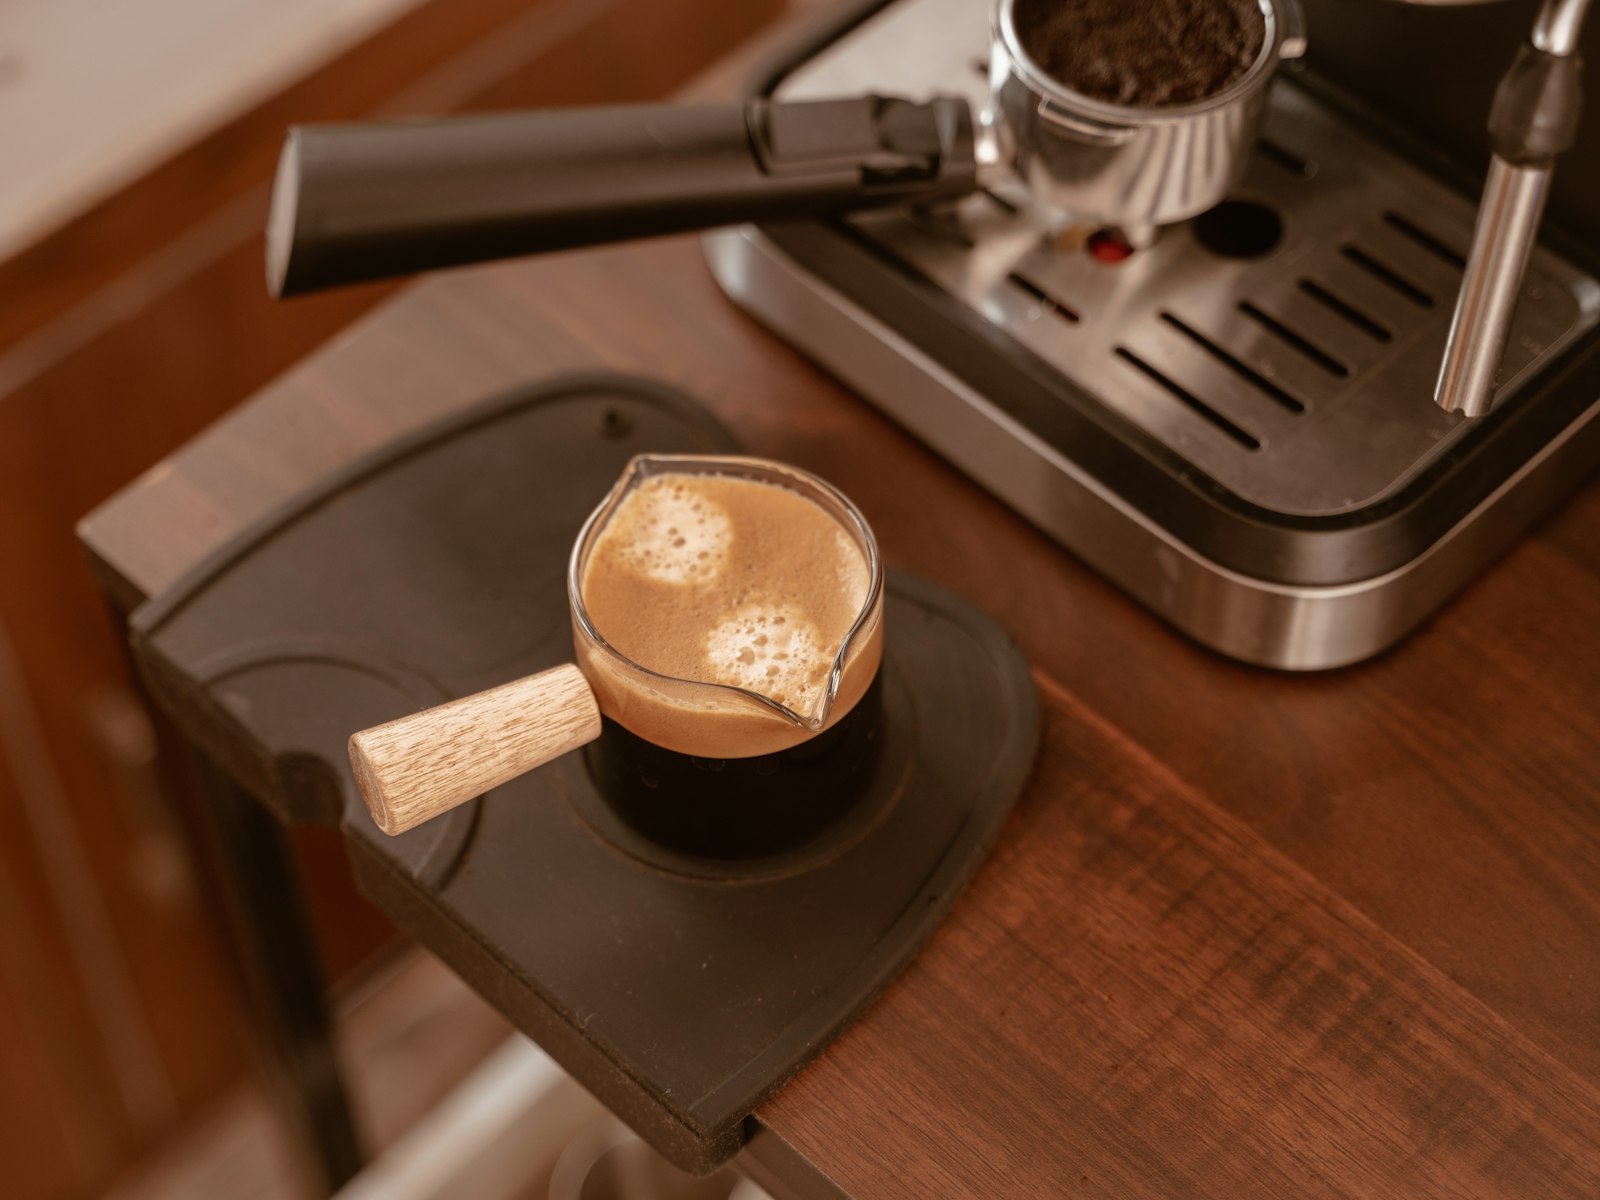
What footprint does your setup actually need?
The rule here is simple: measure before you buy anything. A minimal drip or pour-over station needs 24 to 30 inches of linear counter space. An espresso machine plus a dedicated grinder requires 36 to 48 inches to function comfortably. Counter depth should be at least 18 to 24 inches so machines sit flush with enough clearance to remove the portafilter or access the carafe without knocking anything over. Proximity to an outlet and a water source is the other non-negotiable. Placing the station near both keeps cord runs short and eliminates the need for extension cables running across the counter. For more ideas, see our guide to DIY Countertop Coffee Bar Ideas for a Stylish Kitchen.
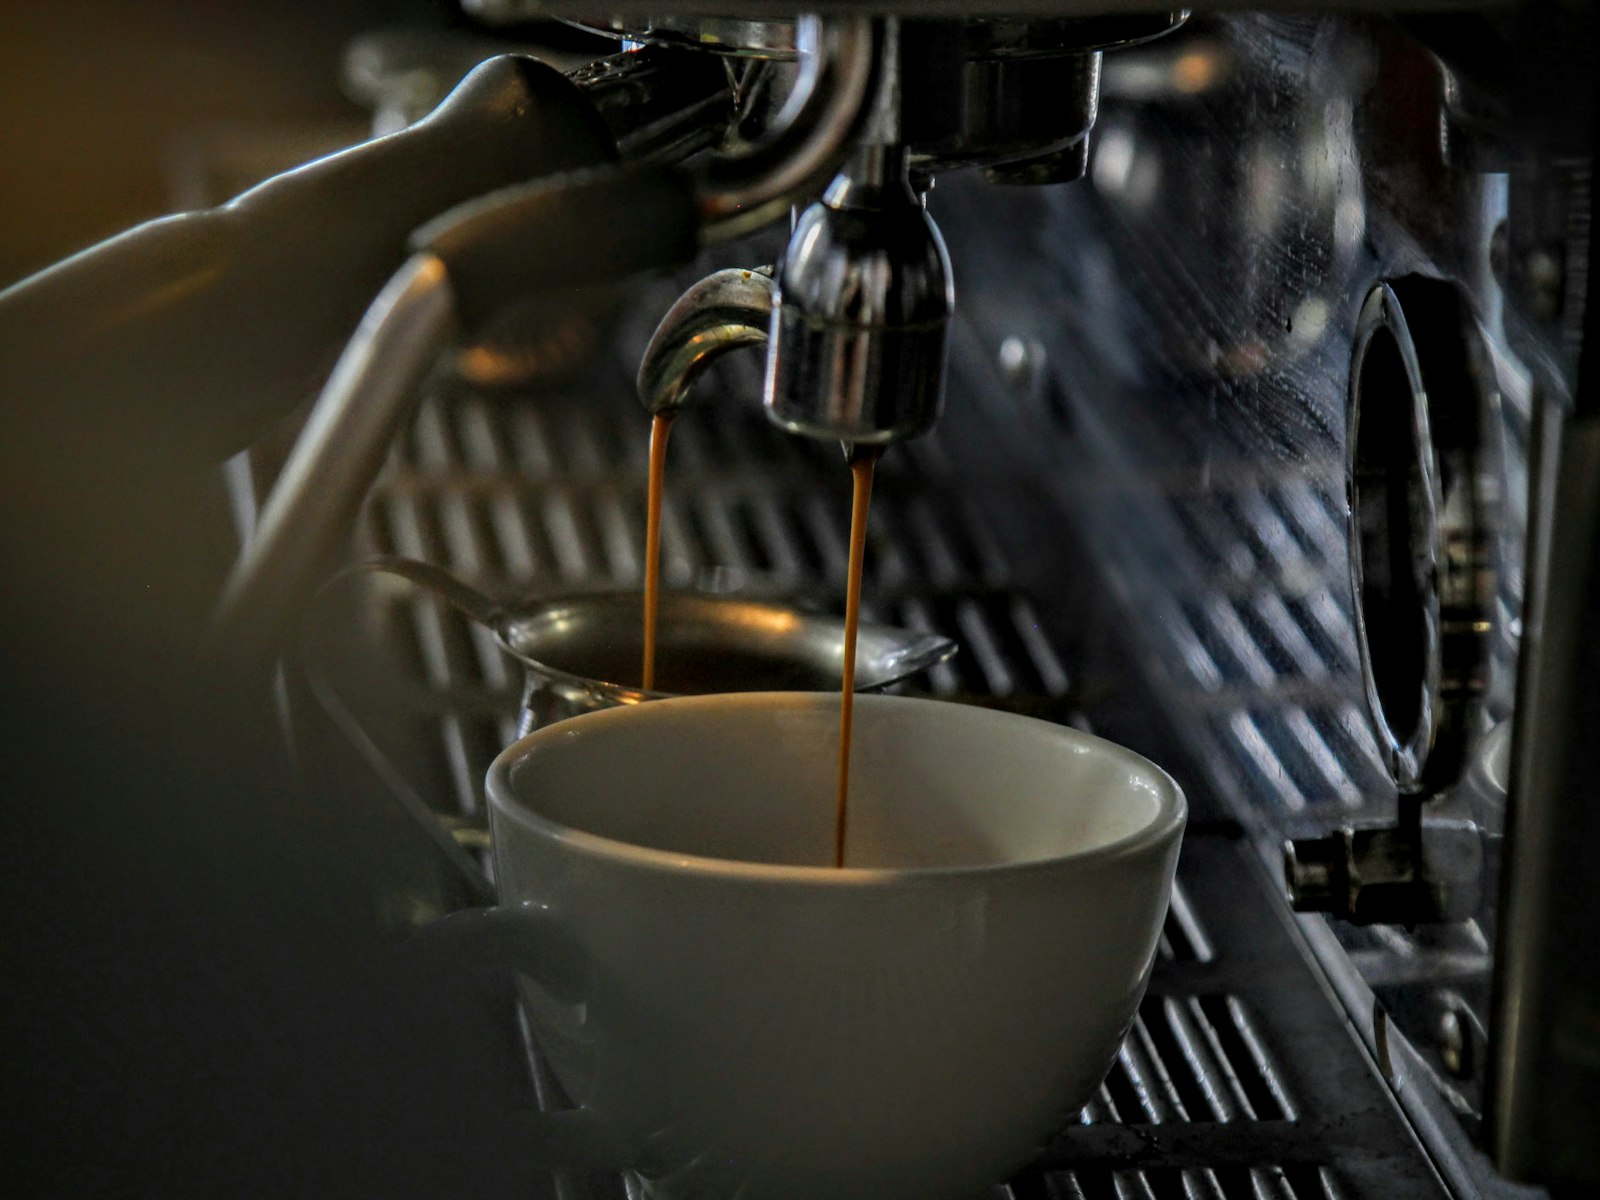
Straight-line, corner, cart, and wall-mounted options compared
Each layout type solves a different problem. A straight-line counter setup works best in tight kitchens where you need a clean, minimal workflow: beans, grinder, brewer, and cups in one uninterrupted line. Corner configurations make good use of otherwise awkward dead space and pair especially well with open shelving above. Rolling carts are the right call for renters, apartment dwellers, or anyone who needs flexibility, since they can move and reconfigure without any commitment. Wall-mounted or vertical shelf arrangements free up the counter surface entirely, which is the smartest move when square footage is genuinely limited. For open-plan kitchens, a corner or straight-line kitchen coffee station tends to look most intentional from the adjacent living area.
Matching your gear to your brew method
Most setup guides list every piece of coffee equipment ever made, which is overwhelming and leads to over-buying. The better approach is to match your gear to how you actually brew coffee. The essential list is much shorter than most people expect, and it differs significantly by method.
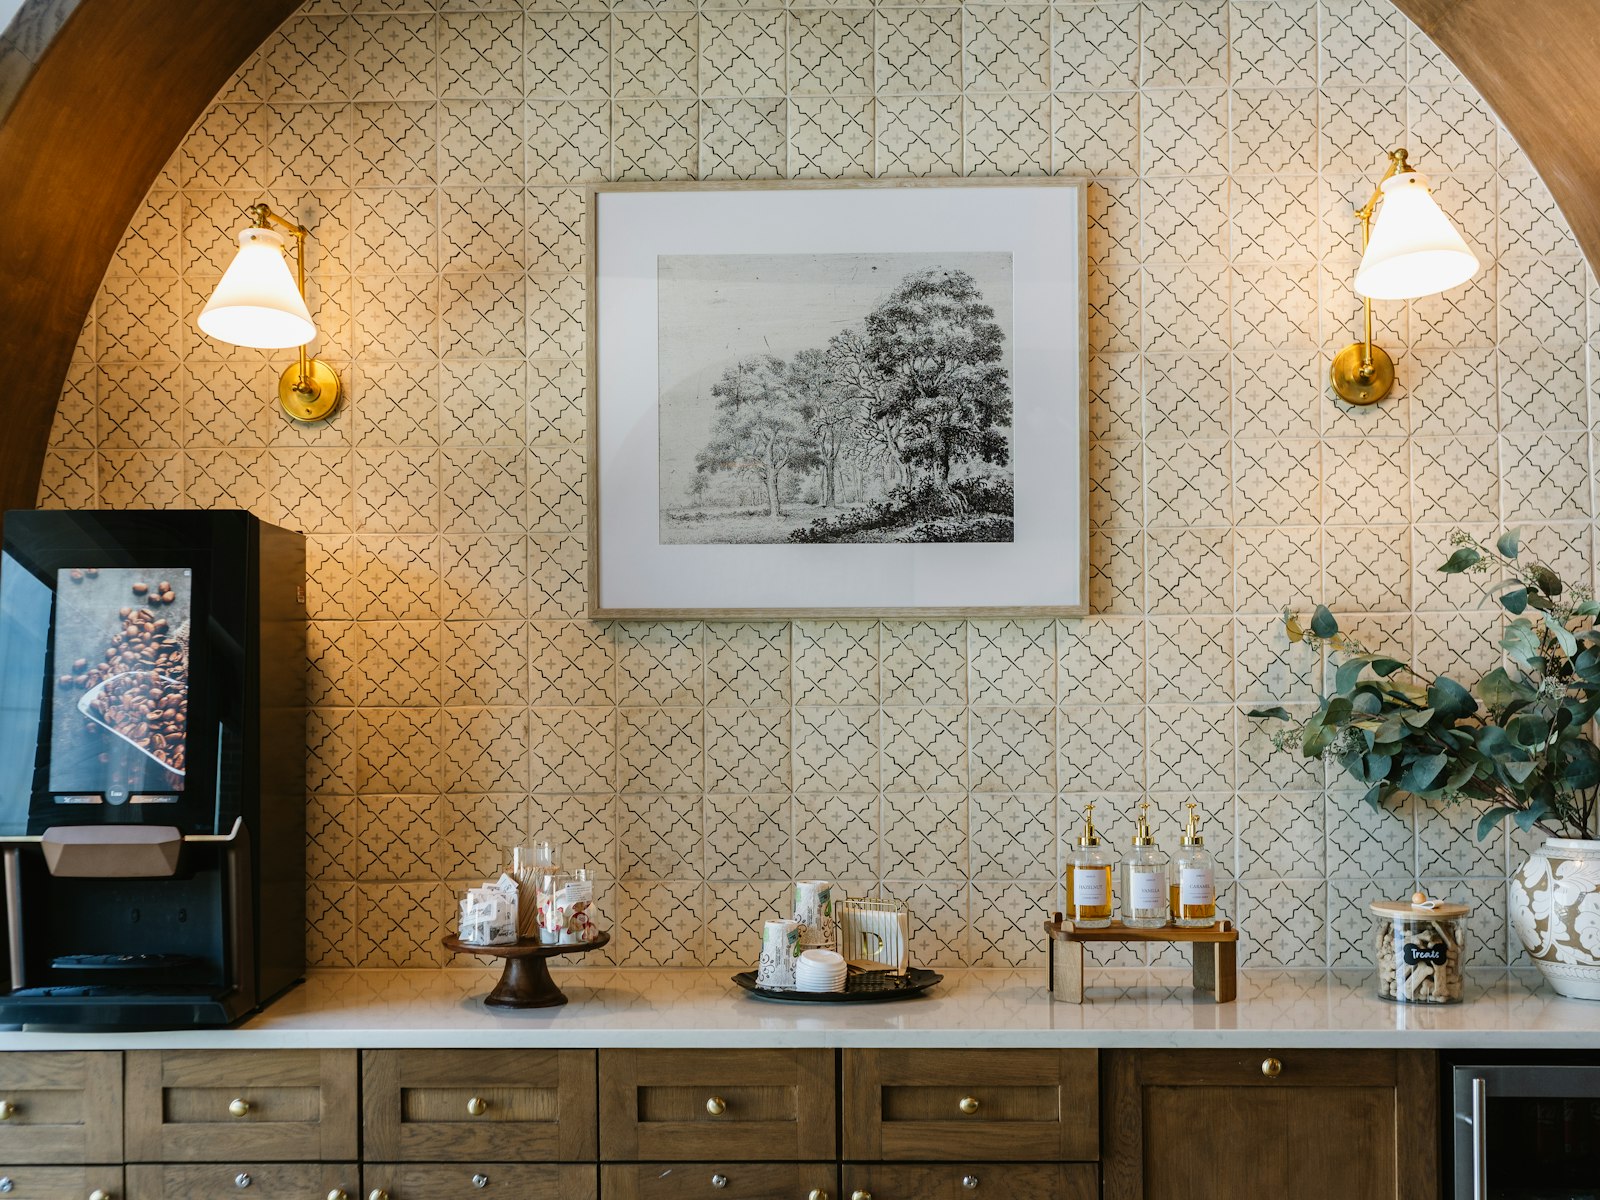
Drip and pour-over station essentials
A drip or pour-over station needs five things: a dripper or drip brewer, paper filters matched to your brewer, a burr grinder, a gooseneck kettle, and a scale. The scale is worth calling out specifically because it’s the item people most often skip, and it’s actually the one that makes the biggest difference. Consistent coffee comes from consistent ratios, not eyeballing a scoop. A carafe or server rounds out the setup if you’re brewing for more than one cup at a time.

Espresso bar must-haves vs. nice-to-haves
An espresso setup has a shorter non-negotiable list but a longer upgrade path. The essentials are an espresso machine with proper pressure and temperature control, a dedicated espresso-capable grinder, a tamper, and a precision scale. Start with those four and add from there. Useful upgrades include a knock box for spent pucks, a WDT distribution tool, a dosing cup, and a milk pitcher if you’re making lattes or cappuccinos. The “start here, add later” approach keeps the upfront cost reasonable and lets you figure out what your actual workflow needs before spending on extras. We cover this in more detail in Kitchen coffee nook ideas: layout, storage, and style.
Why pod setups need almost nothing extra
Pod machines are the lowest-barrier entry point, and that simplicity is a feature, not a compromise. The machine plus compatible capsules covers most basic needs. No grinder required, no scale, no kettle. This is worth saying clearly because pod station owners often over-buy accessories they don’t use. Keep it simple: the machine, the pods, and a mug rack or small organizer for storage.
Storage solutions for your home coffee station
Good coffee station storage does two things: it keeps everything accessible during your morning routine and it keeps the counter from looking chaotic. The right storage category depends on your kitchen layout and how permanent you want the setup to be.
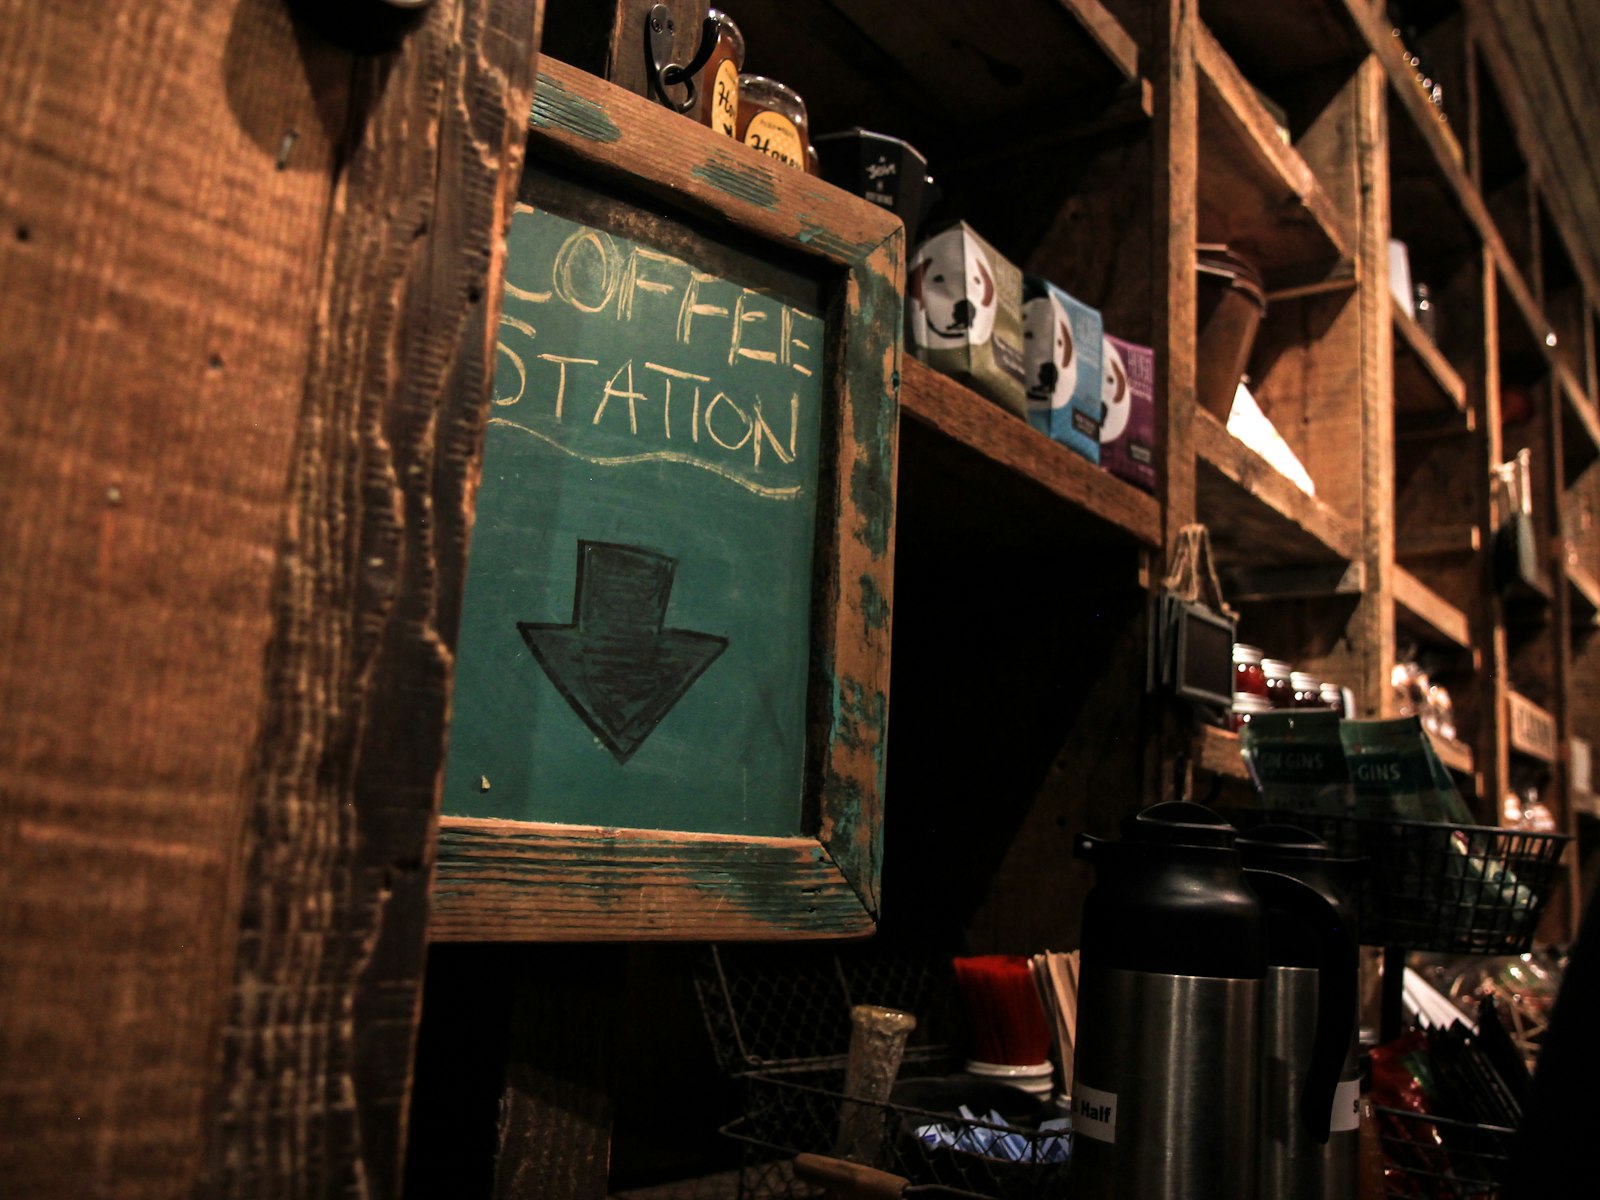
Cabinets and buffets: when a dedicated unit makes sense
A full coffee bar cabinet earns its footprint when the station is a permanent fixture in an open kitchen or when you need to consolidate a lot of gear in one organized unit. Brands like BON AUGURE (which supports up to 300 lbs and includes adjustable shelving) and HOSTACK (which separates storage across three drawers) show what a well-designed cabinet actually delivers: separate zones for mugs, beans, pods, and accessories, with a stable surface for heavy machines. The most important feature to prioritize is power access. A built-in outlet or a location directly beside one eliminates cord mess from day one.

Carts, baker’s racks, and the case for vertical storage
Rolling carts like the LIKIMIO farmhouse cart or Filano narrow cart work well in open-plan kitchens and apartments where flexibility matters more than permanence. Baker’s rack systems with built-in power strips, like the SUPERJARE four-tier unit, take a different approach: they stack storage upward instead of outward, which is almost always the right call in smaller kitchens. Vertical storage wins in compact spaces because it keeps the counter clear while still giving you dedicated zones for mugs, canisters, and equipment. A cart with locking wheels gives you the added benefit of repositioning without losing stability during use. A reader favorite for this is the Breville Barista Express.
Shop the look: Coffee makers and tools
 Breville Barista ExpressThe centerpiece of the stationCheck price on Amazon →
 OXO Brew Burr GrinderFresh groundsCheck price on Amazon →
 Zulay Handheld Milk FrotherCafe foam at homeCheck price on Amazon →
 Cosori Gooseneck KettlePrecise pour-overCheck price on Amazon →
As an Amazon Associate we earn from qualifying purchases. Prices and ratings change, so check Amazon for today’s details.
Home coffee station ideas by budget
Knowing the cost tiers before you start planning saves a lot of frustration. These ranges cover the full setup including storage furniture, so you can budget realistically from the start rather than discovering halfway through that your vision is three times your actual budget.
Budget DIY builds (under $200)
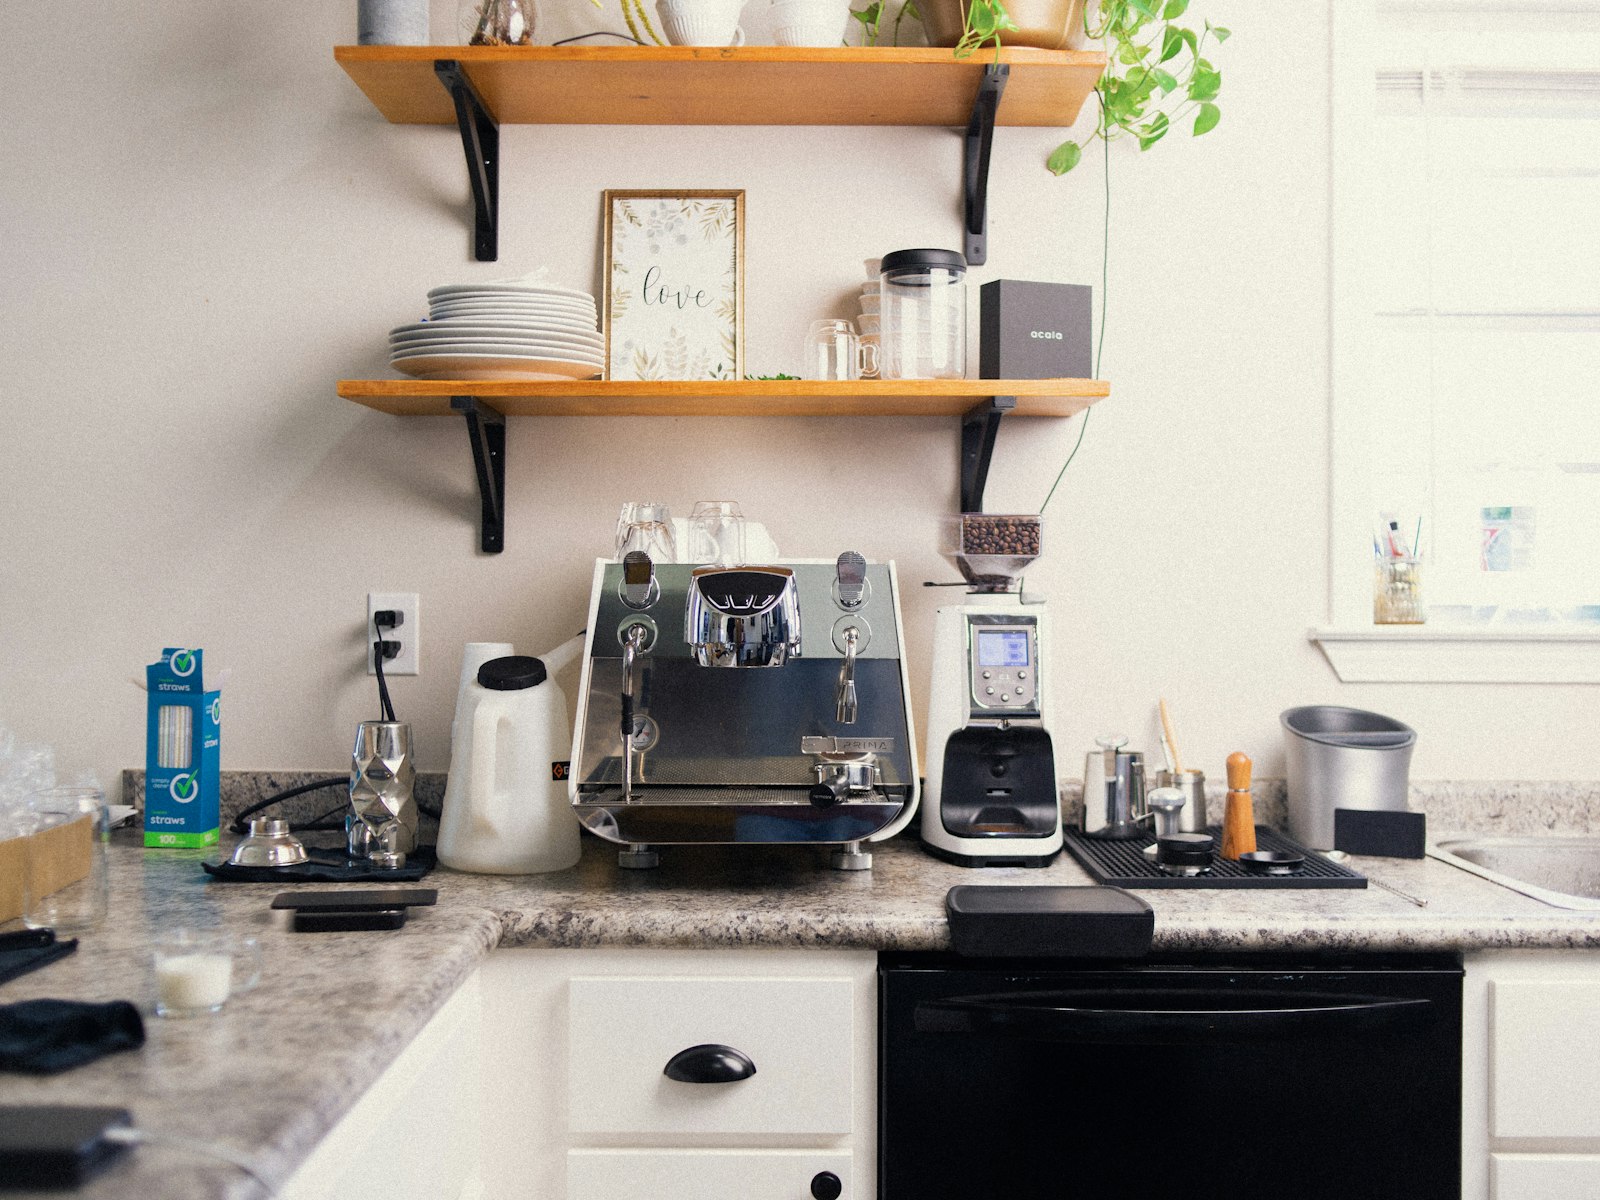
This tier is more capable than it sounds. A floating shelf or narrow cart, a drip brewer or pod machine, basic canisters, and a few styling touches get you a fully functional, good-looking at-home coffee station. The right call at this budget is to spend the majority on the machine rather than the furniture. A $15 floating shelf and a $120 drip brewer beat a $100 cart with a $35 entry-level brewer every time. Function first, upgrades later. One option worth a look is the MyLifeUNIT Mug Tree.
Mid-range setups ($200, $600) and when to go premium
The mid-range tier unlocks a burr grinder, a better-quality brewer, and proper cabinet or cart storage. This is the sweet spot for most home setups, especially drip and pour-over stations. Premium builds ($600 and up) make the most sense when espresso is the goal, since the machine alone often accounts for the bulk of the cost. They also make sense when the station is a permanent feature in a high-visibility kitchen where the aesthetic detail matters as much as the function. Think of it as a phased approach: start with what you need and upgrade the pieces you use most. To make this step easy, we like the Mind Reader Condiment Station.
Shop the look: Organizing the station
 Mind Reader Condiment StationCorrals pods and sugarCheck price on Amazon →
 MyLifeUNIT Mug TreeDisplays mugsCheck price on Amazon →
 Deco Brothers Pod DrawerStorage under the machineCheck price on Amazon →
 KLM Bottle Display ShelfTidy syrupsCheck price on Amazon →
As an Amazon Associate we earn from qualifying purchases. Prices and ratings change, so check Amazon for today’s details.
Setting up your coffee station: a practical installation checklist
The physical setup is where most people rush, and that’s where the problems happen. Working through these four stages in order prevents the majority of post-setup issues. If you want to go further, read Budget Coffee Nook Ideas for Small Apartment Kitchens.
Power, water, and ventilation: the basics before you plug anything in
Confirm the outlet or circuit matches the machine’s requirements before anything else. The connection should be close enough that the cord reaches without stretching, ideally within 3 feet of the machine. For setups that use a direct water line, a cold-water connection within 3 feet is the standard guideline. Leave at least 2 inches of airspace on the sides and back of the machine so heat can dissipate properly. Skipping this step is the most common reason machines underperform or run hot over time.
Cord management and final placement
Route power and water lines separately and make sure they never cross near a wet surface. Use cable clips, cord sleeves, or under-counter routing to get cords off the counter and out of your daily workflow. Once everything is connected, run through a final check: water lines seated and connected, power stable, no cords pinched or stretched, and enough clearance around the unit to clean behind and underneath it. The station should be easy to clean around, not just easy to use. A setup that takes under a minute to wipe down is one you’ll realistically keep tidy.
Styling your home coffee station as a kitchen feature
This is where the coffee corner stops looking like a practical necessity and starts looking like an intentional part of the kitchen. The goal isn’t decoration for its own sake. It’s making the setup look like it belongs there, not like it was added as an afterthought.
Decorative touches that make the station feel designed
A tray is the single most effective styling tool for a coffee nook. It anchors the setup visually and creates a defined zone that signals “this is organized” even when it holds a lot of items. From there, a few well-chosen additions go a long way:
- Matching canisters for beans and sweeteners
- A small potted herb or succulent
- A framed coffee print or hand-lettered sign
- A mug collection in a consistent color palette rather than a random mix
All of these are high-impact, low-cost moves. The principle Aesthetic Nest Decor applies across every room guide applies here too: layer texture, limit your color palette, and give every item a clear reason to be in the space. A reader favorite for this is the Oggi Coffee Canister.
Tying the coffee nook into your kitchen’s overall aesthetic
The coffee station should feel like a natural extension of the kitchen, not a separate project dropped into the corner. Match the finish materials and hardware to what’s already in the room. If your kitchen has warm wood tones and matte black hardware, carry both into the station. If it’s a clean white kitchen with brushed nickel fixtures, the station’s canisters and tray should follow that palette. For readers who want to extend this cohesion principle to a larger scale, Aesthetic Nest Decor’s kitchen island styling and kitchen decor content covers the same approach applied to the most visible focal point in the room. If you are shopping for this, the Giikin Countertop Shelf is a well-reviewed option.
Shop the look: Styling the station
 Giikin Countertop ShelfDoubles counter spaceCheck price on Amazon →
 Oggi Coffee CanisterAirtight bean storageCheck price on Amazon →
 Round Rattan TrayGroups the setupCheck price on Amazon →
 MCGOR Under Cabinet LightWarm morning lightCheck price on Amazon →
As an Amazon Associate we earn from qualifying purchases. Prices and ratings change, so check Amazon for today’s details.
Shopping list
- Breville Barista Express — the centerpiece of the station
- OXO Brew Burr Grinder — fresh grounds
- Zulay Handheld Milk Frother — cafe foam at home
- Cosori Gooseneck Kettle — precise pour-over
- Mind Reader Condiment Station — corrals pods and sugar
- MyLifeUNIT Mug Tree — displays mugs
- Deco Brothers Pod Drawer — storage under the machine
- KLM Bottle Display Shelf — tidy syrups
- Giikin Countertop Shelf — doubles counter space
- Oggi Coffee Canister — airtight bean storage
- Round Rattan Tray — groups the setup
- MCGOR Under Cabinet Light — warm morning light
Prices and availability change. Links open on Amazon.
Keep reading: DIY Countertop Coffee Bar Ideas for a Stylish Kitchen · Kitchen coffee nook ideas: layout, storage, and style · Best Kitchen Island Accessories for Style and Function · Budget Coffee Nook Ideas for Small Apartment Kitchens · Coffee Station Ideas: How to Build a Corner That Actually Speeds Up Your Morning
Helpful resources: the National Coffee Association brewing guide, the kitchen work triangle, the ENERGY STAR light bulb guide.
Frequently Asked Questions
Where should a coffee station go?
Pick a spot near an outlet and the sink, with enough counter for the machine, mugs and a few supplies.
What do you need for a home coffee station?
A coffee maker, grinder, mugs, storage for beans or pods, and a tray to keep everything tidy.
How do you make a coffee station look styled?
Group items on a tray, add a shelf riser for height and keep only daily essentials on the counter.
Putting it all together
The full arc of a coffee stations for home setup is straightforward when you take it in sequence. Measure the space and pick a layout that fits. Match your gear to the way you actually brew. Organize with storage that works for your footprint, whether that’s a cabinet, a cart, or a vertical rack system. Set a realistic budget and build in phases if needed. Install it properly with power, water, and ventilation squared away before you plug anything in. Then style it with the same intentionality you’d bring to any other room in the house.
A well-planned home coffee station isn’t just a convenience. Done well, it becomes one of the most personal and functional corners in your kitchen, a spot guests consistently notice and one you’ll appreciate every single morning. It’s worth the hour of planning it takes to get right. For more kitchen styling ideas that follow the same design-first, function-always approach, explore the kitchen content on Aesthetic Nest Decor.
Save This for Later
Pin this image to your Pinterest board so it is ready when you need it.