

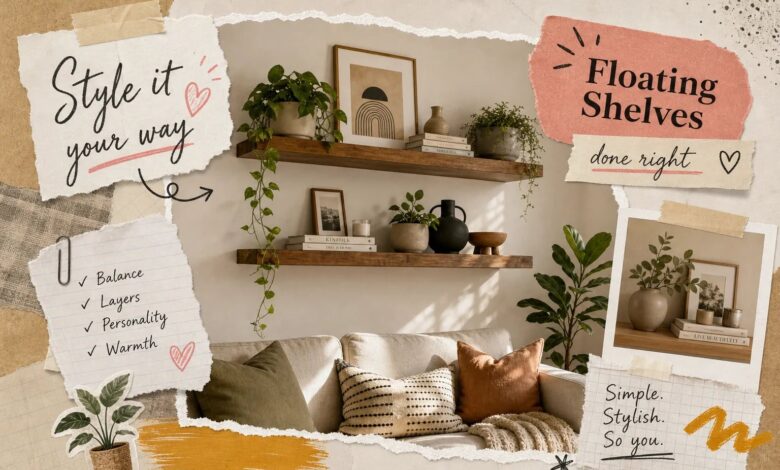
If you’ve ever wondered how to style floating shelves in a living room, you already know the frustration: they look effortless on Pinterest and oddly chaotic in real life. You hang them, load them up with things you love, step back, and somehow end up with a wall that looks like a yard sale, or, in the other direction, a few lonely objects floating in too much empty space. Neither result is what you were going for. See also: bathroom. See also: bedroom.
This guide walks you through the full process of styling floating shelves in a living room: where to hang them, how to build each arrangement, which materials to combine, and how much to leave empty so the whole wall reads as intentional. Readers who want to carry that cohesive approach through the rest of the room will find deeper guides at Aesthetic Nest Decor covering furniture placement, open-shelf arrangements, and room-by-room styling that holds together from wall to wall.
Follow these steps and your shelves will stop looking accidental. They’ll look like you planned it, because you did.
How to Style Floating Shelves in a Living Room: Heights and Spacing
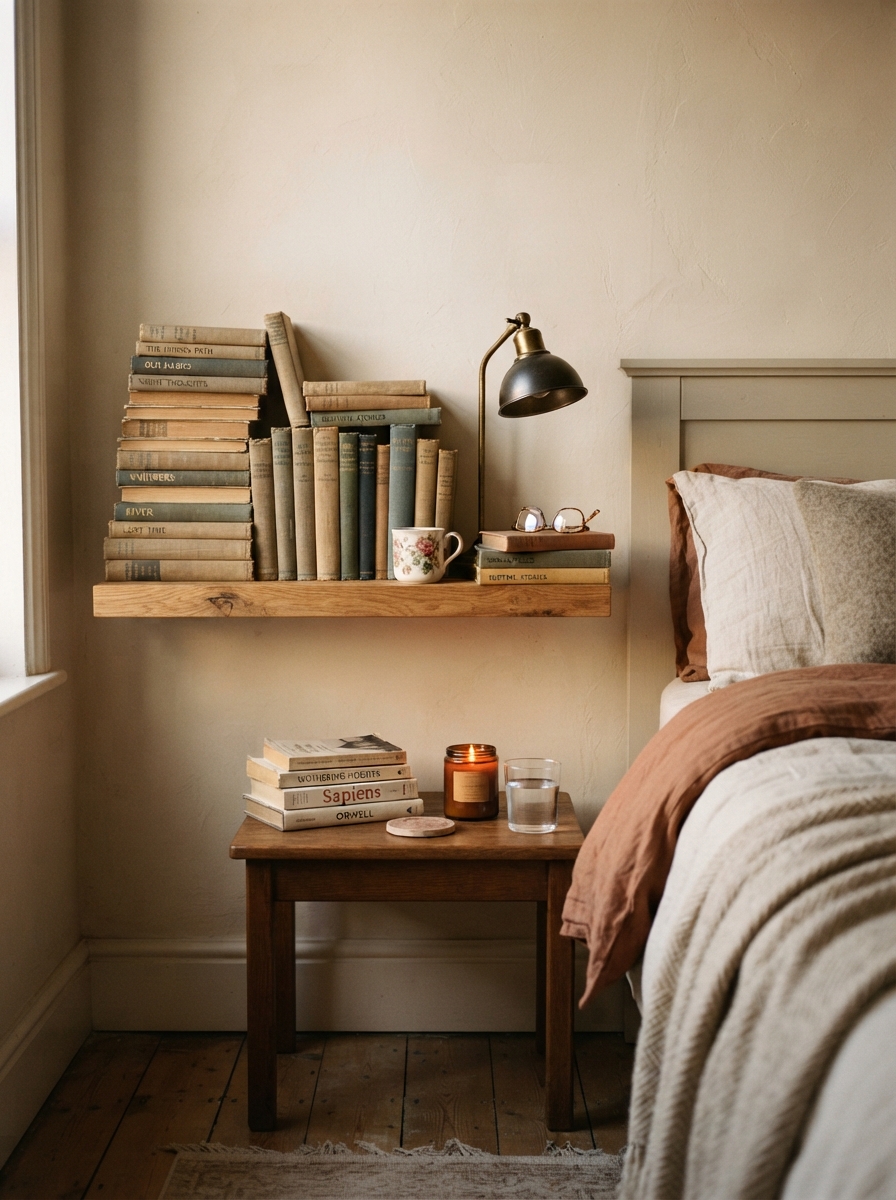
How high to hang shelves above a sofa or media console
The bottom of a shelf should sit roughly 8, 12 inches above the top of your sofa back, with 10, 12 inches being the most common sweet spot for standard living room proportions. That range keeps the shelf close enough to feel connected to the furniture below, while leaving enough clearance that the shelf doesn’t crowd the sofa or compete with it visually. Going much higher, beyond about 15 inches, depending on sofa height, ceiling height, and pillow depth, can make the shelves feel detached from the room. Going lower may create a cramped, stacked effect that works against both pieces.
Above a media console, the same 10, 12 inches of clearance applies as a reliable starting point. That gap keeps the visual weight balanced and leaves room for decor without making the console surface feel buried underneath the shelf. Measure from the top of the console to where the shelf bottom will land, not from the floor, so your spacing stays accurate regardless of console height.
Spacing between shelves when you’re stacking multiple rows
For most living room decor objects, 12, 15 inches of vertical clearance between shelves gives you comfortable visual breathing room and enough height for the majority of books, candles, and small ceramics. If you plan to include taller items like statement vases, leaning art prints, or a large sculptural object, bump that clearance to 15, 18 inches so the display doesn’t feel cramped from above.
The most practical way to get this right: measure your tallest intended item first, then set the spacing from there. This prevents the frustrating discovery that your favorite vase is two inches too tall for the shelf you just installed.
Apply the Rule of Odds to Every Group You Build
Why odd-numbered groupings outperform pairs
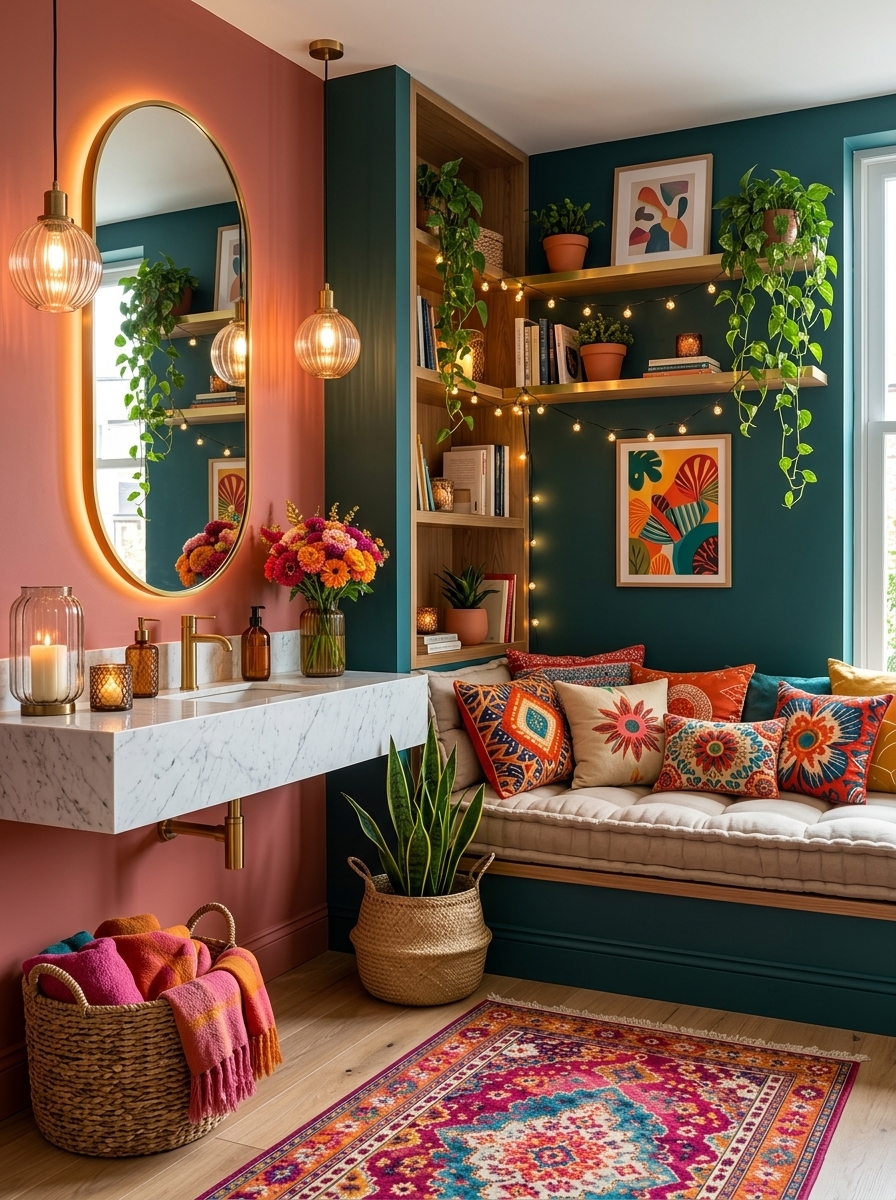
Even-numbered pairs tend to feel static. Two matching objects sit side by side, the eye lands on the center point between them, and the arrangement stops there. Groups of three (or five) create natural visual movement because the eye has to travel among three points rather than splitting down a middle. Designers widely recommend odd-number groupings for exactly this reason, it’s a reliable guideline for wall shelf arrangement that works at every budget and style, though like any design principle, it isn’t an absolute rule for every situation.
In practice, a group of three means one tall object, one medium, one small, positioned in a slight triangle rather than a flat horizontal line. Think of it as a small composition rather than a row of objects. The slight height variation is what keeps the eye moving across floating shelf styling ideas like this one.
Anchor with the largest piece, then fill around it
Start each shelf by placing your biggest item first. Position it off-center toward one side or toward the back of the shelf, never dead center. A centered anchor creates a symmetrical arrangement that reads as deliberate but dull; an off-center anchor creates balance without predictability.
Add medium-height objects next, then finish with a small accent piece pulled slightly forward in front of the others. That front-to-back layering adds depth and prevents the shelf from reading flat. Varying the heights within the group keeps the eye moving along the shelf instead of sitting flat on a single horizontal line.
How to Style Floating Shelves in a Living Room: Layering Textures and Materials
Building the right mix of books, ceramics, and metal accents
Books anchor a shelf with structure and familiar visual weight. They work stacked horizontally or vertically and should take up roughly 40, 50% of the visual space across your shelving without dominating every shelf equally. Pair them with a ceramic object, either matte or textural, and one small metal accent to add contrast without adding clutter. As a common designer heuristic: books for structure, ceramics for warmth, metal for edge.
The key is contrast at every level. Smooth next to rough, matte next to something with a slight sheen, a natural organic shape next to something geometric. When every object on the shelf is the same finish or material family, the arrangement loses dimension even if the objects themselves are beautiful.
What 2026 trends say about materials and finishes
The strongest current direction for living room shelf decor is organic modern: solid hardwood shelves in white oak or walnut with a matte clear finish, styled with ceramics, travertine accents, and brushed metal hardware. The aesthetic leans toward shelves that feel substantial and tactile rather than thin and minimal. Warm neutral palettes (cream, sand, and oak tones) paired with earthy greens or terracotta objects are the combinations showing up most consistently in well-designed living rooms right now.
Put simply: if you’re buying new decor pieces, look for objects with tactile surfaces and natural grain rather than anything glossy or mass-produced. One rough-textured ceramic does more work on a shelf than three shiny, matching vases from the same production line.
Add Greenery Without Tipping the Shelf into Chaos
Which plant types work best on floating shelves
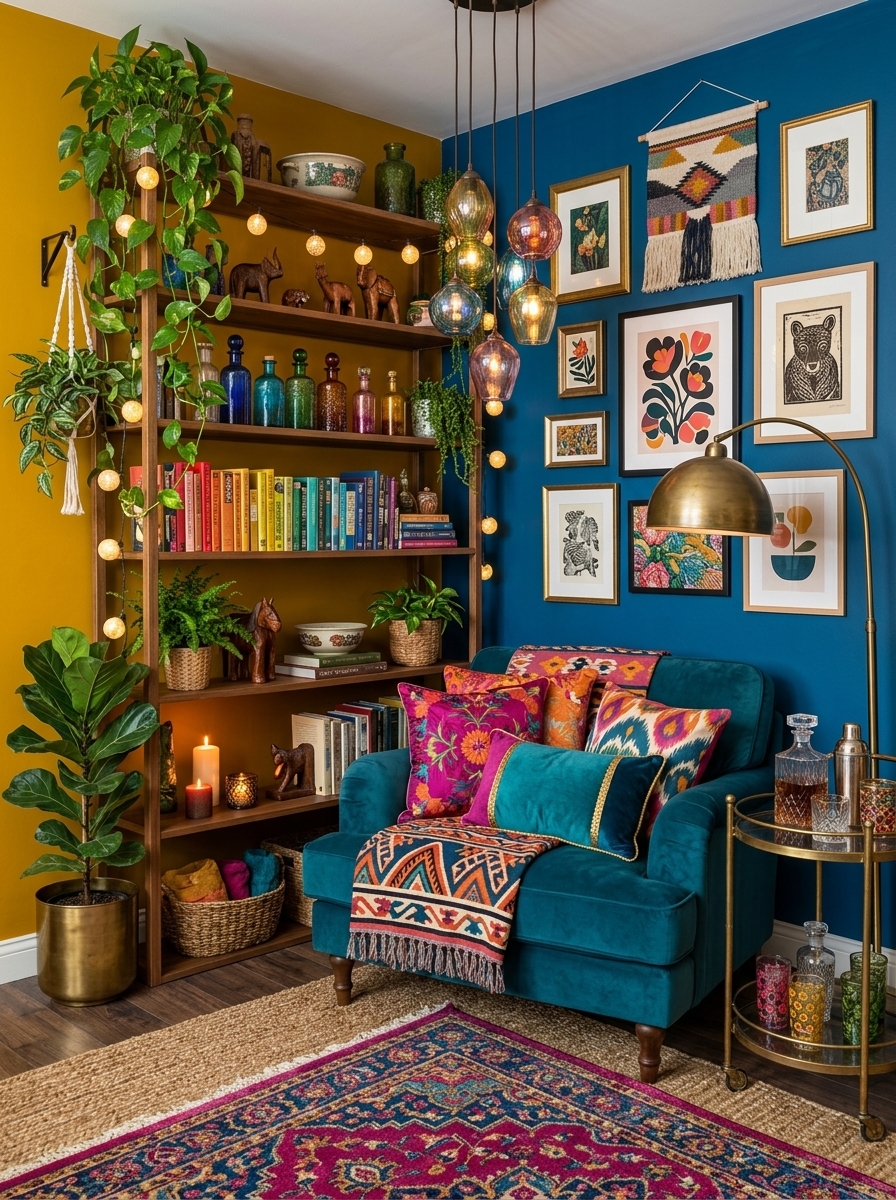
Trailing plants work especially well on higher shelves because they add downward movement and soften the rigid horizontal line of the shelf edge. Pothos, heartleaf philodendron, and English ivy are reliable choices for low to medium natural light conditions, and trailing species like these are often considered visually effective when they drape over the shelf edge, reading as intentional rather than neglected. That said, English ivy’s performance can vary depending on your specific indoor conditions, so observe it for a few weeks before committing to that placement.
Small, compact plants work better on lower or middle shelves where they won’t block other items. A single succulent, a stem in a bud vase, or a mini fern keeps the arrangement grounded without competing for attention. Avoid wide-spreading plants on narrow shelves; the goal is softness and scale, not a jungle effect that consumes the entire composition.
How much greenery is the right amount
A commonly cited guideline is for plants to occupy roughly 15, 25% of your overall shelf space across all shelves combined, not 15, 25% of every individual shelf. As a practical starting point, one plant per shelf typically works well. Two can work if the shelf is long and the plants differ clearly in form, such as one trailing and one upright.
When natural light is limited, rotate real plants with high-quality dried botanicals. Dried pampas grass, eucalyptus stems, or a bunch of dried cotton branches give you the same organic softness and visual relief without requiring the light conditions your pothos is silently demanding.
Protect the Look by Keeping Negative Space Intentional
The one-third rule for open shelf styling
Plan to leave roughly one-third of each shelf surface completely empty. That open space is what makes the filled sections feel curated rather than crammed. Negative space isn’t wasted shelf real estate; it gives the eye a place to rest between the visual moments you’ve built with your grouped objects.
If a shelf looks too full after styling, remove items one at a time and step back after each removal. Most people are surprised how much better a shelf looks with two or three fewer objects on it. The instinct is to fill space, but the result you actually want comes from restraint.
Using lighting to add depth without adding more stuff
Warm-white LED strips in a slim aluminum channel mounted under or at the back of a shelf create depth and shadow without requiring more objects. The light washes down the wall or across the shelf below, making the whole arrangement feel more considered and architectural. A basic DIY LED strip setup typically runs anywhere from $25 to $250 depending on shelf length, strip quality, and brand, making it one of the more affordable upgrades you can make to a shelf display relative to the visual impact it delivers.
This one addition changes how the shelves read in the room. Without lighting, floating shelves can look like storage. With warm, recessed strip lighting, they read as a designed feature of the space, which is exactly what you’re going for.
Put the Whole Arrangement Together with a Simple Styling Sequence
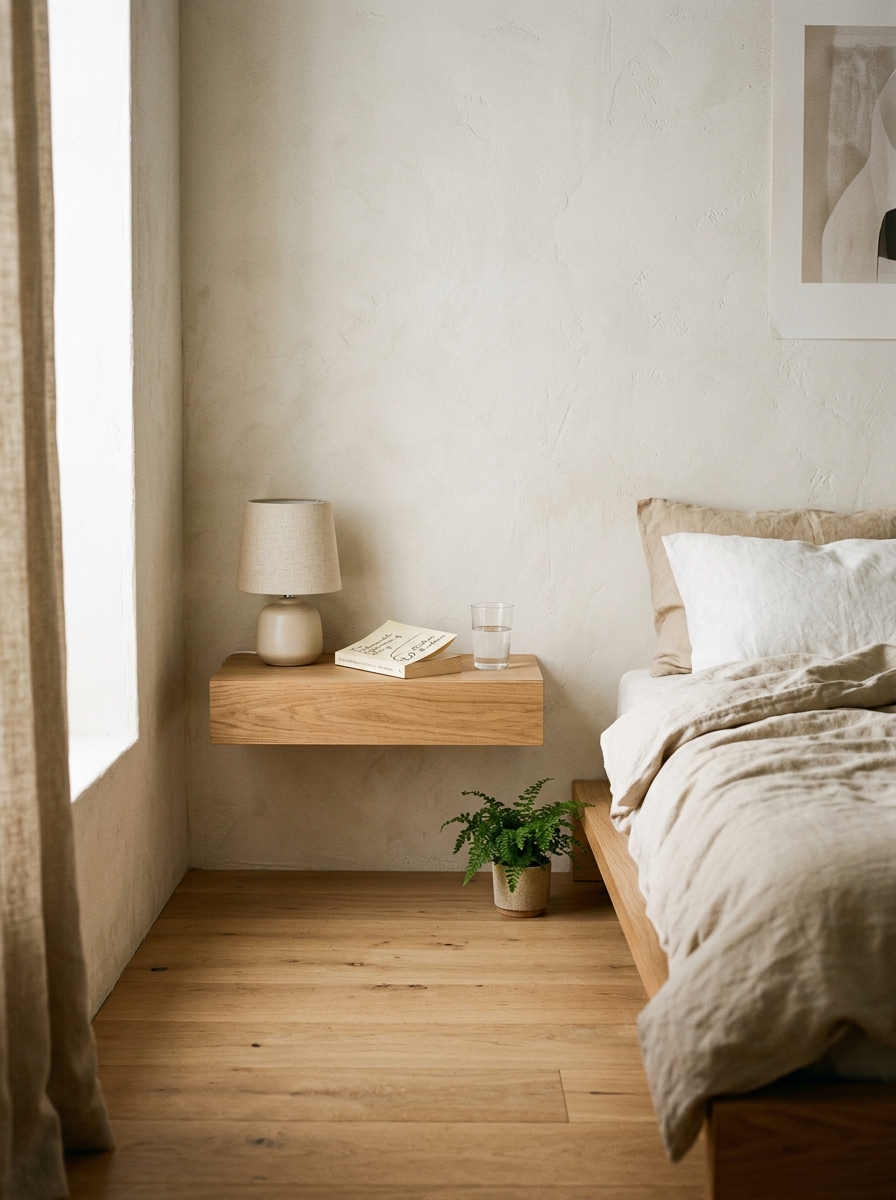
A repeatable formula for each shelf
Use this sequence on every shelf: place the anchor first (largest item, off-center), add two supporting objects at different heights, layer one small accent in front of the others, then check for negative space and remove anything that’s crowding the composition. Four steps, every shelf. The sequence is consistent, but the results don’t look repetitive because the dominant object type varies from shelf to shelf.
Let books lead on one shelf, a ceramic grouping on the next, greenery taking the visual lead on the top shelf. That variation gives the overall wall arrangement rhythm without making each shelf look like a copy of the one below it. After finishing each shelf, step back and look at the full wall before moving on. The shelves should read as a single composition, not three separate arrangements stacked on top of each other.
Tying shelf styling into the rest of the room
The decor on your shelves should pull from colors and materials already present in the room: the throw on your sofa, the undertones in your rug, the finish on your coffee table legs. A shelf styled in isolation almost always looks disconnected from the room, even if each individual piece is attractive. The shelves work best when they feel like an extension of the furniture arrangement below them rather than a separate display happening on the same wall.
If you want to carry this cohesive look throughout the whole space, Aesthetic Nest Decor has broader living room guides on furniture placement, layered decor choices, and room-by-room arrangements that hold together visually from wall to wall. The shelf is the starting point, not the finish line.
Floating Shelf Styling Picks
As an Amazon Associate we earn from qualifying purchases.
Pull It All Together
The core sequence is straightforward: get the heights right before you hang anything, group objects in threes, mix textures and materials with intention, add measured greenery, and protect the negative space you leave empty. Each step builds on the last, and the whole wall comes together faster than most people expect once the approach is in place.
The most important mindset shift is this: when arranging floating shelves in your living room, the goal isn’t to display everything you own. It’s to display a few things beautifully, with enough open space around them that each piece actually gets seen. That’s the whole point of these shelf decor ideas for your living room, edit down, not up.
Now you know how to style floating shelves in a living room. Start with one shelf. Apply the formula. Step back, edit, and move to the next. By the time you reach the last shelf, the earlier ones will already look like you knew exactly what you were doing.