
As an Amazon Associate I earn from qualifying purchases. Some links in this post are affiliate links, at no extra cost to you.
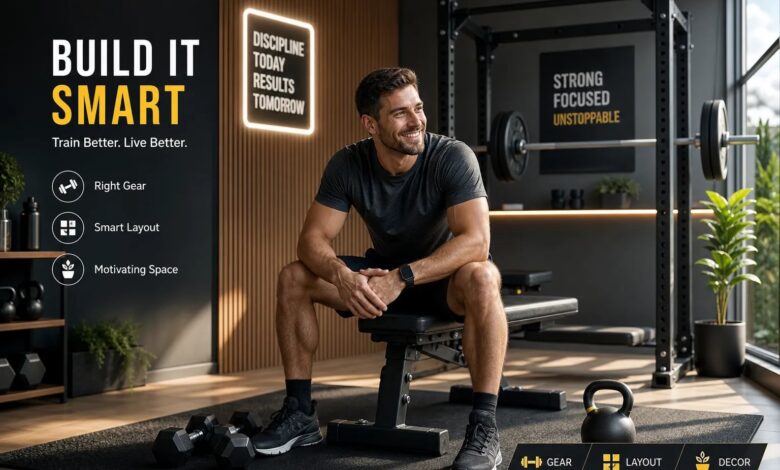
You don’t need a spare room, a two-car garage, or a dedicated space that won’t pull double duty. A small home gym setup can work in a 6×8-foot corner, a converted closet, or a sliver of a spare room, and it doesn’t have to look like a cluttered equipment graveyard. Many people delay getting started because they assume otherwise, but you can build something functional, organized, and genuinely worth using without sacrificing a significant chunk of your living space.
This guide walks you through every decision in order: how to measure your space realistically, which compact equipment actually fits and performs, what flooring to lay down, how to store gear without burying the floor in clutter, and how to make the room feel like somewhere you want to spend time. The same principles behind designing a functional small living room apply here: purposeful layout, vertical thinking, and a few well-chosen anchor pieces. By the end, you’ll have a clear plan for your exact square footage and budget.
How much space do you actually need for a home gym?
The minimum functional floor area for a compact home gym is smaller than most people assume. A 4×6 ft zone is genuinely workable: enough for a mat, a pair of adjustable dumbbells, and resistance bands. A 6×6 ft corner is the sweet spot. Add a folding bench to that footprint and you have a complete beginner strength setup without much compromise. “Usable” space means clearance to stand, hinge, lunge, and move the bench without hitting a wall, not just the square footage of the room on paper.
It’s worth noting that a fully functional strength-plus-cardio hybrid is achievable in spaces as small as 6×8 ft when you choose space-saving workout equipment (adjustable dumbbells, a folding bench, a walking pad or compact bike). For fuller setups that include a dedicated rack and separate cardio machine, most sources recommend at least 120 to 150 sq ft. Here’s how those footprints translate in practice:
- 6×8 ft room: Run wall storage along the 6 ft wall for bands, hooks, and accessories. Position the dumbbell stand and folding bench along the 8 ft wall. Keep a 6×4 ft clear mat zone in the center, and park a foldable cardio unit or compact bike in the remaining corner.
- 8×10 ft room: Split the space into two zones, a compact rack taking 4 ft of depth on one wall and a rower or bike along the opposite wall, leaving a 4×10 ft open lane for floor work and transitions.
- Garage corner: Anchor a foldable wall rack at the corner intersection, create a 6×8 ft active lifting zone in front of it, and park the bike or rower along the adjoining wall when not in use.
In all three cases, the rule is the same: push everything to the walls and protect the center.
Small home gym setup: best compact equipment for tight spaces and every budget
Gear selection for a small home gym is almost entirely a footprint decision first and a budget decision second. If it won’t store cleanly, it doesn’t belong in a tight space, regardless of how effective the workout is. Start with what delivers the most training variety per square foot, then layer in extras only after the core kit is in place.
The four-piece starter kit that handles the job for spaces under 150 sq ft is: adjustable dumbbells, resistance bands or a TRX suspension trainer, a folding bench, and a walking pad. Adjustable dumbbells replace an entire rack in 1 to 2 sq ft and are the single best investment for small-space strength training. Resistance bands or TRX carry an effectively zero floor footprint with a surprisingly wide exercise range. A folding bench takes up roughly 6 sq ft when stored flat and adds pressing and row variety that bodyweight training can’t replicate. A walking pad slides under furniture when not in use, making it one of the most apartment-friendly cardio options available, quieter and lower-profile than most stationary bikes or rowers. Together, this four-piece setup fits into a 6×6 ft corner with room to move.
Once you’re ready to invest in a more complete system, here’s how the main budget tiers shake out. At the budget level (around $300), the Total Gym APEX folds away completely, covers full-body conditioning, and runs quietly enough for apartment walls. At mid-range (around $500), the X3 Bar Elite has a stored footprint of just 23×9 inches with strong progressive resistance and genuine portability. At the premium end ($4,000 and up), Tonal is wall-mounted with no floor footprint and includes smart coaching, but it requires professional installation and an ongoing subscription. For most beginners, the adjustable dumbbell plus folding bench combination outperforms any single machine in versatility per dollar, and that holds true even as your budget grows.
Flooring that protects your subfloor and keeps neighbors happy
Flooring is the most skipped step in a compact gym setup and the one people most often regret skipping. Without proper flooring, you risk subfloor damage from dropped equipment, vibration transmission to downstairs neighbors, and unnecessary stress on your joints during high-impact movements. None of those problems are expensive to prevent upfront, but all of them are frustrating to fix after the fact.
The choice usually comes down to three materials:
EVA foam tiles
Running about $1.00 to $1.50 per sq ft, EVA foam tiles are affordable but compress under heavy dumbbells and offer poor noise control. They’re appropriate only for yoga or light bodyweight work.
Interlocking rubber tiles
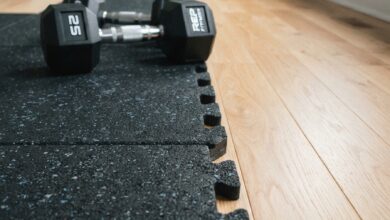
Interlocking rubber tiles at $5 to $10 per sq ft are the best all-around choice for apartment gyms, offering stability under load and significantly better impact noise reduction than foam.
Rubber rolls
Falling between foam and rubber tiles at $2.50 to $5 per sq ft, rubber rolls offer similar performance to tiles with a cleaner finished look, though they’re slightly harder to install in odd-shaped rooms.
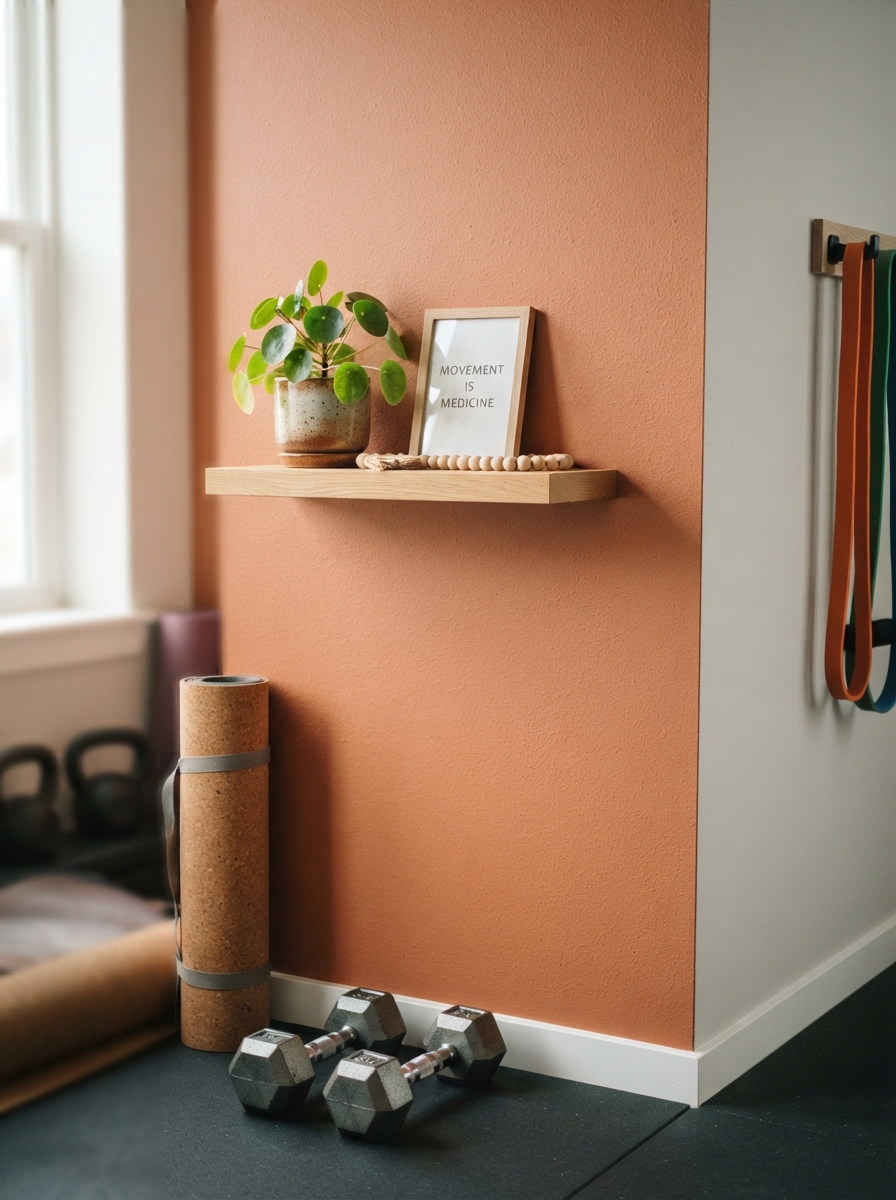
Thickness matters more than most buyers realize. A 1/4-inch (6 mm) tile is fine for light workouts but not enough protection for dumbbells. A 3/8-inch (10 mm) tile is a solid baseline for moderate lifting in apartments. At 1/2-inch (12 mm), dense rubber tile systems can reduce impact noise by 65 to 75% and provide a 20 to 25 point IIC improvement, meaningful if you’re exercising above a downstairs neighbor. For anyone in that situation, add an acoustic underlayment under the rubber tiles for maximum noise control. Horse stall mats are a popular budget rubber option, but their weight makes them poorly suited for upper-floor apartments. Save those for ground-level or garage setups.
Small home gym setup: flooring layout and storage solutions
In a small gym, every piece of gear left on the floor makes the room feel smaller and harder to use. The solution isn’t less equipment, it’s treating every wall as usable real estate before expanding onto the floor. Think of vertical space as your most underused storage asset.
Wall hooks are the most compact per-item storage option. They add minimal wall depth and work well for bands, jump ropes, and foam rollers. If you’re renting, no-damage adhesive hooks handle lighter items without leaving marks. Floor-to-ceiling shelving converts unused vertical wall space into real storage capacity and outperforms shorter freestanding units for the same wall footprint. Overhead ceiling racks keep lightweight, infrequently used items, yoga mats, foam blocks, completely off the floor without sacrificing accessibility.
For foldaway gear, a folding bench sits flat against the wall when not in use, occupying only a few inches of depth. Wall-mounted foldable racks anchor to studs, fold flat between sessions, and add functionality without a permanent floor footprint. Walking pads are typically 4 inches tall when stored and slide cleanly under a bed or couch, making them one of the tidiest tiny home gym ideas for cardio storage in apartments. The goal across all of these choices is consistent: use the vertical plane first, then the floor only when there’s no better option.
Design touches that make your gym feel intentional
A compact home gym can look and feel completely different depending on how you approach the design layer. A few deliberate choices separate a cluttered corner from a room you actually want to walk into, and they don’t require a big budget or a design background.
Start with lighting. Bright, cool-toned LED lighting in the 4000K to 5000K range raises the energy level in the room. Warm, dim bulbs make the space feel like a lounge, which is the opposite effect you want when you’re trying to get moving. Aim for even, shadow-free coverage across the ceiling rather than a single bright center fixture. For wall color, light whites, pale grays, and soft greens make a small room feel larger; dark walls shrink the space further. A single full-length mirror placed on one long wall serves double duty: it helps you check form during lifts and makes the room feel noticeably more open. As a practical guideline, keep color choices to three: one wall color, one flooring color, one accent.
The same room-by-room thinking that works for compact living areas applies here too. Every small space benefits from one strong visual anchor that organizes the room around it. In a gym, that anchor is usually a mirror wall, a distinctive equipment rack, or a bold motivational print. Build the rest of the layout around that one piece rather than arranging gear randomly and hoping it looks intentional. Keep cables and accessories in closed bins or baskets on shelves rather than open piles, choose one equipment color family where possible, and use a single large mat instead of mismatched pieces to unify the floor visually. Aesthetic Nest Decor’s small-space room guides apply this same approach to entryways, kitchens, bedrooms, and balconies, it’s a reliable framework wherever square footage is limited.
Getting your first routine started with the gear you have
A frequent practical reason a small home gym goes unused isn’t the space or the equipment, it’s the absence of a clear plan for how to actually use it. A simple three-day-per-week structure using the core four-piece kit is enough to produce visible results, and it removes the excuse of waiting until the setup is “finished.”
A push/pull/legs split works well here:
- Day 1 (Push): Dumbbell press on the bench, shoulder press, triceps kickbacks, resistance band chest fly
- Day 2 (Pull): Dumbbell row on the bench, TRX row or band pull-apart, dumbbell curl, face pull with bands
- Day 3 (Legs + Cardio): Goblet squat, Romanian deadlift, reverse lunge, 20 minutes of steady-state cardio on the walking pad
This structure delivers enough stimulus for visible progress over 8 to 12 weeks when paired with consistent sleep and nutrition. Rest 60 to 90 seconds between sets, increase the weight or band resistance when the top of your rep range starts to feel easy, and keep sessions to around 30 to 45 minutes.
The real advantage of a home gym over a commercial gym is zero commute, and that advantage compounds quickly. A 30-minute session three times a week consistently beats a 90-minute session once a week. After every session, spend five minutes putting gear back where it belongs. A tidy gym invites you back the next time you walk past it; a cluttered one does the opposite. The space-saving workout equipment you have right now, even if it’s only a mat and a pair of adjustable dumbbells, is genuinely enough to get started. The goal is to begin, not to wait until everything is perfect.
Putting it all together
A small home gym doesn’t require a lot of square footage, a large budget, or a design background. What it does require is a layout that matches the space you actually have, gear that stores cleanly when not in use, flooring that protects your subfloor and your neighbors, smart vertical storage, and a few design choices that make the room feel worth entering. Getting those decisions right from the start saves money on equipment that doesn’t fit and frustration with a space that feels cluttered every time you try to use it.
Start your small home gym setup today by measuring your space, then pick one section of this guide to act on first. For most people, that’s equipment selection, because the right gear determines everything else about layout and storage. Once that’s settled, work through flooring, storage, and design in sequence. Each layer builds on the one before it, and the whole setup comes together faster than you’d expect when you approach it that way.
If you want to apply the same compact-space thinking to the rest of your home, Aesthetic Nest Decor’s room-by-room guides cover everything from small entryways and apartment balconies to multifunctional living rooms and compact kitchens. The same principles that make a small gym work make every tight space work better.