

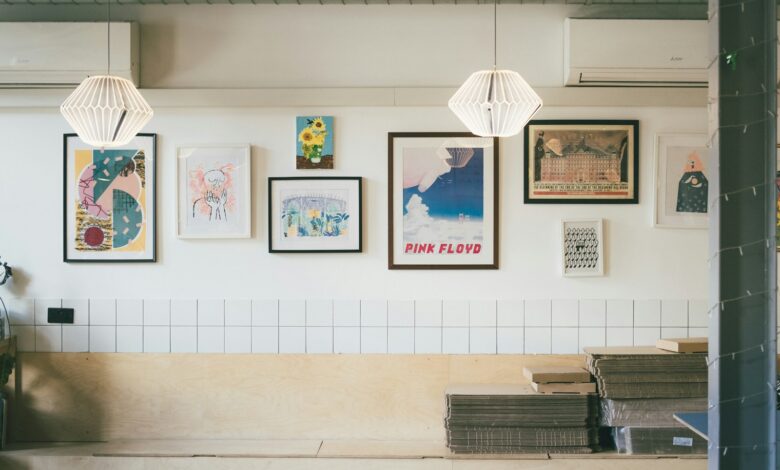
You’ve done it at least once. You hammer a nail, hang the frame, step back, and the whole thing is two inches too far to the right. So you pull the nail, spackle the hole, wait for it to dry, touch up the paint, and start over. For renters, that mistake doesn’t just cost time; it can affect a security deposit. A picture-hanging template moves every one of those decisions off the wall and onto paper, so the only hole you make is the one that counts.
This article covers everything you need to use a template confidently from start to finish: the three types of templates and when to use each, how to scale them to your actual wall, the step-by-step process for marking nail spots through paper, and how to pick hardware that matches your frame weight. The execution method here works best when you already have a layout in mind, and Aesthetic Nest Decor’s gallery wall guide handles exactly that side of the equation.
Want the shortcut?
As an Amazon Associate I earn from qualifying purchases. Some links in this post are affiliate links, at no extra cost to you.
Top picks: Go Hang It! Pro Picture Hanging Kit, 10-Pack Collage Picture Frames and Brown Kraft Paper Roll.
Check price on Amazon →Why a picture-hanging template is the smartest first step
What one wrong nail hole actually costs you
A single misplaced nail triggers a chain reaction that most people underestimate before they live through it. Spackle, a sanding block, and paint are the minimum materials. Then you wait for everything to dry before trying again, often with slightly mismatched paint sheen if the wall hasn’t been painted recently. For renters especially, repeated patching is the exact kind of damage that property managers document during move-out inspections, and it chips away at the deposit you’ve been protecting for months.
The frustration compounds when you’re hanging a full gallery wall. Even with careful measuring, freehand placement across ten frames can mean multiple misplaced nails before the arrangement looks right. A template eliminates that entirely by making the wall the last step, not the first draft. For more ideas, see our guide to Cozy Home Gifts Under $50: 16 Ideas They Will Actually Use.
How a template shifts your planning from the wall to paper
The core idea is simple: a template replicates your frame’s exact dimensions and hanger position on paper. You decide placement, spacing, and height while the template is taped to the wall with painter’s tape, not nailed. Nothing is committed until you’re satisfied with what you see. Then you mark through the paper and you’re done.
The tools required are minimal: paper, painter’s tape, a pencil, and a level. That combination is all it takes to place a frame correctly on the first attempt. Anyone with those four items on hand can use this method successfully.
Three types of templates for planning your gallery wall layout
Free printable gallery wall templates you can download today
Several sites offer free, ready-to-print gallery wall templates with multiple layout options. My Wall Decorator has 67 free templates, ExacTac offers 12, Open Digital Gallery provides 8 copyable layouts, and Gallery Wall Planner offers 5 dimensioned patterns. Printable templates work best when you want to replicate a proven arrangement rather than design from scratch, because the proportions and spacing have already been worked out for you.
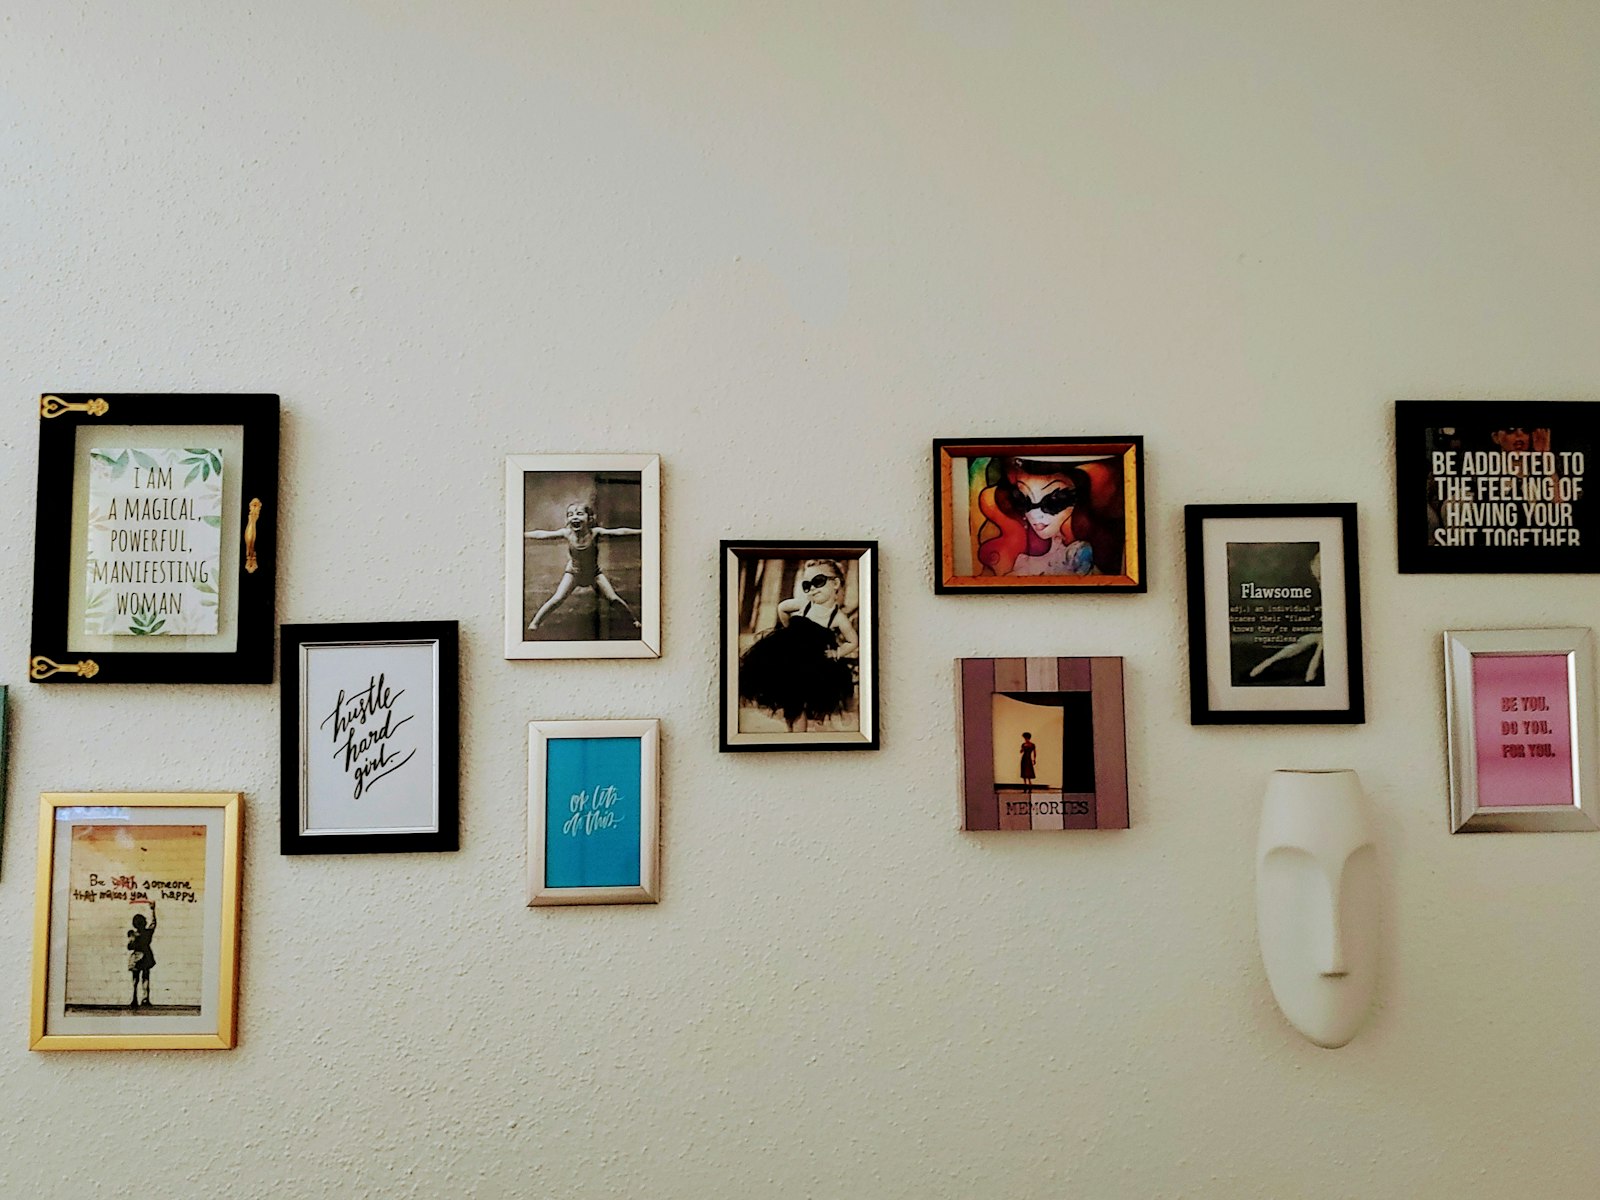
One critical printing step: disable “Fit to Page” in your printer settings and print at 100% or Actual Size. If your printer scales the document to fit the paper, the template dimensions won’t match your frames, and every measurement downstream will be off.
The paper-tracing method for any frame you already own
If you want the most accurate template possible, trace your actual frame. Lay it face-down on kraft paper or newspaper, trace the outline, and cut it out. Then hold the frame up naturally as if it’s hanging, and mark where the hook, wire, or hanger sits on the back. Transfer that mark to your paper cutout. That spot is where the nail goes.
This method works for any frame shape or size because you’re working from the real object, not an approximation. Odd-shaped frames, thrifted pieces with off-center hangers, and oversized prints all benefit from this approach. Label each template so you know which paper piece belongs to which frame before you start taping anything to the wall. We cover this in more detail in Mudroom Bench and Decor Ideas That Survive Daily Use.
Digital wall planning tools for visualizing before committing
Browser-based room planners and layout apps let you experiment with arrangements using your actual room dimensions before you print or trace anything. These are genuinely useful for testing ideas quickly, especially when you’re deciding between a symmetrical grid and a more organic mix of sizes. The visualization step saves you from printing a dozen templates for arrangements you’d rule out immediately if you could see them at scale.
Digital tools complement rather than replace a physical template. You still need a paper version to transfer nail marks accurately to the wall. Think of the digital step as the planning phase and the paper template as the execution tool.
How to scale your template to fit your actual wall and frames
The simple math behind accurate scaling
Start by measuring your wall’s usable width and height, accounting for any trim, windows, or furniture you’re working around. Then apply a single uniform scale factor to the entire layout using this formula: scale equals the smaller of (wall width divided by template width) or (wall height divided by template height). Applying one factor to the whole arrangement, rather than resizing each frame separately, keeps all the proportional gaps between frames intact.

Here’s a quick example: if your wall is 80 inches wide and 54 inches tall, and your template is 96 inches by 60 inches, the width ratio is 0.83 and the height ratio is 0.90. You use 0.83 as your scale factor and multiply every dimension by that number, including the gaps between frames. A 12-by-16-inch frame in the template becomes a 10-by-13.3-inch frame on your wall. You might also like Home Library and Reading Nook Ideas: How to Build a Corner You’ll Actually Use.
Frame spacing rules that make the arrangement look intentional
Interior designers generally recommend these working spacing guidelines by frame size: 1.5 to 2 inches for small frames, 2 to 3 inches for medium frames, and 3 to 4 inches for large frames. Oversized pieces in a large room can go up to 4 to 6 inches. Consistent spacing across the whole arrangement matters more than the specific number you choose. A wall where some gaps are 1.5 inches and others are 3 inches looks unplanned even when individual frames are perfectly level.
Style affects the right gap too. Tight grids with matching frames can go as close as 1.5 inches and still feel cohesive. Mixed-size or visually busy arrangements with varying frame styles need around 3 inches so each piece stays readable and doesn’t compete with its neighbors. A reader favorite for this is the Go Hang It! Pro Picture Hanging Kit.
Shop the look: Picture hanging tools
 Go Hang It! Pro Picture Hanging KitHooks and nails for every frame weightCheck price on Amazon →
 Laser Level Line ToolKeeps every frame on one lineCheck price on Amazon →
 Command Large Picture Hanging StripsNo holes, perfect for rentersCheck price on Amazon →
 StudBuddy Magnetic Stud FinderFinds a stud for heavy piecesCheck price on Amazon →
As an Amazon Associate we earn from qualifying purchases. Prices and ratings change, so check Amazon for today’s details.
Step-by-step: marking nail spots accurately with your template
Preparing and positioning your template on the wall
Start by laying all your frames on the floor and arranging them until the composition feels balanced. Once you’re happy with the layout, cut out the paper templates and label each one. Mark the hanger or hook location on each template based on your measurement from the actual frame. Tape the templates to the wall with painter’s tape, working outward from your center frame or anchor piece.
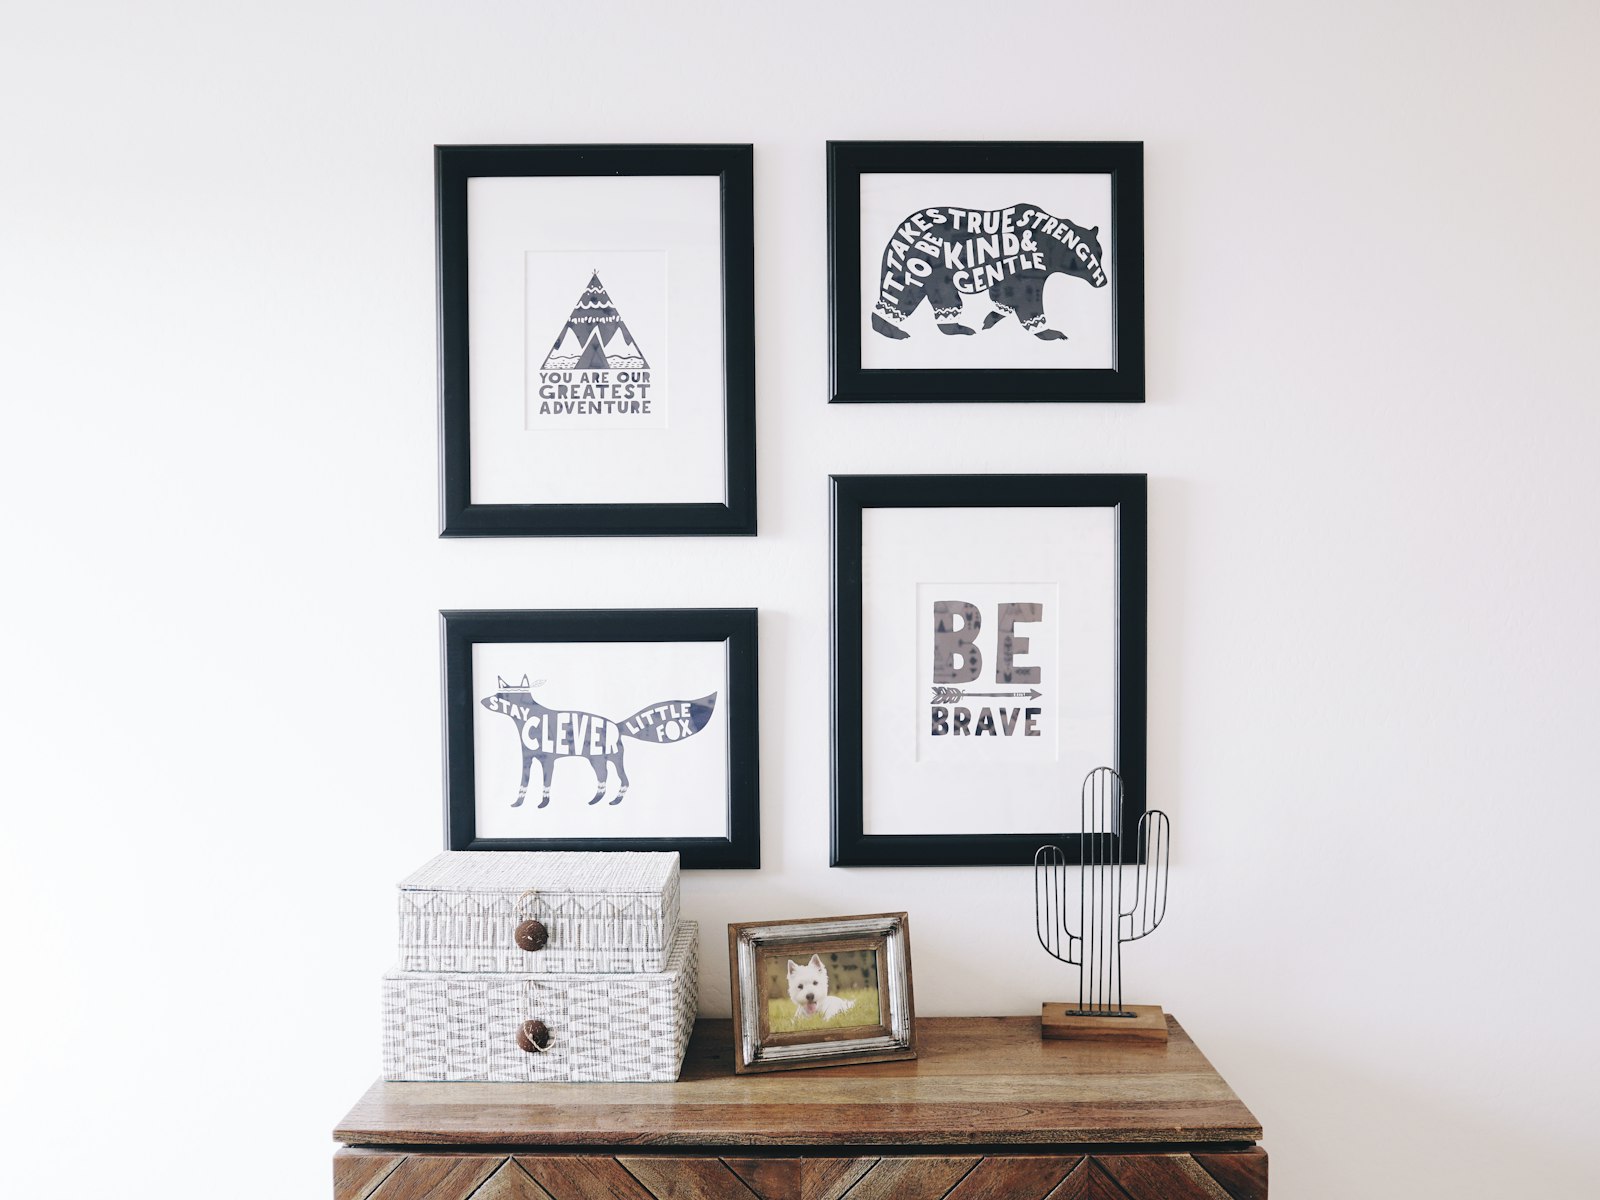
Before fully securing the corners, use a level to confirm each template is straight. For multi-frame arrangements, tape templates side by side with pre-measured gaps between them, using small strips of tape as spacers if it helps you stay accurate. Once everything is positioned, walk to the room’s entry point and evaluate the layout from the natural viewing distance. This is your last opportunity to adjust before anything permanent happens. If you want to go further, read Kitchen Island Styling Ideas: How to Decorate a Surface You Actually Use.
Transferring nail marks and removing paper cleanly
With the templates still taped in place, hammer a nail or brad directly through the marked spot on each paper template. Go slowly and hold the nail steady so it penetrates the paper and enters the wall cleanly. Then peel each template away carefully at an angle, pulling the tape back on itself rather than straight out, to avoid disturbing the fastener you just set. One option worth a look is the 11×14 Picture Frames (Set of 6).
Most frames hang correctly on the first attempt using this approach. There’s no measuring, no second-guessing, and no patch-and-repaint cycle. Hang each frame, do a final level check, and make micro-adjustments as needed by hand. To make this step easy, we like the 10-Pack Collage Picture Frames.
Shop the look: Frames for your template
 10-Pack Collage Picture FramesA matched set that looks plannedCheck price on Amazon →
 11×14 Picture Frames (Set of 6)Warm wood frames for a softer lookCheck price on Amazon →
 upsimples 8×10 Frames (Set of 10)Clean white frames for a bright roomCheck price on Amazon →
 upsimples 16×20 Picture FrameAn anchor piece for the centerCheck price on Amazon →
As an Amazon Associate we earn from qualifying purchases. Prices and ratings change, so check Amazon for today’s details.
Choosing the right hanging hardware for your frame weight
A practical weight guide for common frame types
Hardware selection is straightforward once you know your frame’s weight. Weigh it on a bathroom scale before you start if you’re unsure, and always choose hardware rated at least 25% above the actual weight for a real safety margin. Here’s how the tiers break down:
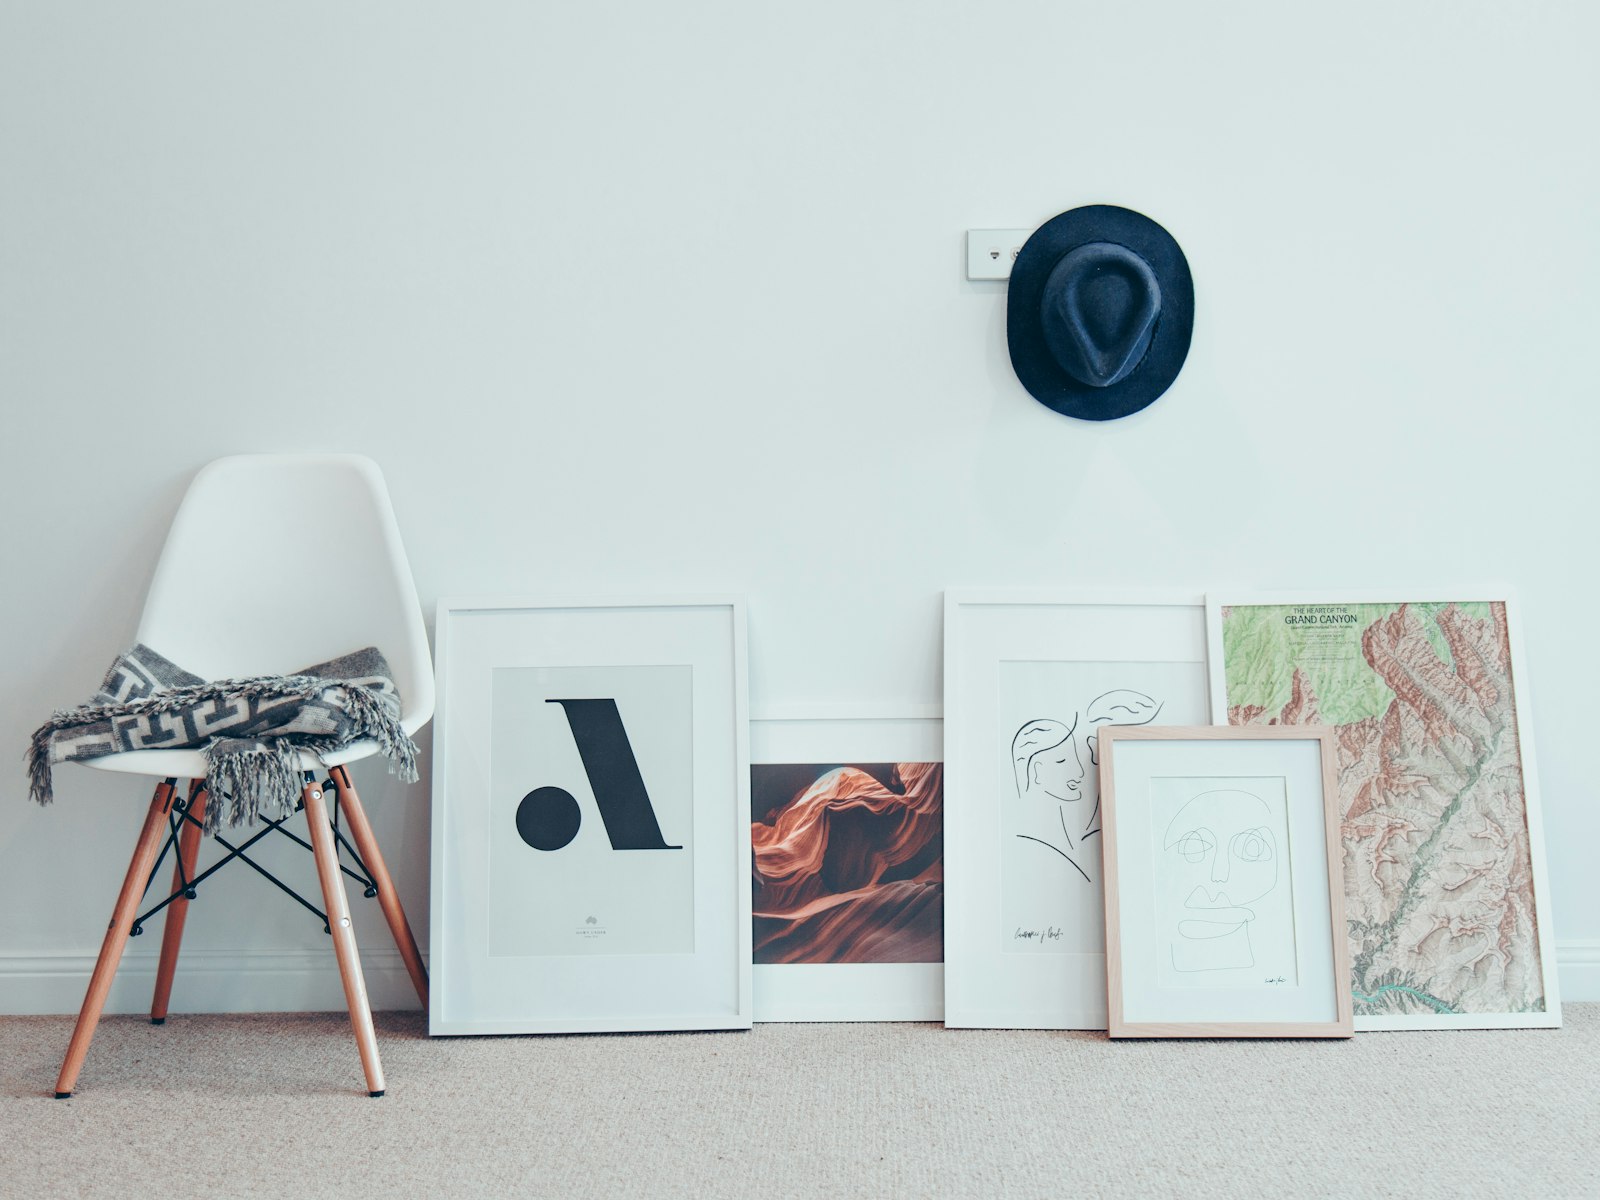
- Under 10 lb: angled finishing nail, small picture hook, or adhesive strips on clean cured paint
- 10 to 20 lb: rated picture-frame hook or small drywall anchor
- 20 to 50 lb: self-drilling anchor or stud-mounted screw, depending on where the stud lands, anchor ratings and drywall thickness can vary, so confirm the specific hardware rating before installation
- 50 lb and up: French cleat into studs or heavy-duty toggle anchors rated for the load
Drywall anchors vs. stud screws: when each one applies
When a stud lines up behind your nail mark, use it. A wood screw into a stud is significantly stronger than any drywall anchor for medium to heavy frames, and it’s the simpler option if the stud is in the right place. Locate studs with a stud finder before you tape your templates so you can plan nail positions around them from the start.
When no stud is available, drywall anchors are your next best option. Self-drilling anchors work in both 1/2-inch and 5/8-inch drywall for light to medium frames. For heavier pieces with no stud nearby, toggle bolts or SnapToggle-style anchors are the reliable choice because they spread the load across the back of the drywall rather than relying on the wall material alone to grip the fastener.
Combining your template with a complete gallery wall plan
Why the layout strategy matters as much as the execution
A template tells you precisely where to put the nail. It does not tell you which frames to include, how to balance visual weight across the arrangement, or how to mix large and small pieces without the wall looking random. Those decisions come from a solid gallery wall layout strategy, and skipping that step is what makes even perfectly hung frames look off.

This is exactly where Aesthetic Nest Decor’s gallery wall guide fits into the process. The guide covers the arrangement side: frame selection, size mixing, visual balance, and layout patterns. The template method covered here handles the precise execution. Together, they remove the guesswork at every stage, from the first idea to the final nail. Related: Small Laundry Room Ideas With a Top Load Washer That Actually Work.
A final check before you pick up the hammer
Before you drive a single nail, run through this quick checklist: all templates are taped and confirmed level, spacing between pieces matches your plan, hardware is selected and within arm’s reach, and you’ve viewed the full arrangement from the room’s entry point, not just from three inches away. Stepping back to see the full picture from across the room is the single most effective way to catch a spacing or alignment issue before it becomes a wall repair.
If something looks slightly off from that distance, adjust the tape now. It takes 30 seconds to shift a paper template. Fixing a hole that landed an inch too high means spackle, sanding, and touch-up paint, a repair that eats up far more time than repositioning paper ever would. A reader favorite for this is the Brown Kraft Paper Roll.
Shop the look: Planning supplies
 Brown Kraft Paper RollTrace paper templates for each frameCheck price on Amazon →
 ScotchBlue Painter’s TapeTape templates to the wall without marksCheck price on Amazon →
 GDMINLO Soft Tape MeasureMeasure spacing between framesCheck price on Amazon →
 Amazon Basics Pencils with ErasersMark nail points lightlyCheck price on Amazon →
As an Amazon Associate we earn from qualifying purchases. Prices and ratings change, so check Amazon for today’s details.
Shopping list
- Go Hang It! Pro Picture Hanging Kit — hooks and nails for every frame weight
- Laser Level Line Tool — keeps every frame on one line
- Command Large Picture Hanging Strips — no holes, perfect for renters
- StudBuddy Magnetic Stud Finder — finds a stud for heavy pieces
- 10-Pack Collage Picture Frames — a matched set that looks planned
- 11×14 Picture Frames (Set of 6) — warm wood frames for a softer look
- upsimples 8×10 Frames (Set of 10) — clean white frames for a bright room
- upsimples 16×20 Picture Frame — an anchor piece for the center
- Brown Kraft Paper Roll — trace paper templates for each frame
- ScotchBlue Painter’s Tape — tape templates to the wall without marks
- GDMINLO Soft Tape Measure — measure spacing between frames
- Amazon Basics Pencils with Erasers — mark nail points lightly
Prices and availability change. Links open on Amazon.
Keep reading: Cozy Home Gifts Under $50: 16 Ideas They Will Actually Use · Mudroom Bench and Decor Ideas That Survive Daily Use · Home Library and Reading Nook Ideas: How to Build a Corner You’ll Actually Use · Kitchen Island Styling Ideas: How to Decorate a Surface You Actually Use · Small Laundry Room Ideas With a Top Load Washer That Actually Work
Helpful resources: the rule of thirds, the golden ratio, picture frame basics.
Frequently Asked Questions
How do you make a template for hanging pictures?
Trace each frame on kraft paper, cut it out, mark the nail point on the paper and tape the templates to the wall until the layout looks right.
How high should pictures be hung?
The center of a single picture or a gallery should sit about 57 to 60 inches from the floor, which is average eye level.
How far apart should frames be in a gallery wall?
Keep 2 to 3 inches between frames for a tight, modern look, or up to 4 inches for a more relaxed arrangement.
Start with one frame and one template today
The full process comes down to a clear sequence: choose your template type, scale it to your wall, tape it in place, mark the nail spots through the paper, and hang with confidence. This approach removes the guesswork that causes most wall mistakes, and it works just as well for a single frame as it does for a 12-piece gallery wall.
The execution method in this guide pairs naturally with a thoughtful layout plan. If you haven’t mapped out your arrangement yet, Aesthetic Nest Decor’s gallery wall guide walks through the design side in the same practical, step-by-step format you’ve seen here. The two together give you a complete system from blank wall to finished display.
Start small if the full gallery wall feels like too much to tackle at once. Pick one frame, trace one template, and hang it right the first time. That first success builds the confidence to go bigger, and the method grows with the project.
Save This for Later
Pin this image to your Pinterest board so it is ready when you need it.
Get one cozy decor idea every week
Seasonal styling ideas, budget finds and new guides. No spam, unsubscribe anytime.