

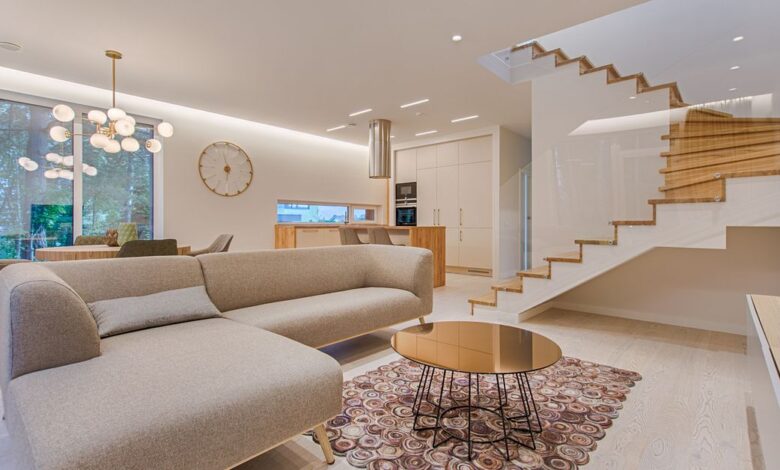
Why Gallery Walls Work in Any Home
These gallery wall ideas will help you create a wall display that looks intentional, personal, and genuinely beautiful. A gallery wall is one of the most personal, impactful, and surprisingly affordable ways to transform a blank wall. Done right, it tells a story — your story — through art, photos, mirrors, and objects that matter to you. Done wrong, it looks like a yard sale. The difference is planning, and that’s what this guide is for.
From salon-style arrangements to clean grid layouts, these gallery wall ideas give you everything you need to create a wall display that looks intentional, personal, and genuinely beautiful.
Whether you’re working with a single blank wall in your living room, a hallway that feels too plain, or a staircase that needs personality, gallery walls are almost always the answer. Here’s exactly how to create one that looks intentional, balanced, and genuinely beautiful.
Gallery Wall Ideas Step 1: Choose Your Style
Before you buy a single frame or pick up a hammer, decide on the look you’re going for. Gallery walls fall into a few broad categories:
- Curated and cohesive: All frames the same color and material (typically all black, all white, or all natural wood), with art that shares a color palette. Feels polished and intentional.
- Eclectic mix: Different frame styles, sizes, and materials mixed together. Works best when the art itself has a unifying thread — a color, a theme, a mood.
- Grid layout: All frames the same size, arranged in a perfect grid. Clean, modern, almost architectural. Works especially well with a series of prints or photos.
- Organic salon-style: Frames of all different sizes arranged in an asymmetric, flowing layout that expands outward from a central anchor piece. Classic, dramatic, and full of personality.
Step 2: Gather Your Pieces
Your gallery wall doesn’t need to be all framed art. Some of the most interesting gallery walls mix different types of objects:
- Framed prints and photographs
- Mirrors (great for bouncing light and adding dimension)
- Woven wall hangings or macramé
- Shelves with small objects on them
- Clocks, letter boards, or decorative plates
- Mounted antlers, plants in wall-mounted planters, or architectural salvage
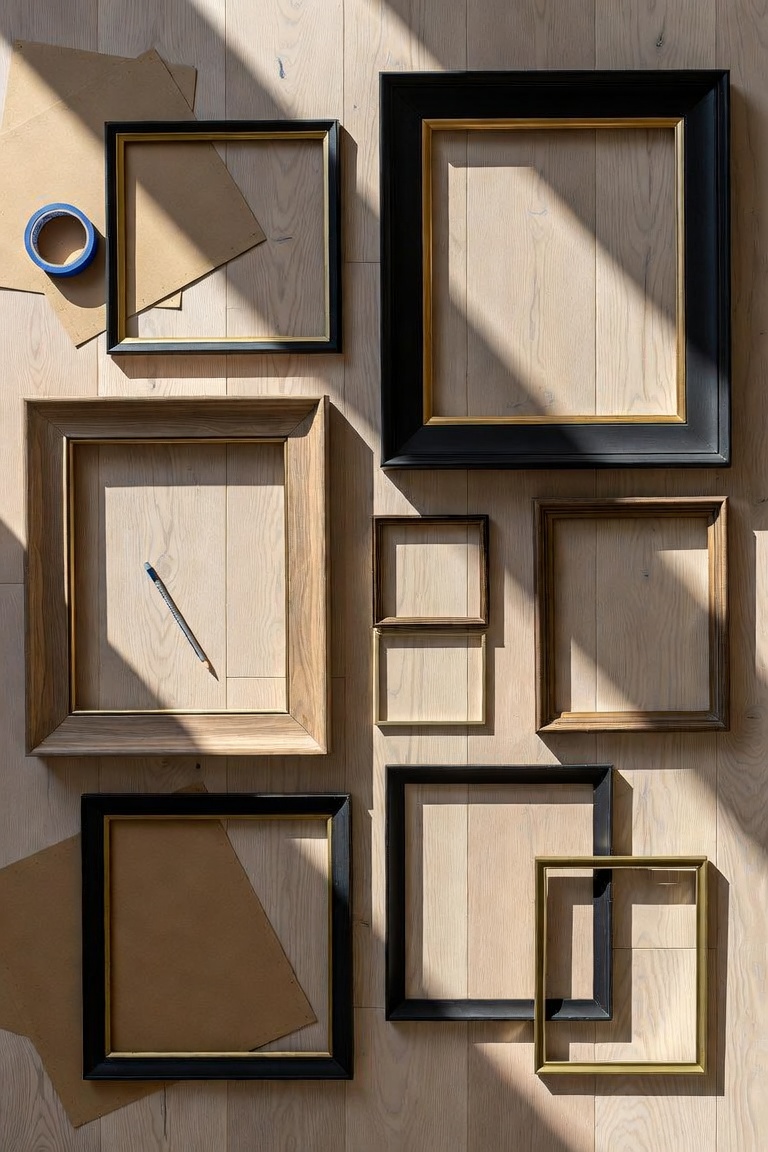
Start by pulling together everything you’re considering — lay it all on the floor and see what works together before committing anything to the wall.
Want the shortcut?
As an Amazon Associate I earn from qualifying purchases. Some links in this post are affiliate links, at no extra cost to you.
Browse current options and prices.
Step 3: Plan Your Layout on the Floor First
This is the step most people skip and then regret. Lay all your pieces out on the floor in the arrangement you’re thinking of. Live with it for a day or two. Try different configurations. This is free, reversible, and will save you from filling your walls with unnecessary holes.
Once you’re happy with the arrangement, trace each frame onto paper, cut out the shapes, and tape them to the wall with painter’s tape. Step back and assess. Adjust until it looks right. Then hang everything using the paper templates as guides.
Step 4: Find Your Anchor Piece
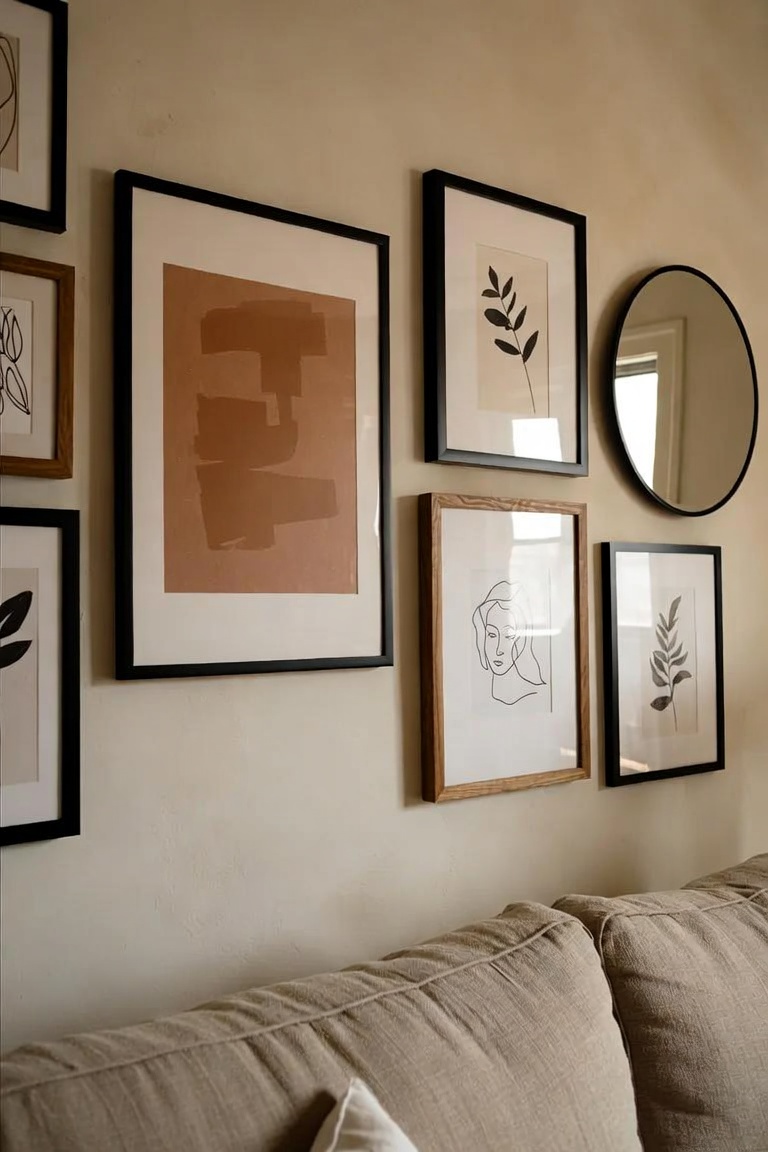
Every great gallery wall has an anchor — a central piece that’s larger, bolder, or more prominent than everything else, and around which the rest of the arrangement orbits. This might be your largest print, a statement mirror, a canvas painting, or even a decorative clock.
Hang your anchor piece first, then build outward from it. Keep the visual weight balanced — if your anchor is on the left side, make sure the right side of the gallery has enough pieces to balance it.
Gallery Wall Spacing: The Rules (and When to Break Them)
The classic advice is 2-3 inches between frames for a tight, curated look, or 4-6 inches for a more relaxed feel. These are good starting points, but what matters most is visual consistency — whatever spacing you choose, keep it roughly the same throughout.
One rule worth following: hang the center of your gallery wall at eye level, which is typically 57-60 inches from the floor. If the gallery is above a piece of furniture, leave 6-8 inches between the furniture and the bottom of the lowest frame.
Gallery Wall Ideas by Room
Living Room Gallery Wall
The living room is the classic gallery wall location. A large blank wall behind the sofa is prime real estate. For a salon-style arrangement, start with a large central piece at eye level (when standing), then build outward with pieces of varying sizes. Mix art with a mirror or two to add depth and light reflection.
Bedroom Gallery Wall
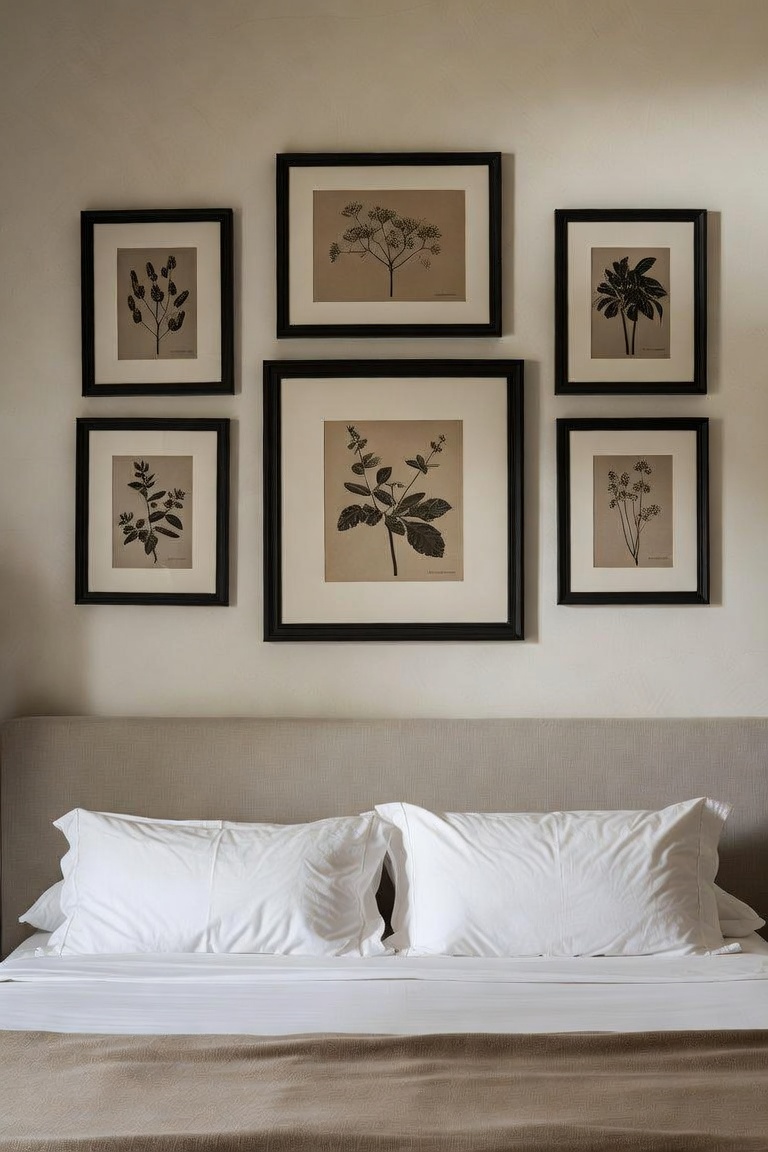
Above the bed is a natural gallery wall spot. A symmetrical arrangement — equal pieces on each side of a central anchor — works well here since it mirrors the symmetry of the bed itself. Or go for a single large statement piece instead of multiple smaller ones for a more dramatic, minimal look.
Hallway Gallery Wall
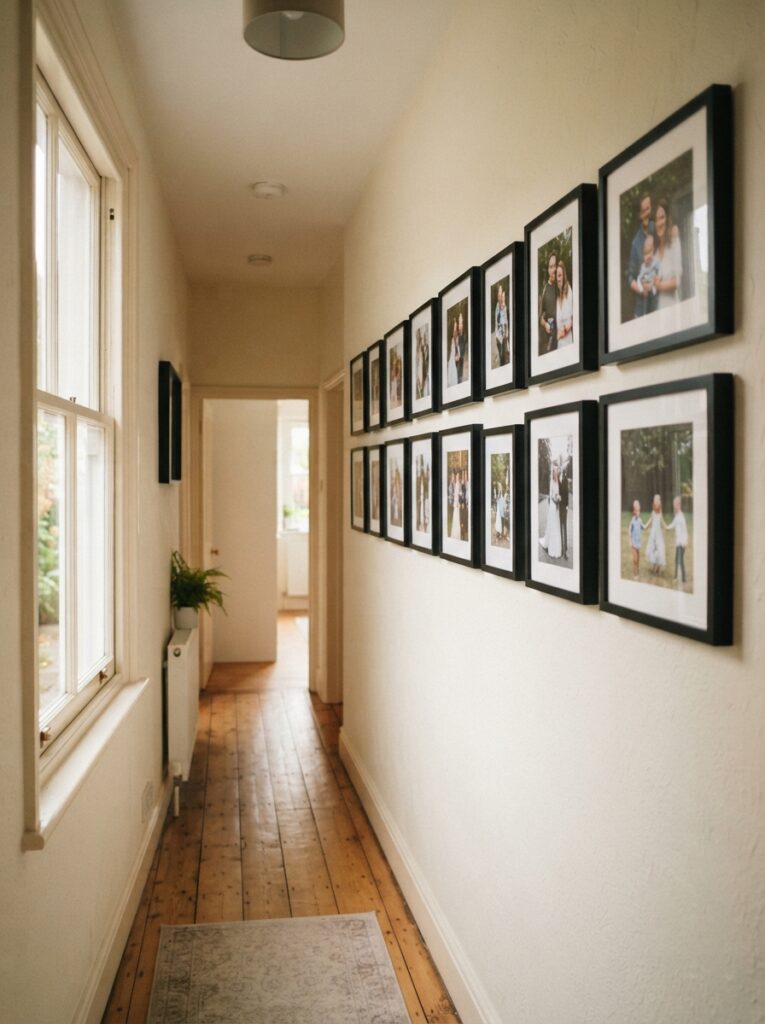
Hallways are perfect for photo galleries. Line one wall with family photos in matching frames for a warm, personal timeline. Or use a series of small botanical prints, travel photos, or black-and-white photography for a more sophisticated look. Keep it simple in narrow hallways — fewer, larger pieces rather than many small ones.
Staircase Gallery Wall
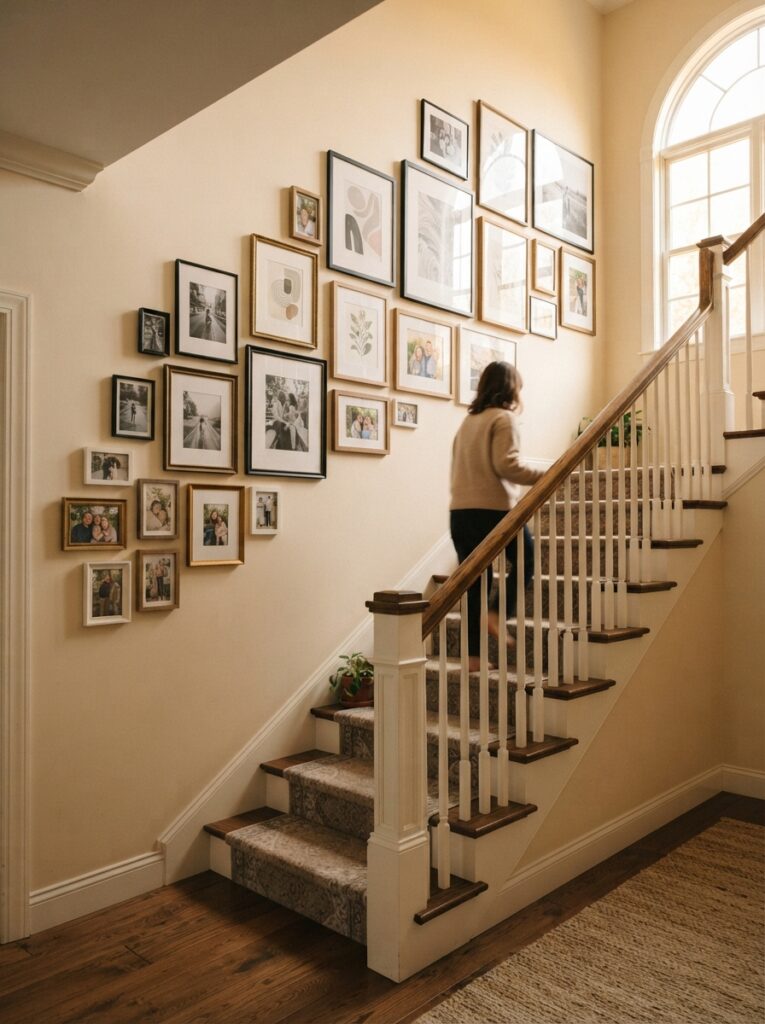
Staircase gallery walls follow the diagonal line of the stairs. Start at the bottom with your smaller pieces and scale up to larger pieces as you go higher, or do the reverse. Keep the center of each frame roughly aligned with an imaginary diagonal line running parallel to the staircase.
Home Office Gallery Wall
A gallery wall behind a desk gives a home office personality without becoming distracting during work hours, especially useful now that so many calls happen on video. Diplomas, art prints, a map of somewhere meaningful, or a small collection of postcards from places you’ve traveled all work well here, since they double as conversation starters on calls. Keep the palette a little more restrained than you might in a living room gallery wall, since a busy background can be visually distracting behind a talking head on video.
Kids’ Room Gallery Wall
A children’s gallery wall benefits from being interactive and changeable rather than precious. Clip frames, cork boards, or a pegboard system let a child’s own artwork rotate in and out easily, so the wall grows and changes as their interests do rather than needing to be replanned every year. Hanging pieces slightly lower than adult eye level, so a child can actually see the display at their own height, makes the wall feel like it belongs to them rather than being decor imposed on their room.
Budget Gallery Wall Ideas
Gallery walls don’t have to be expensive. Some of the most beautiful arrangements come from creative sourcing: For more inspiration, visit Architectural Digest.
- Print your own art. Sites like Unsplash offer free high-resolution images you can download and print at a copy shop for a few dollars each.
- Thrift store frames. Buy mismatched frames from thrift stores, then spray-paint them all the same color for an instantly cohesive look.
- Family photos. Your best photos, printed large and framed, cost almost nothing and mean more than any purchased print.
- Clip boards or washi tape. For a commitment-free, renter-friendly gallery wall, use clip boards or strips of washi tape to hang art without any nails at all.
Gallery Wall shopping list
- Picture frame set — matching frames read as planned
- Picture hanging strips — renter friendly
- Laser level — keeps rows straight
- Picture ledge shelf — for leaning arrangements
- Art prints — fill gaps affordably
- Picture hanging kit — hooks and wire in one
Prices and availability change. Links open on Amazon.
Common Gallery Wall Mistakes
- Starting too small. A few tiny frames on a large wall looks lost and sad. Go bigger, or add more pieces.
- No anchor piece. Without a central focal point, the eye doesn’t know where to go. Every great gallery wall has a star.
- Inconsistent spacing. Some gaps huge, some tiny. Choose a consistent spacing and stick to it throughout.
- Hanging too high. The most common art-hanging mistake. Eye level means 57-60 inches from the floor to the center of the piece, not to the top.
Choosing Frame Materials and Colors
The material and finish of your frames does as much visual work as the art inside them. Black frames read as modern and graphic, and work particularly well for photography or high-contrast art. Natural wood frames feel warmer and more organic, pairing naturally with plants, linen textiles, and earthy color palettes. Gold or brass frames add a touch of formality and work beautifully with jewel-toned art or in more traditional rooms. White frames are the most versatile and tend to recede visually, letting the art itself take center stage rather than competing with the frame.
Mixing frame finishes is possible, but it works best with a rule: pick one dominant finish for most of the frames, then use a second finish sparingly for just one or two pieces as an accent, rather than distributing several finishes evenly throughout the arrangement.
Gallery Wall Lighting
Lighting is one of the most overlooked elements of a successful gallery wall, especially on walls that don’t receive much natural light. A picture light mounted directly above a large anchor piece adds a gallery-like glow and draws extra attention to the focal point of the arrangement. For a full wall of smaller pieces, a wash of ambient light from a floor lamp or wall sconce placed nearby does more to make the whole display feel intentional than any single picture light could on its own. Avoid placing a gallery wall directly across from a large window with no window treatment, since strong glare and reflections off the glass in frames can make the art hard to actually see for much of the day.
Mixing Photo Orientations and Sizes
One of the trickiest parts of planning a gallery wall is combining portrait and landscape pieces without the layout feeling haphazard. A useful trick is to group similarly oriented pieces near each other rather than alternating every single frame, which tends to create a calmer rhythm even within an eclectic mix. Leaving one or two larger landscape pieces to anchor the horizontal edges of the arrangement, while using portrait pieces to fill vertical gaps, gives the overall shape of the gallery a cleaner silhouette against the wall.
Refreshing a Gallery Wall Over Time
A gallery wall doesn’t need to be permanent or finished on day one. Leaving one or two frames empty, or filled with simple mats rather than art, gives you room to add new pieces as you travel, celebrate milestones, or simply find something you love. Swapping out a print or two seasonally, the way you might rotate other decor, keeps a gallery wall from feeling static, and is far less commitment than replanning the entire layout from scratch. Many of the best gallery walls are the ones that have clearly evolved over several years rather than being installed all at once.
Gallery Wall Ideas for Renters
Renters can absolutely have a full gallery wall without risking a security deposit. Adhesive strips rated for picture frames hold surprisingly heavy pieces and come off cleanly without damaging paint, making them the easiest starting point for a temporary gallery wall. Removable wall decals or fabric wall hangings add visual interest without any hardware at all, and can be swapped out entirely when you move. For anyone who does want to use small nails, a dot of toothpaste or spackle in the hole afterward makes patching a fast, five-minute job at move-out rather than a stressful one.
Before committing to any adhesive product, test it on an inconspicuous patch of wall first, since paint finishes vary and some glossier finishes can peel with certain adhesives.
Command-style hanging strips remain the gold standard for renters overall, since they are specifically engineered to remove cleanly and hold weight ratings printed right on the package, taking the guesswork out of matching a strip to a frame.
Final Thoughts
A gallery wall is one of the most personal things you can do to a space. It’s not about having the most expensive art — it’s about curation, arrangement, and the stories your walls tell. Plan on the floor first, anchor your arrangement, keep your spacing consistent, and don’t be afraid to mix different types of objects. The result will be a wall that’s uniquely, beautifully yours.




5 Comments