
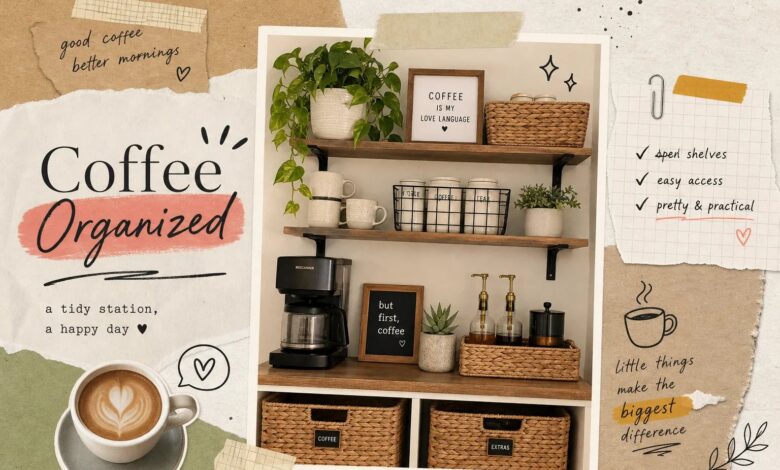
You set your alarm five minutes earlier just to have a calm morning, and then you spend three of them hunting for coffee pods behind a canister, digging out filters from under a stack of mugs, and discovering that the sugar bowl is empty. The problem isn’t that your kitchen is too small. The problem is that your coffee setup has no system, and coffee station organization with open shelving and baskets is the most effective fix for exactly that. Everything stays visible, grouped logically, and easy to grab without turning your counter into a visual mess.
At Aesthetic Nest Decor, our step-by-step coffee station guides have helped many readers go from chaotic counters to organized, attractive coffee nooks they actually enjoy using every morning. This article walks you through that process in order: shelf layout first, then basket selection, then placement, then styling, then product picks by aesthetic.
Planning Your Coffee Station Shelf Layout Before Anything Goes on the Wall
Counter height, shelf depth, and clearance that actually work
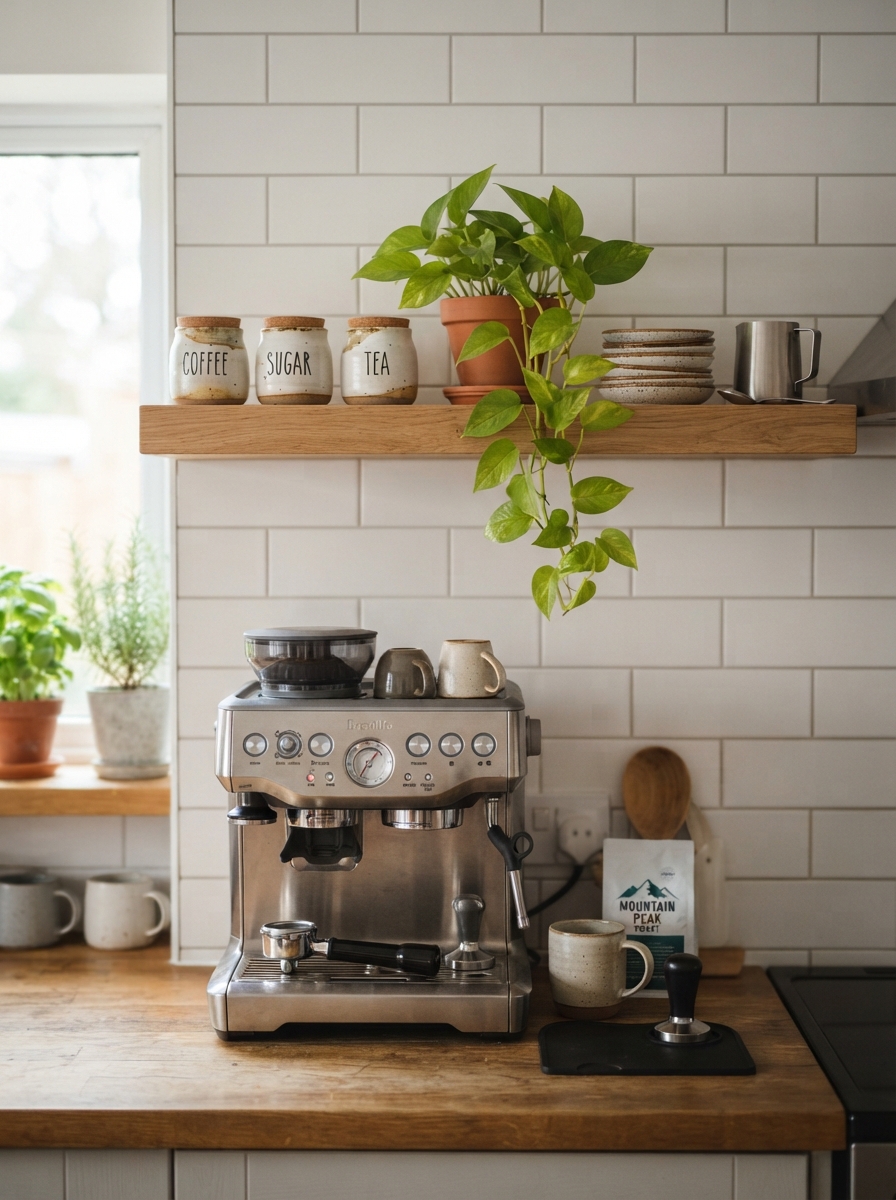
Three dimensions control whether an open-shelf coffee station works or frustrates you every day. The first is counter height: 36 inches is the standard comfortable working surface for brewing and prep, and it’s what most kitchen counters already sit at. The second is shelf depth: 8 to 10 inches handles mugs and everyday items well, while 12 to 15 inches gives you room for canisters, bean bags, and bulkier accessories. The third dimension is the most critical one: vertical clearance.
You need 18 to 20 inches of clear space between your countertop and the bottom of the lowest shelf above it. That number isn’t arbitrary. It determines whether your drip coffee maker or espresso machine physically fits under the shelf, and whether you can fill it, open its lid, and reach for a mug without awkwardly ducking. If you’re working with a taller machine, push that clearance to 20 to 24 inches before you mount anything.
Floating shelves vs. countertop shelf organizers
Wall-mounted floating shelves give you a clean, built-in look that feels intentional rather than temporary. When you mount into wall studs using lag screws and proper brackets, a floating shelf can safely hold significant weight, typically 45 to 50 pounds per stud, with heavy-duty bracket systems rated higher depending on the manufacturer’s specifications. That’s more than enough for a coffee maker, a few filled canisters, and several baskets. If you’re only mounting into drywall with toggle bolts (commonly rated for 25 to 50 pounds depending on toggle type), keep the total shelf load on the conservative end and avoid placing your heaviest appliance directly on it.
Freestanding countertop shelf risers are the better choice for renters or anyone who doesn’t want to commit to holes in the wall. Two-tier countertop organizers in wood or metal work well for this purpose, and they’re easy to rearrange as your setup evolves. As a conservative planning rule, load floating shelves to no more than 75 to 80 percent of their rated capacity for long-term stability, especially in a kitchen where daily use and vibration add wear over time.
How many shelves do you actually need?
Take stock of everything that lives at your coffee station: the machine, mugs, pods, beans, filters, and any accessories like a frother or measuring spoon. Divide those items into two groups: what you reach for every single morning and what you only need occasionally. In most small-to-medium households, two shelves are sufficient once the layout is thoughtfully planned. A third shelf only makes sense for large households or dedicated coffee bars with full accessory collections.
Picking Baskets for Your Open Shelving Coffee Station
Size and shape guide by item type
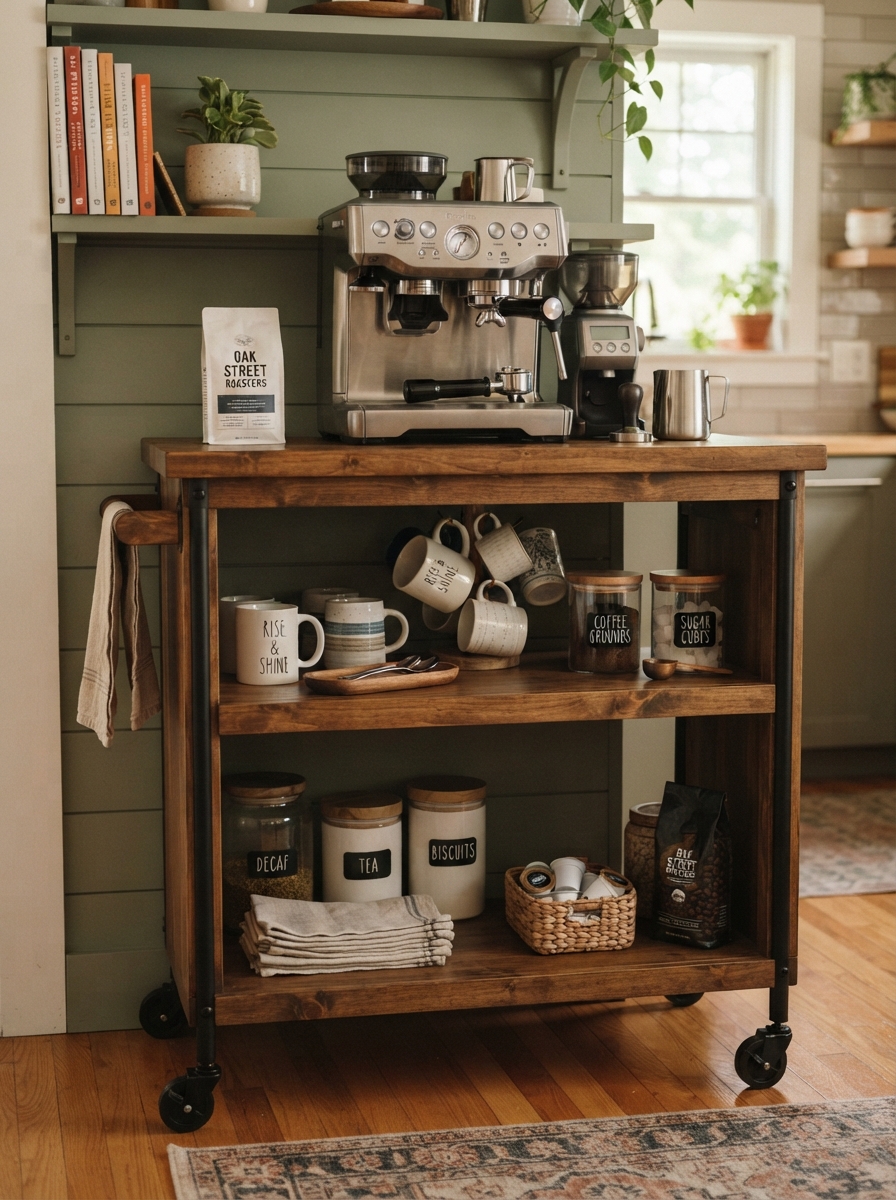
Basket selection works best when you match the container to what goes inside it, not just to what looks good at the store. For coffee pods, choose a small round or square wire basket in the 6 to 8 inch range; that size gives you maximum visibility and keeps pods from piling into an unmanageable stack. For coffee bags, a rectangular open basket 10 to 14 inches long gives bags enough room to stand upright without flopping. For mugs, a sturdy rectangular or oval bin with a low front makes handles easy to grab without lifting the whole basket off the shelf.
For loose accessories like filters, stirrers, and sweetener packets, resist the urge to throw them all into one large bin. Small divided baskets or compact open containers keep each item findable in seconds, for example, a slim wire cup for stirrers sitting right beside a low square bin for sweetener packets. Keeping each category separate is what makes every grab feel automatic.
Best basket materials for a kitchen setting
Stainless steel and coated metal wire baskets are the most practical choice for an open-shelf coffee station. They hold their shape under the weight of filled mugs and canisters, stand up to the humidity that comes with a working coffee station, and stay visually light on the shelf so the whole setup doesn’t look heavy. Uncoated iron can rust in a steamy kitchen environment, so if you prefer the look of iron, choose pieces with a protective powder-coat or lacquer finish. For any basket holding more than a few lightweight items, stainless steel or coated metal wire is the most durable and practical option.
Woven wicker, rope, and seagrass baskets look warm and inviting, and they work well for lighter loads like filters, spare pods, or packaged sweeteners. Keep them away from direct steam and don’t let moisture sit in them. Acrylic works for pod storage in modern setups where you want clean lines and full visibility. Match the material to the load first, and let your aesthetic preference guide the choice within that range.
How to match basket style to your kitchen’s look
Your baskets should look like a deliberate design choice, not a collection of whatever was on sale. Matte wire baskets suit minimalist and modern setups. Wicker or seagrass fit farmhouse and rustic aesthetics. Black iron reads as industrial. Light woven or rope baskets land well in warm-neutral and quiet-luxury kitchens. Pick one material and stick with it across the whole station; mixing shapes within that one material actually adds visual interest without creating chaos.
Coffee Station Organization with Open Shelving and Baskets: Placing Every Item for an Autopilot Morning
Group by how often you reach for it
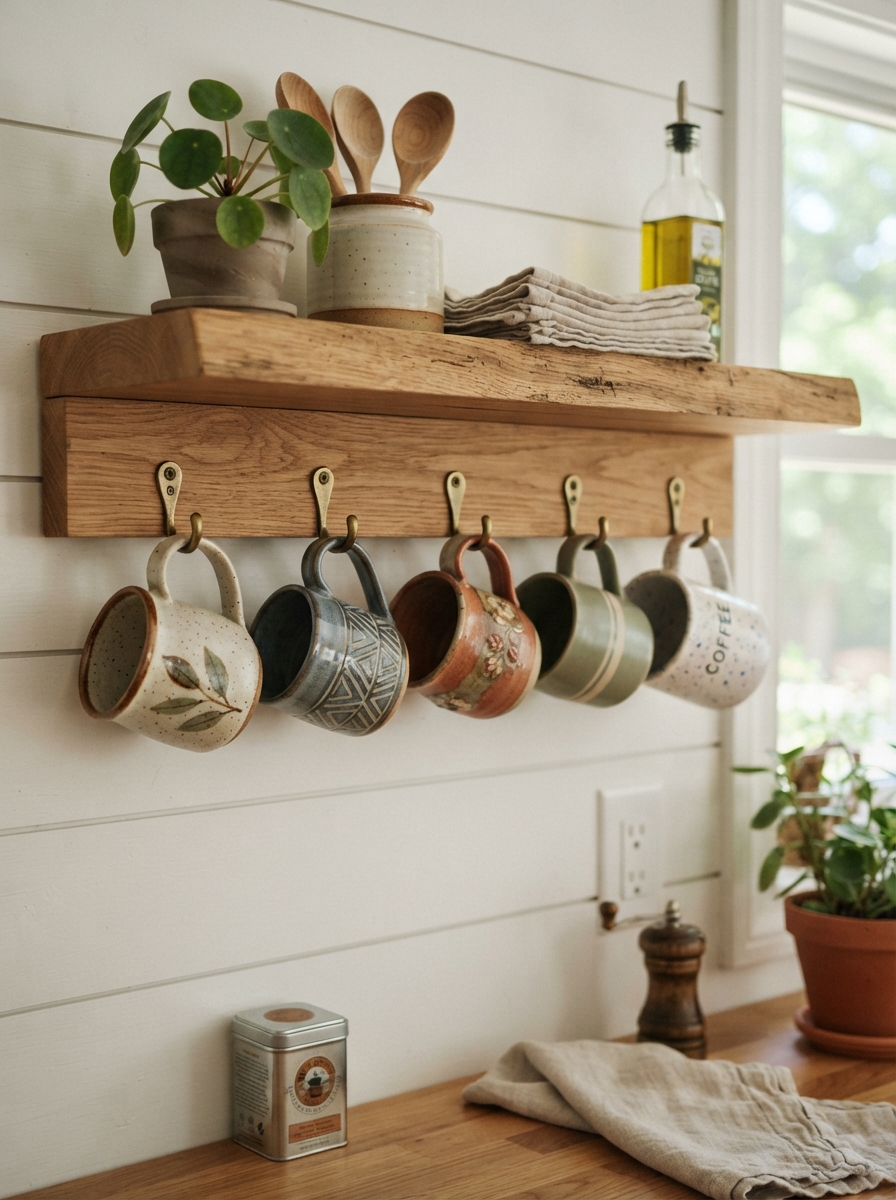
Think about your actual morning routine: you walk to the counter, hit the brew button, and reach for a mug, all before you’re fully awake. Daily items need to be at arm’s reach with zero hunting involved. Beans, pods, and filters you use every morning should have a clear, fixed home you can find without thinking. Backup supplies, a second bag of beans, or extra pods belong on the upper shelf or in a nearby cabinet.
Specific placement for a two-shelf setup
On the counter: your coffee maker, one open basket or canister for the beans or pods you’re currently using, and one or two mugs ready to go. On the lower shelf, at your established clearance height above the counter: a pod organizer or basket, filters standing upright in a slim basket, and spoons in a narrow compartment or small cup. On the upper shelf: a secondary basket for backup supplies, a small plant or decorative canister, and anything you only grab once a week.
Keep the counter itself clear of everything except the machine and the one container you reach for every morning. That restraint is what creates a purposeful coffee nook rather than a crowded corner.
The vertical trick that recovers wasted shelf space
Use shelf risers inside deeper shelves to create a second level for smaller items like spice jars, extra packets, or a small jar of honey. Stacking within baskets works the same way: pods stack neatly in a wire basket, and filters stand upright rather than lying flat. Function drives the layout; the clean, styled look follows naturally from a well-organized foundation rather than from buying more decorative pieces.
Labeling baskets and adding the styling details that tie it together
Simple labeling methods that actually work on baskets
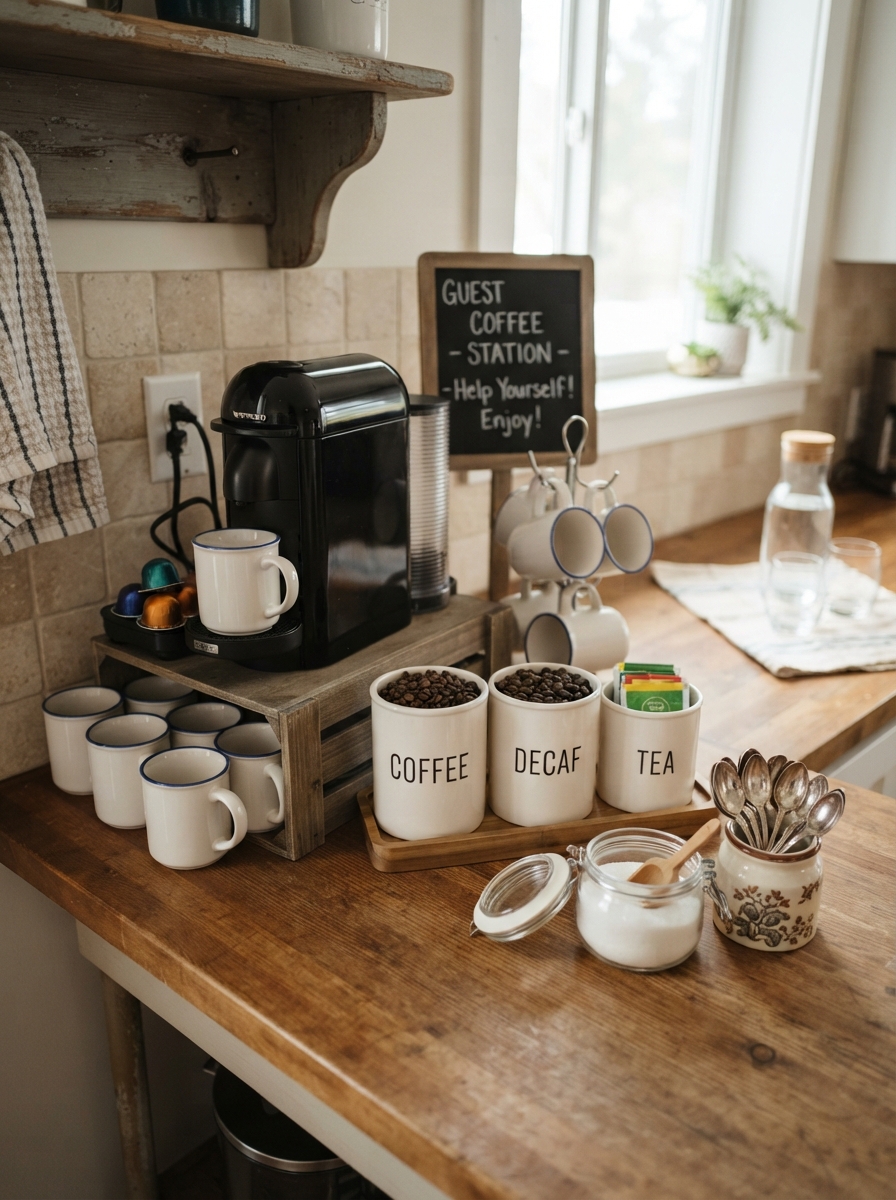
Different basket materials call for different labeling approaches. For wicker and rope baskets, hanging tags on twine tied to a handle or looped through the weave stay in place without damaging the material. For wire and metal baskets, clip-on label holders designed for wire mesh are the most durable option because they attach mechanically rather than relying on adhesive. For flat metal bins, printed adhesive labels on smooth surfaces hold well. Avoid standard stickers on textured wicker or rope; they peel and look messy within days.
Label your secondary and backup baskets more than your daily-grab ones. Once the habit is set, your daily baskets become self-explanatory. What matters for visual cohesion is using one label style across the whole station: one font, one color, one format. That consistency is what makes the whole setup read as intentional.
The one-material rule for a cleaner look
Choosing a single basket material across your entire coffee station is the single easiest styling upgrade you can make. All wire, all wicker, or all wood-and-metal creates immediate visual order without spending extra money. Three different basket types in three different materials and finishes creates noise that no amount of styling can fix. Varying shapes within one material, such as a round pod basket and a rectangular accessory bin both in the same matte wire finish, adds interest without creating clutter.
Small finishing touches that complete the setup
A small wooden tray under the coffee maker anchors the station visually and gives the counter a clear starting edge. One or two mugs displayed on hooks or a small stand serve as functional decor and free up basket space. A small potted plant or a single framed print positioned above the shelves gives the wall arrangement a finished top edge. These details are quick to execute and make the difference between a setup that looks styled and one that just looks organized.
Budget-friendly products that match the most popular coffee station styles
Minimalist and farmhouse picks that stay under budget
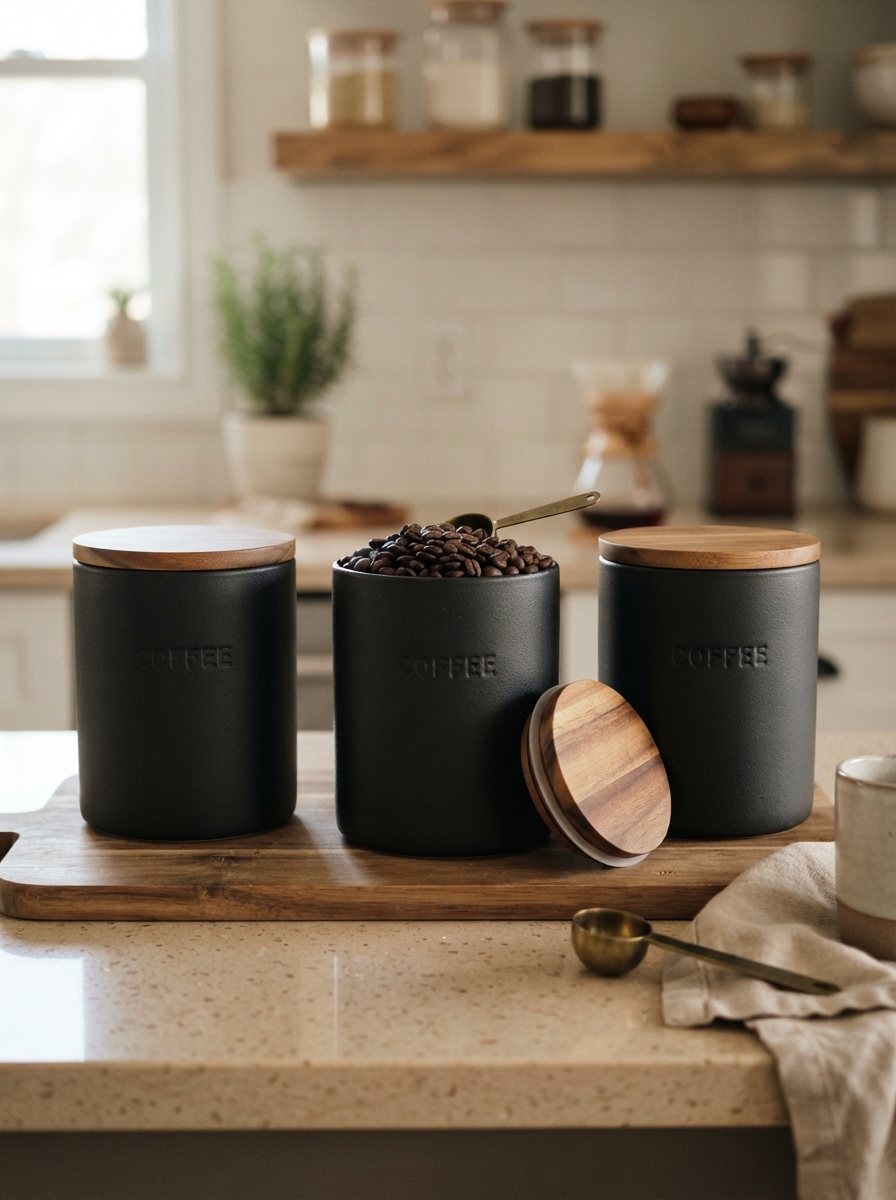
For a minimalist setup, look for slim floating shelves in light wood or painted white, matte wire baskets, black or brushed-metal mug hooks, and clear glass jars with bamboo lids. Finish consistency matters more than the price point: when every piece shares the same clean, light palette, even inexpensive items look deliberate. For a farmhouse setup, swap in wood-and-metal two-tier countertop organizers, wicker or seagrass baskets, dark S-hooks on a mounted rack, and mason jars for dry goods like sugar and coffee beans.
Industrial and warm-neutral options for a polished look
Industrial coffee stations work well with metal-framed open shelves or a baker’s rack, black wire baskets, heavy-duty metal hooks, and clear jars in simple shapes. The exposed, utilitarian look is actually one of the most forgiving aesthetics for budget pieces because the style calls for functional items rather than refined ones. For a warm-neutral or quiet-luxury setup, lean toward bamboo shelves, light woven baskets, slim brass or gold mug hooks, and matching glass jars with natural lids. Finish consistency is what makes budget pieces look expensive: all light wood, or all matte black metal, reads as a curated choice rather than a clearance-aisle collection.
Building from scratch? Aesthetic Nest Decor has the full blueprint
If you’re starting from a completely bare wall and need guidance on wall prep, stud finding, bracket mounting, and a full product sourcing walkthrough, Aesthetic Nest Decor’s dedicated coffee station setup guides cover all of it with detailed steps and layout diagrams. Think of this article as the decision-making framework and those guides as the installation manual. Once you know your shelf style, basket material, and aesthetic direction, the full guide walks you through execution from the first wall mark to the finished, styled nook.
Put it all together, one step at a time
Effective coffee station organization with open shelving and baskets comes down to five decisions made in the right order. Nail the shelf dimensions first so your machine fits and your daily items are reachable. Choose baskets by what goes inside them and what material holds up under that load. Place supplies by how often you need them, keeping daily items at arm’s reach and backstock higher up. Label secondary baskets for clarity and keep your label style consistent. Then shop by aesthetic, using finish consistency to make budget-friendly pieces look intentional.
This is one of the most impactful small-space kitchen upgrades you can make because it changes how you experience the room every single morning, not just how it looks in a photo. Remember that chaotic morning at the start? With the right shelf layout and basket system in place, you walk up, brew, and grab your mug without a second thought. For deeper dives into any of the steps here, including full mounting tutorials and room-specific layout guides, Aesthetic Nest Decor’s coffee station and kitchen nook resources have everything you need to go from planning to finished setup.