

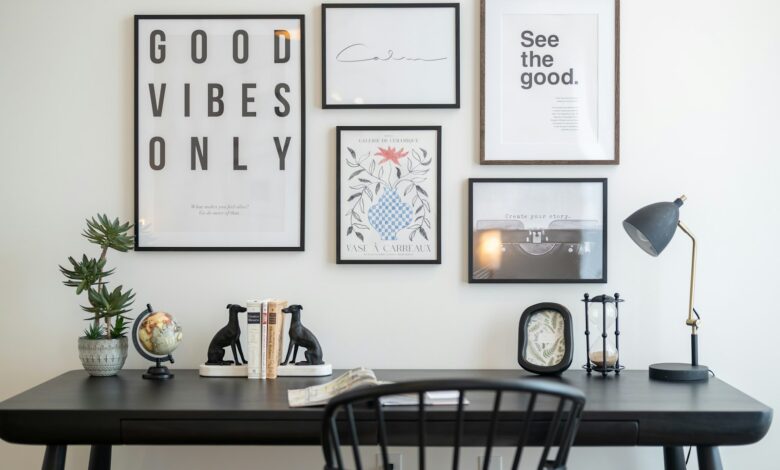
Many DIYers start a gallery wall project without a gallery wall template: they grab a hammer, eyeball a few spots on the wall, and start nailing. A week later, they’re standing in front of a crooked, off-center arrangement they can’t unsee, wondering how many patches of spackle it’ll take to start over. The frustration is real, and it’s almost always avoidable.
A scaled gallery wall template removes most of the guesswork and substantially reduces trial-and-error. You work everything out on paper first, confirm your spacing and frame positions before a single nail touches drywall, and hang with confidence instead of hoping it looks right. The difference in outcomes is significant.
Want the shortcut?
As an Amazon Associate I earn from qualifying purchases. Some links in this post are affiliate links, at no extra cost to you.
Top picks: 10-Pack Collage Picture Frames, Go Hang It! Pro Picture Hanging Kit and HesenDot Botanical Wall Art Set.
Check price on Amazon →This article is part of Aesthetic Nest Decor’s ongoing gallery wall layout guide series, check the site for the full collection. Here you’ll get a clear process: how to measure your wall correctly, where to download free printable gallery wall templates, which arrangement suits your specific wall type, and how to hang frames without the usual round of repairs.
What a good gallery wall layout plan actually does for you
Most people underestimate the aftermath of a failed gallery wall. There’s patching, sanding, repainting, and starting the whole process over again. A well-built layout plan maps out the full composition before anything touches the wall, so you know the exact outer edges of the arrangement, where each frame sits, and how much space exists between pieces.
The difference between a rough idea and a dimensioned plan is significant. A rough idea tells you “I want three big frames and a few smaller ones.” A proper gallery wall template tells you the arrangement spans 54 inches wide, the center lands at 58 inches from the floor, consistent with the 57-to-60-inch eye-level standard used in galleries and museums, and every gap between frames is exactly 2.5 inches. That level of specificity is what makes the hanging step predictable instead of stressful.
The two types of gallery wall templates worth knowing
Printable PDF templates are scaled diagrams you print out and tape directly to the wall as a paper mockup, and they serve as a hands-on picture arrangement template you can physically position before committing to a single nail. They work beautifully for straightforward grids where frame sizes are consistent. Digital layout generators, also called gallery wall layout generators, are browser-based tools where you input your frame sizes and wall dimensions to produce a custom plan. They’re the better choice when your frames are mixed sizes.
Both approaches serve the same purpose. If your frames are all the same size, a printable PDF will handle it cleanly; if they’re mixed, a generator gives you more flexibility before you commit to an arrangement.
How to Choose a Gallery Wall Template by Wall Size
The three measurements every layout plan needs
Before you touch any template tool, you need three numbers: usable wall width, usable wall height, and the clearance height above any furniture sitting below the arrangement. “Usable” is the key word here. Your full wall might be 10 feet wide, but if a doorframe cuts into one side and a window cuts into the other, your workable span is much smaller. Always measure the clear, unobstructed area.
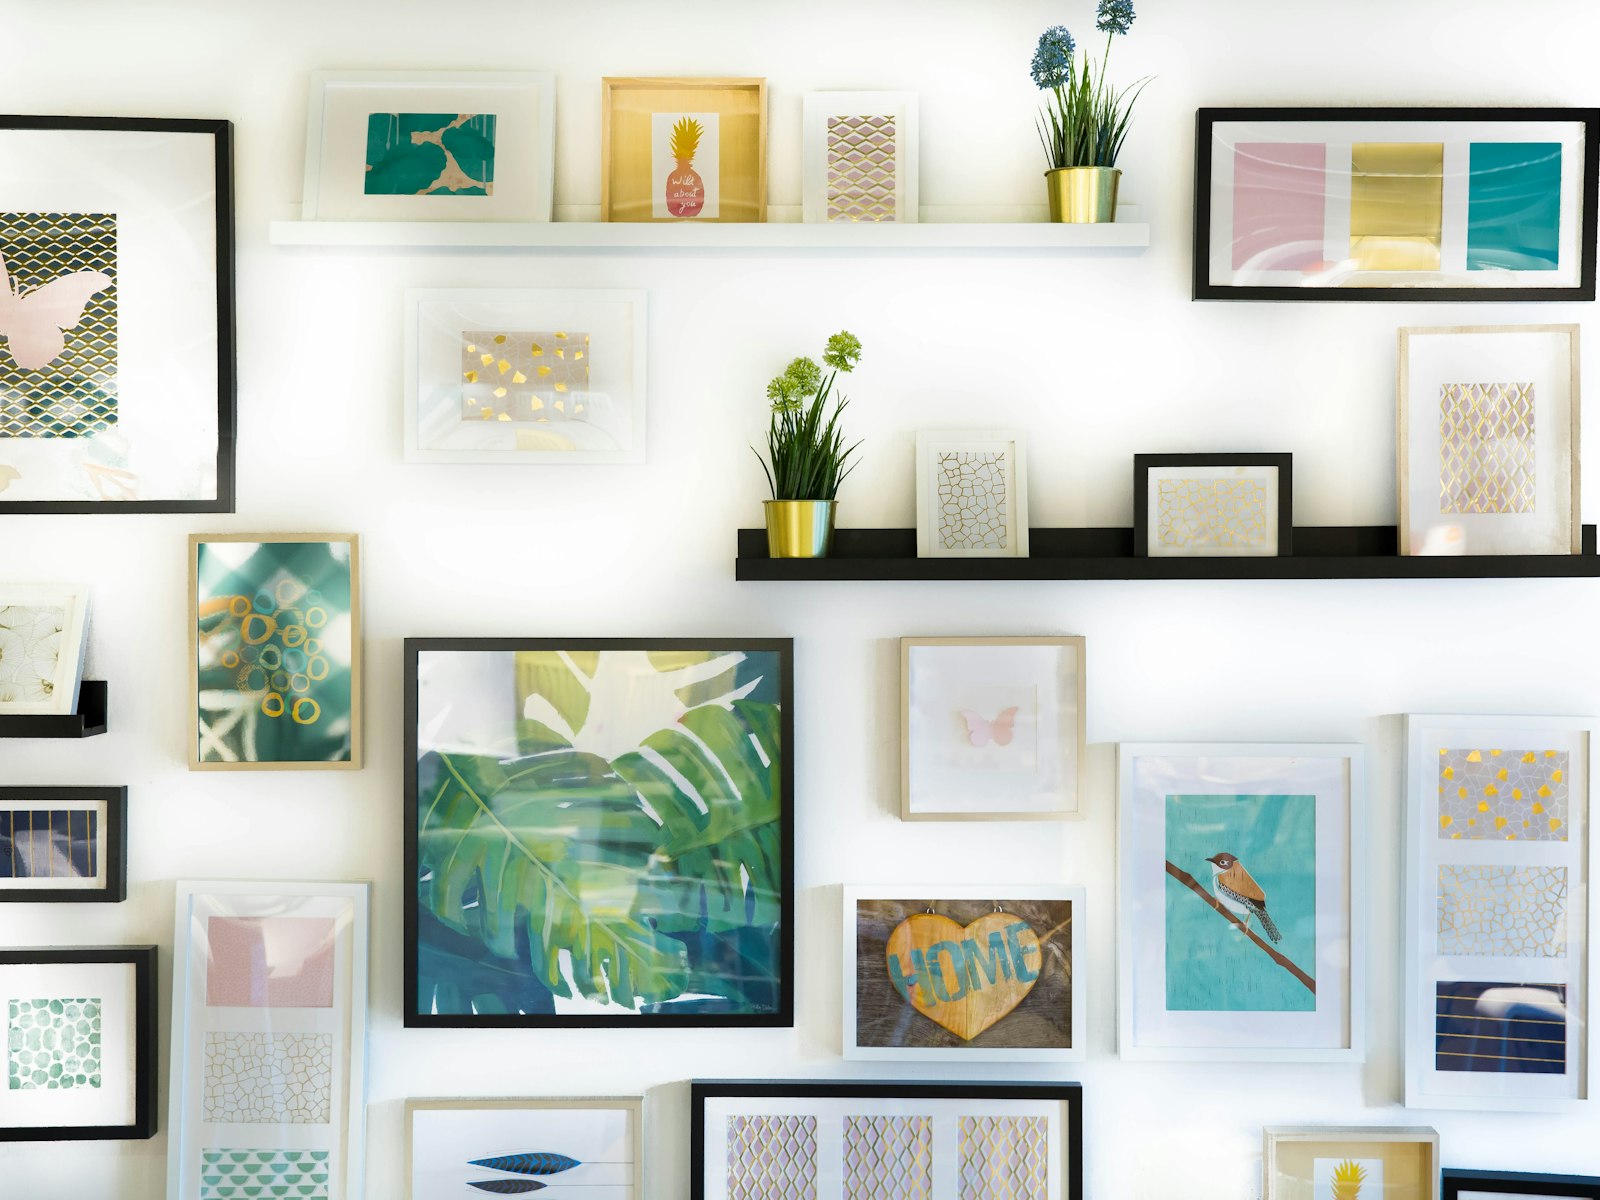
For walls above a sofa or console table, add a fourth measurement: the distance from the floor to the top of the furniture piece. This tells you how low your bottom row of frames can go, which directly affects which gallery wall templates will actually fit your wall.
Accounting for furniture, windows, and awkward walls
It’s common to encounter non-square walls, particularly in older homes where settling can throw off plumb and level over time. Take measurements at multiple points. When obstructions like windows or furniture constrain one side, work from the smallest consistent usable dimension so your arrangement stays clear of the wall edge and any fixed obstacles.
Before you open any template tool, sketch a rough wall map on paper with all your measurements labeled. Mark where furniture sits, where windows fall, and note any outlets or light switches. This sketch takes five minutes and saves you from discovering a conflict after you’ve already printed and taped a paper mockup to the wall.
Where to Find Free Printable Gallery Wall Templates by Wall Size
Printable template options for small and medium walls
Several solid sources offer free printable layout plans. ExacTac provides 12 free DIY gallery wall templates. Desenio organizes its templates by small, medium, and large walls with full measurements included. Open Digital Gallery offers eight copyable layouts sized for specific wall and furniture conditions. Each source approaches the problem slightly differently, so it’s worth browsing more than one before deciding.
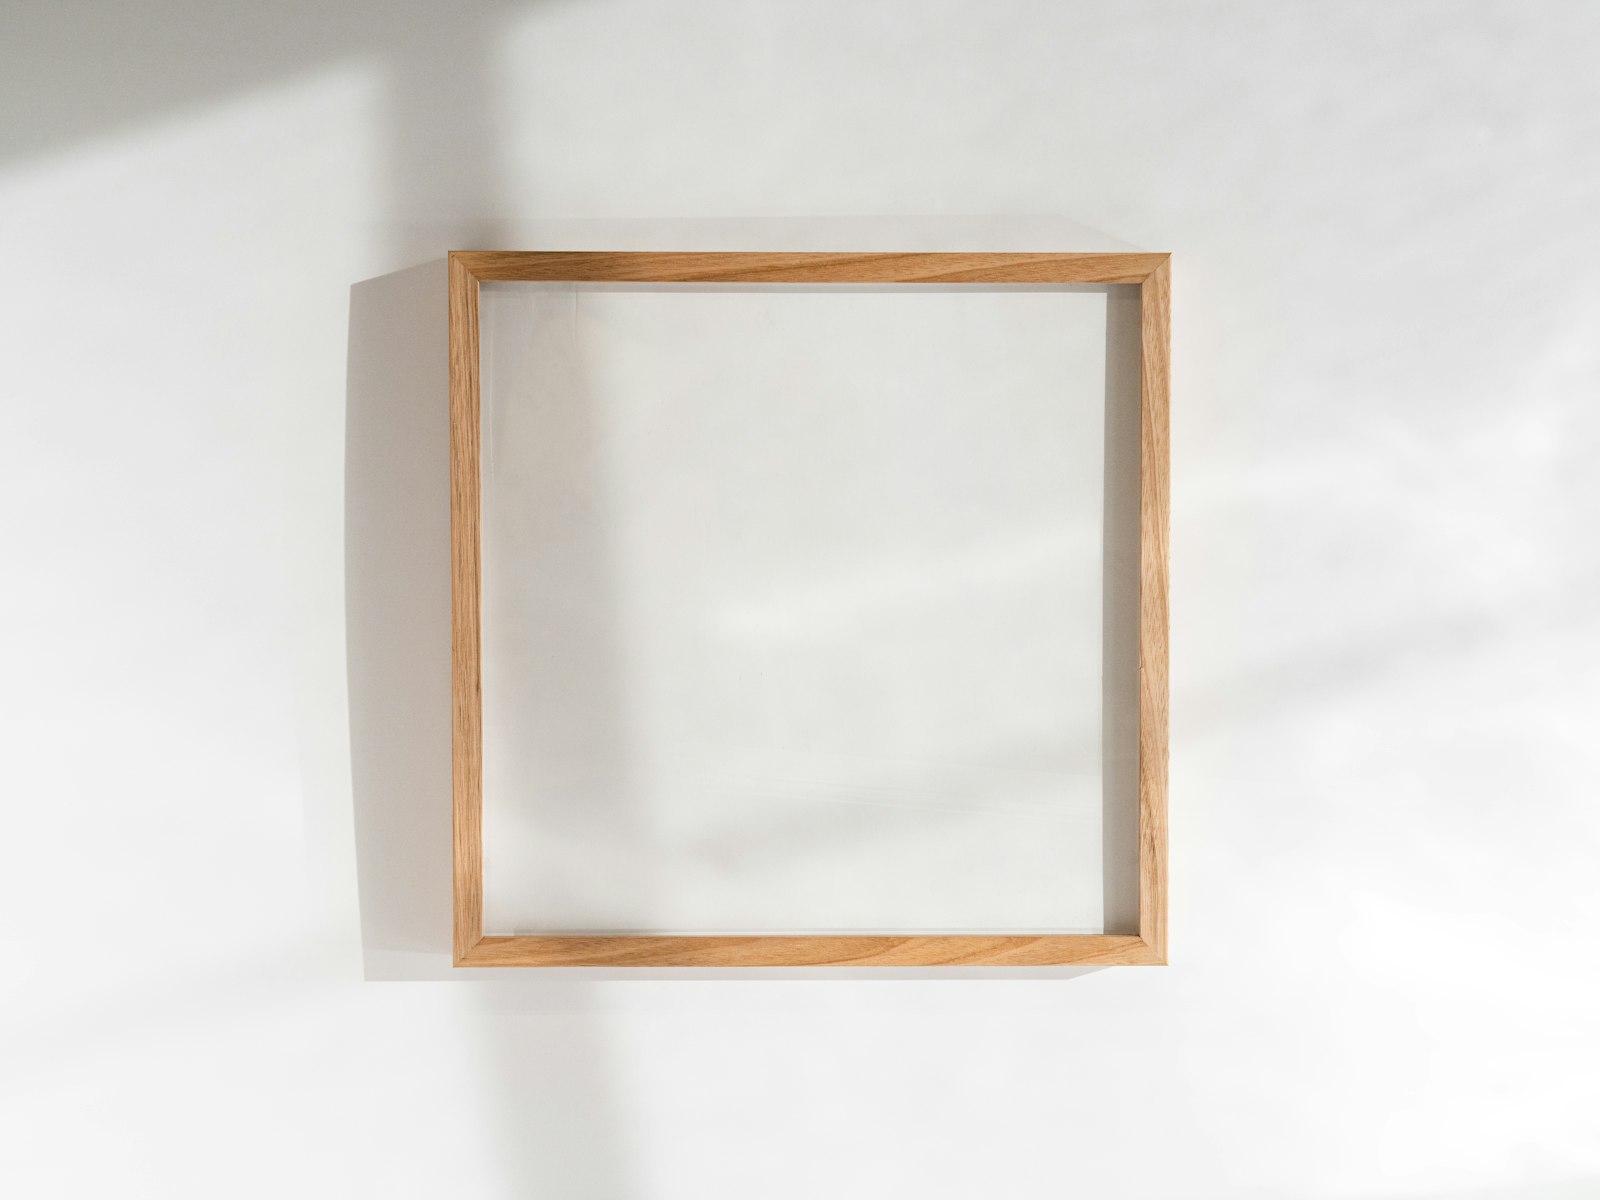
Small-wall templates are built differently from large-wall versions. They prioritize tighter frame spacing and fewer pieces, often a handful of frames, to avoid overcrowding a compact wall. If you try to force a large-wall layout onto a smaller space, the arrangement will feel heavy and overwhelming rather than curated.
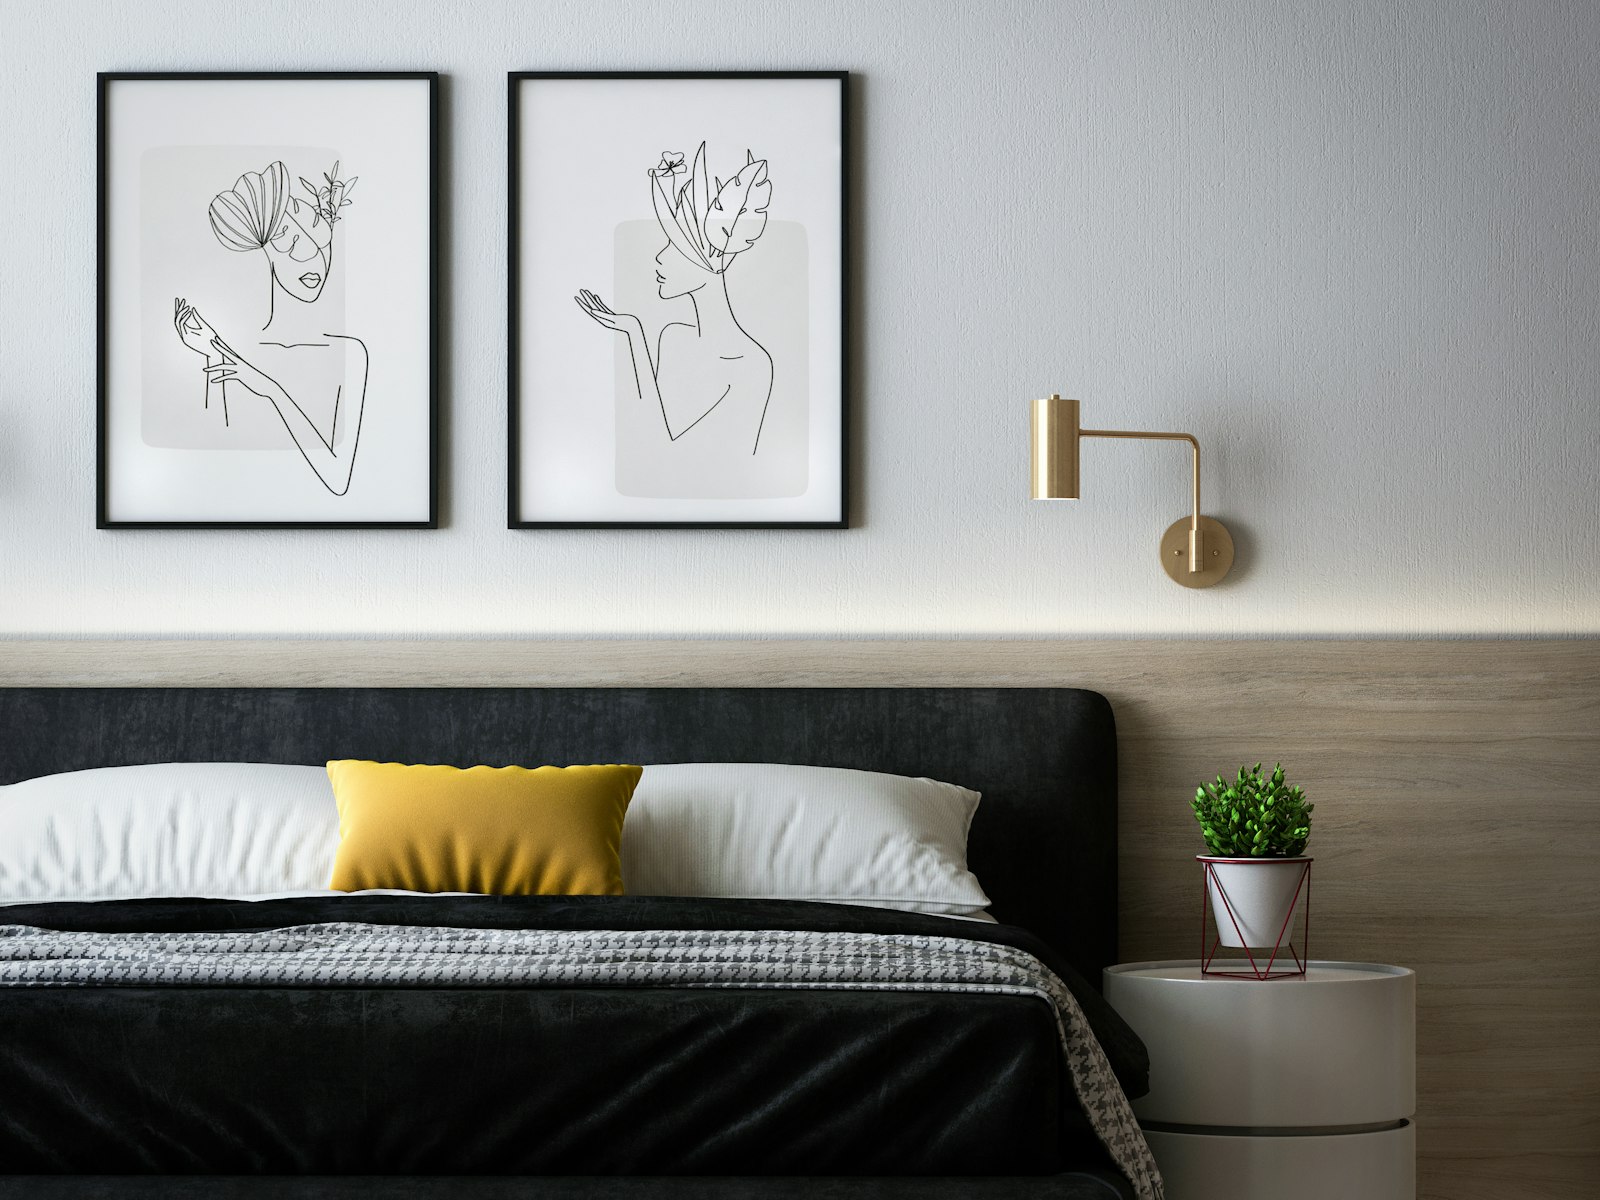
Online gallery wall layout generators for larger or mixed-frame arrangements
GalleryWallPlanner is a browser-based tool that outputs dimensioned plans using your actual frame sizes, which makes it particularly useful when you’re working with a mix of dimensions. My Wall Decorator offers 67 free templates alongside an editable picture frame template tool that lets you adjust sizing before you commit to printing anything. A reader favorite for this is the 11×14 Picture Frames (Set of 6).
A gallery wall layout generator beats a static printable when your frames are genuinely mixed in size. Say you have three 8x10s, two 5x7s, and one 11×14. Dragging those real dimensions around inside a generator lets you find a balanced arrangement before you ever cut a sheet of kraft paper. The goal is to solve the puzzle on screen before it’s a puzzle on your wall. If you are shopping for this, the 10-Pack Collage Picture Frames is a well-reviewed option.
Shop the look: Frames
 10-Pack Collage Picture FramesA matched setCheck price on Amazon →
 11×14 Picture Frames (Set of 6)Warm woodCheck price on Amazon →
 upsimples 8×10 Frames (Set of 10)Light and brightCheck price on Amazon →
 MELANNCO 18×23 Collage FrameMixed sizesCheck price on Amazon →
As an Amazon Associate we earn from qualifying purchases. Prices and ratings change, so check Amazon for today’s details.
Matching your template to the specific wall you’re working with
Above-sofa arrangements: the two-thirds rule
The gallery arrangement above a sofa should span roughly two-thirds of the sofa’s width. An 84-inch sofa pairs best with a grouping that runs 54 to 58 inches across. Going much wider than that makes the arrangement feel disconnected from the furniture below it. Going narrower makes it look like an afterthought.
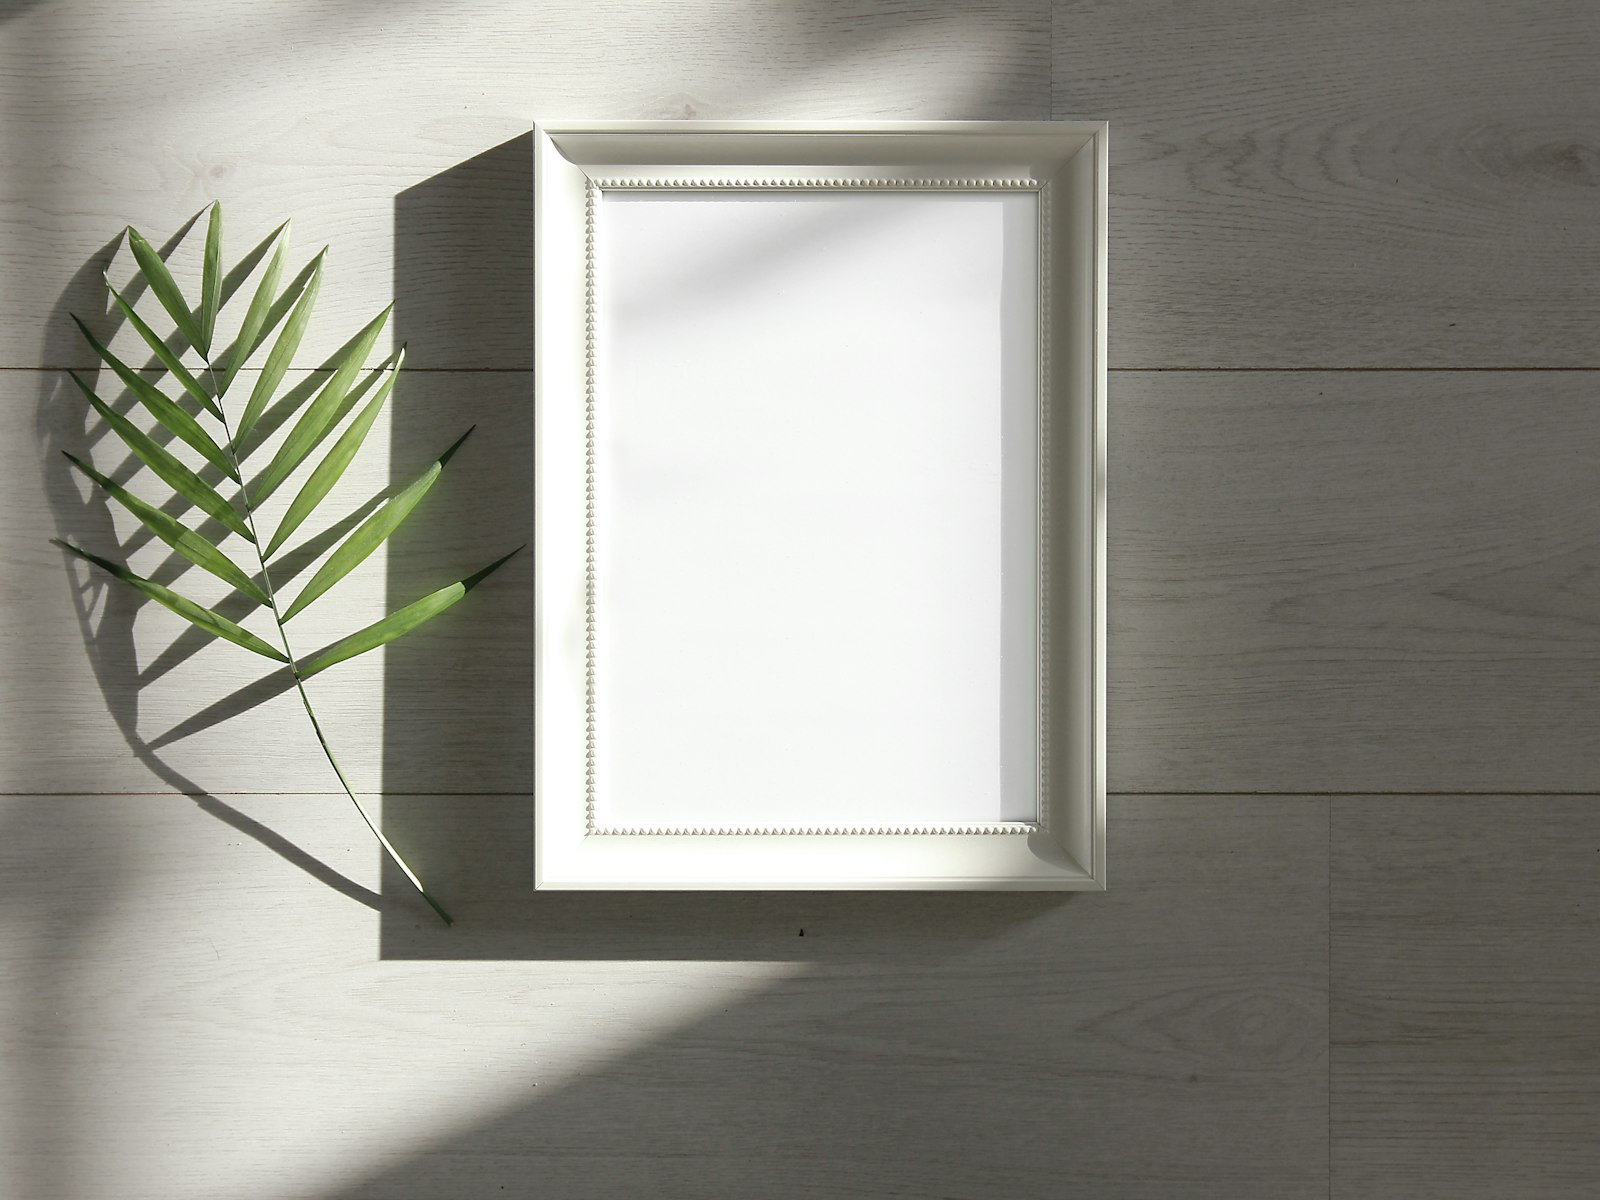
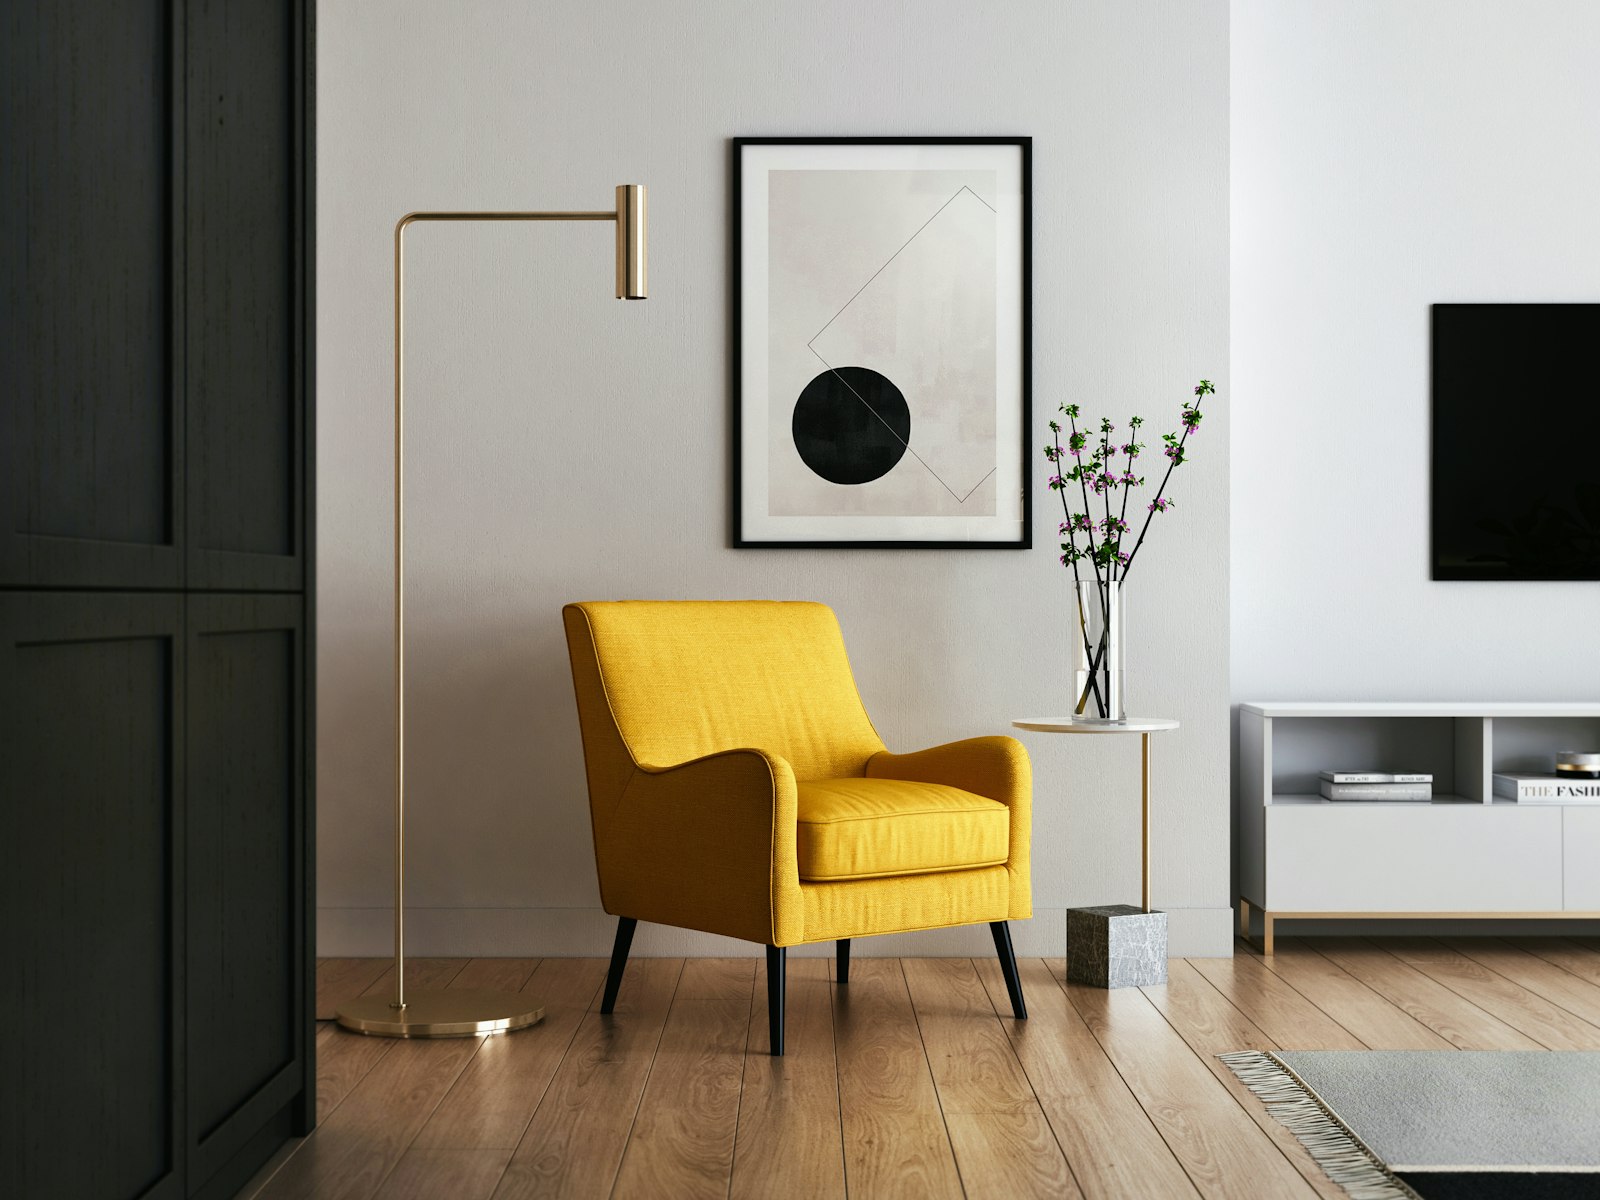
The best template types for above-sofa walls are tight grids, horizontal triptychs, and staggered anchor arrangements. The bottom of your lowest frame should sit about 7 to 10 inches above the sofa back. Going higher than that creates an awkward visual gap that no amount of styling will fix. You might also like Accent Wall Ideas to Transform Any Room Instantly.
Staircase walls and narrow hallways
Staircase walls need templates that follow the slope of the stairs. A grid that follows an ascending diagonal line works far better than a straight horizontal arrangement, which will look stiff and fight the natural movement of the staircase. Look specifically for ascending-line or two-line stagger templates designed for angled walls.
Narrow hallways under 48 inches wide need slim layouts: a single vertical column, a one-story horizontal row, or a compact 2×3 grid. Wide arrangements that look stunning in a living room feel obtrusive and claustrophobic in a tight hallway. Match the layout scale to the physical scale of the space, not to what you saw on someone else’s Instagram. One option worth a look is the Go Hang It! Pro Picture Hanging Kit.
Shop the look: Tools
 Go Hang It! Pro Picture Hanging KitHooks for every weightCheck price on Amazon →
 Laser Level Line ToolPerfect alignmentCheck price on Amazon →
 Command Large Picture Hanging StripsDamage-freeCheck price on Amazon →
 ScotchBlue Painter’s TapeTape your templateCheck price on Amazon →
As an Amazon Associate we earn from qualifying purchases. Prices and ratings change, so check Amazon for today’s details.
The spacing and height rules every good template builds in
Where the center of your arrangement should land on the wall
The standard benchmark is to place the visual center of the overall arrangement at 57 to 60 inches from the floor. This aligns with average eye level and is the same guideline museums and galleries use when hanging work. It applies whether you’re hanging one large piece or a 12-frame grid.

When hanging above furniture, the 57-to-60-inch centerline still applies as a target, but it gets adjusted by the furniture height below. The bottom frame should clear the furniture top by 7 to 10 inches, and then the whole group’s center should land as close to that 57-to-60-inch mark as your wall and furniture allow.
How far apart frames should be
The reliable default gap between frames is 2 to 2.5 inches. For small frames (5×7 or 4×6), tighten that to 1.5 to 2 inches. For larger frames (16×20 and up), 3 to 4 inches keeps the arrangement from feeling cramped. These aren’t arbitrary numbers, they reflect how the eye reads a group of objects as a unified composition rather than a scattered collection. If you want to go further, read 15 Easy DIY Wall Decor Ideas to Transform Any Room.
Consistency matters more than the exact number. Whatever gap you set between one pair of frames should stay the same across the entire wall. Mixed spacing is one of the most common reasons a gallery wall looks unfinished even when the frames themselves are beautifully chosen.
How to hang frames using a hanging template for frames without making mistakes
Creating your full-size paper mockup
Print your chosen layout at actual dimensions, either tiled across standard letter-size sheets or at a print shop for larger walls. Trim the edges, align the sheets using the grid guides on overlapping sections, and tape them into one full-size mockup. Before anything goes near the wall, lay the assembled paper mockup on the floor next to your actual frames to confirm that the template dimensions match the real frames.
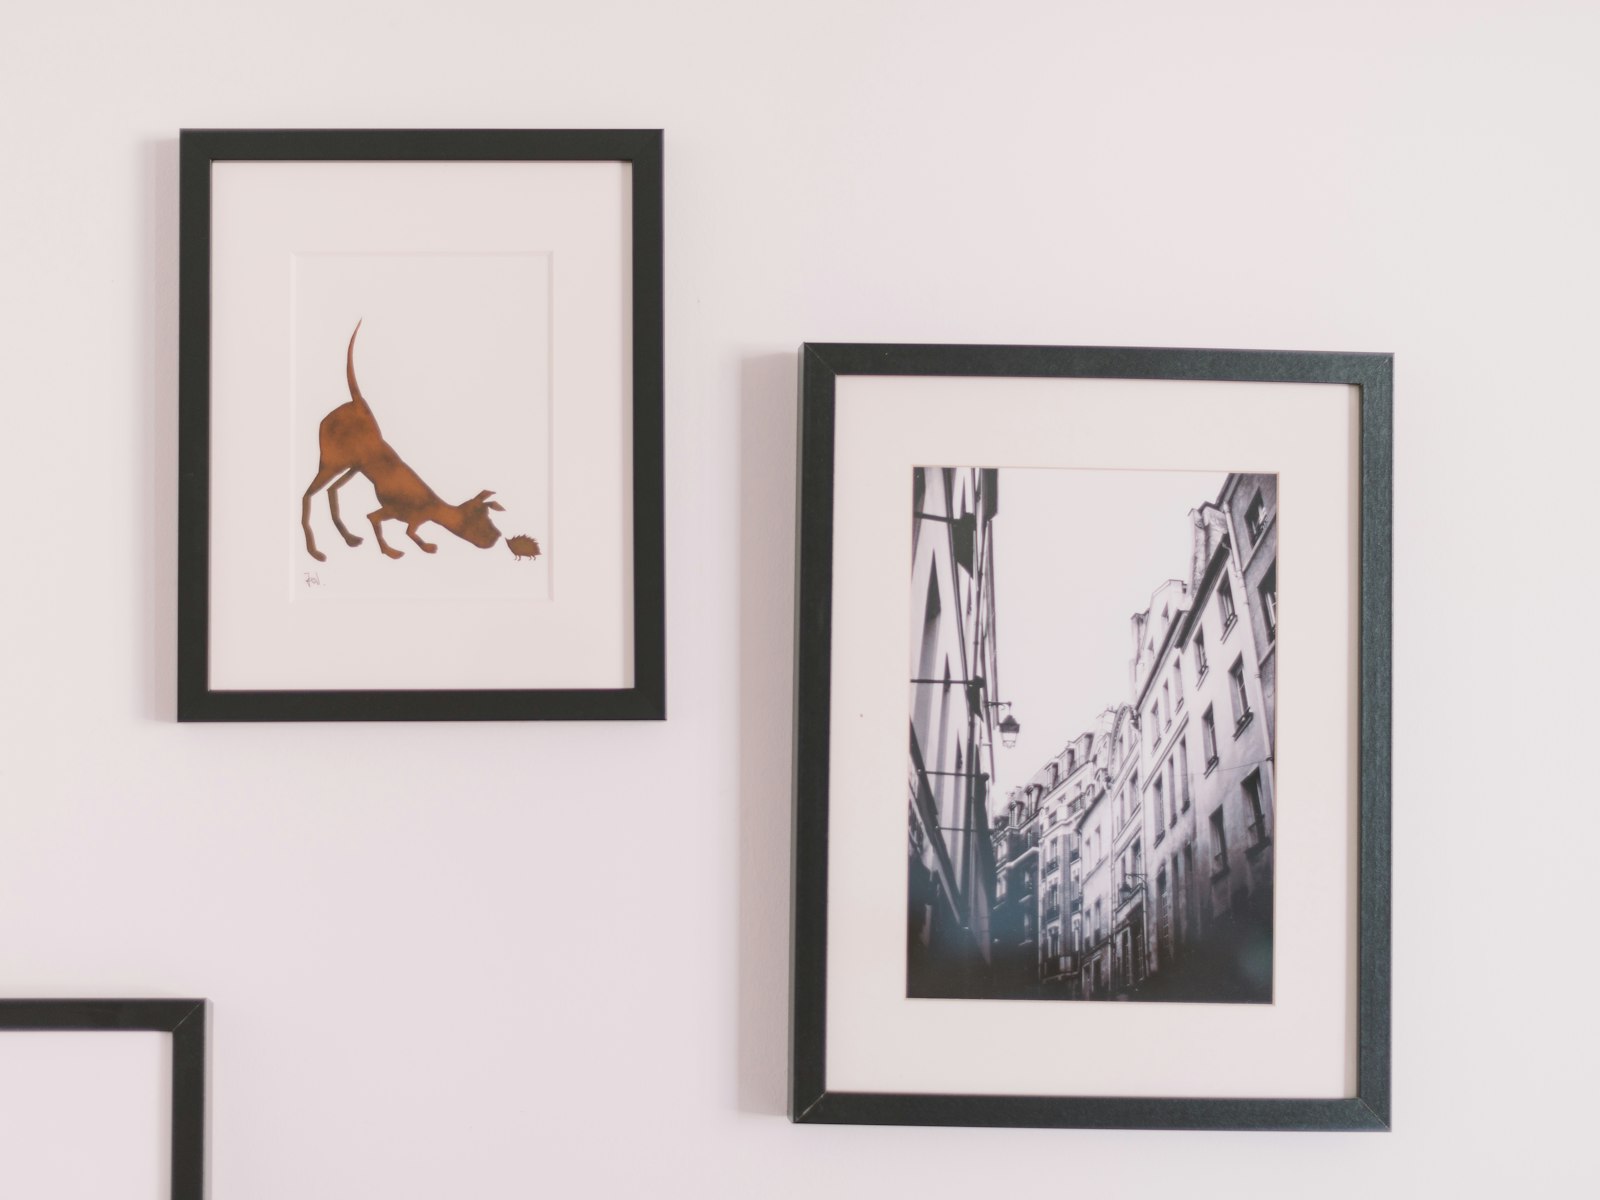
This floor check catches problems early. If a frame is slightly larger than you measured or a template was printed slightly off scale, you’ll catch it on the floor rather than after you’ve already marked the wall. Skipping this step is how most hanging mistakes happen. A reader favorite for this is the 97 Decor Vintage Botanical Prints.
Marking the wall and installing hardware
Position the full-size paper mockup on the wall with painter’s tape. Level it carefully, step back to check the centering visually, and make any position adjustments before marking anything. The tape is forgiving; the nail holes are not.
Mark nail or hook positions directly through the paper or alongside it on the wall, then remove the template and verify each mark with a level independently. Hang frames one at a time, checking level after each one before moving on. Re-check the full arrangement’s alignment frequently as you go rather than waiting until everything is up and discovering a cumulative drift that’s harder to fix. If you are shopping for this, the HesenDot Botanical Wall Art Set is a well-reviewed option.
Shop the look: Art
 HesenDot Botanical Wall Art SetReady to frameCheck price on Amazon →
 97 Decor Vintage Botanical PrintsClassic botanicalCheck price on Amazon →
 Eclectic Wall Art PrintsModern shapesCheck price on Amazon →
 CY2SIDE Black and White Photo PrintsTimelessCheck price on Amazon →
As an Amazon Associate we earn from qualifying purchases. Prices and ratings change, so check Amazon for today’s details.
Shopping list
- 10-Pack Collage Picture Frames — a matched set
- 11×14 Picture Frames (Set of 6) — warm wood
- upsimples 8×10 Frames (Set of 10) — light and bright
- MELANNCO 18×23 Collage Frame — mixed sizes
- Go Hang It! Pro Picture Hanging Kit — hooks for every weight
- Laser Level Line Tool — perfect alignment
- Command Large Picture Hanging Strips — damage-free
- ScotchBlue Painter’s Tape — tape your template
- HesenDot Botanical Wall Art Set — ready to frame
- 97 Decor Vintage Botanical Prints — classic botanical
- Eclectic Wall Art Prints — modern shapes
- CY2SIDE Black and White Photo Prints — timeless
Prices and availability change. Links open on Amazon.
Keep reading: Gallery Wall Ideas: How to Create a Beautiful Wall Display · Gallery Wall Ideas: How to Arrange Art Like a Pro · Accent Wall Ideas to Transform Any Room Instantly · 15 Easy DIY Wall Decor Ideas to Transform Any Room · Wall Art Arrangement Tips Every Homeowner Should Know
Helpful resources: the rule of thirds, the golden ratio, picture frame basics.
Start with your measurements, not with the nails
A scaled gallery wall template turns what feels like a complicated, high-stakes project into a predictable, repeatable process. Measure first, plan on paper, verify before nailing. That sequence is what separates a clean hang from a wall full of spackle.
Aesthetic Nest Decor’s gallery wall layout guide series covers this topic in depth across multiple room scenarios, frame mix combinations, and styling formulas. If you want more room-specific guidance, including how to handle asymmetrical frames, how to incorporate shelves into a gallery arrangement, and how to light the finished wall, those guides are available on the site and worth bookmarking. Related: Wall Art Arrangement Tips Every Homeowner Should Know.
The planning step typically takes only 15 to 30 minutes once you have your wall measurements in hand, and that time reliably saves hours of patching and repainting. Pull out a tape measure, write down your three numbers, and pick a gallery wall template that matches your actual wall dimensions today.
Frequently Asked Questions
What size frames should I use for a gallery wall?
Mix two or three sizes, such as 8×10, 11×14 and one larger 16×20 anchor, so the layout feels balanced.
How do I use a gallery wall template?
Trace each frame on paper, tape the templates to the wall, mark the nail points and hang the frames directly over the paper.
How much space should a gallery wall take?
Aim for about two-thirds of the width of the furniture below it, with 2 to 3 inches between frames.
Save This for Later
Pin this image to your Pinterest board so it is ready when you need it.
Get one cozy decor idea every week
Seasonal styling ideas, budget finds and new guides. No spam, unsubscribe anytime.