
Many American garages serve exactly one purpose: storing stuff nobody uses. Boxes from the last move, a bike with a flat tire, holiday decorations that come out three weeks a year. For a lot of households, it’s genuinely some of the most underused square footage in the home, sitting right there, attached to the house, every single day. Thoughtful garage gym design turns that neglected space into a functional home workout area that actually earns its square footage.
Converting a garage into a home gym is not simply a matter of rolling in a rack and calling it done. It is a real design project, with the same decisions about layout, materials, lighting, and climate that any other room demands. At Aesthetic Nest Decor, we apply the same intentional, room-by-room approach to every space in the home. The garage is no exception. When it works, it works every day, for years.
This guide covers everything you need to build a garage gym that actually functions: layout planning by garage size, the right flooring for the work you’re doing, smart equipment placement, lighting that performs, climate solutions for year-round use, and the finishing touches that make the space feel like somewhere you want to show up. By the end, you’ll have a clear starting point and a practical checklist to move from empty floor to finished gym.
Garage Gym Design: Choosing the Right Layout for Your Space
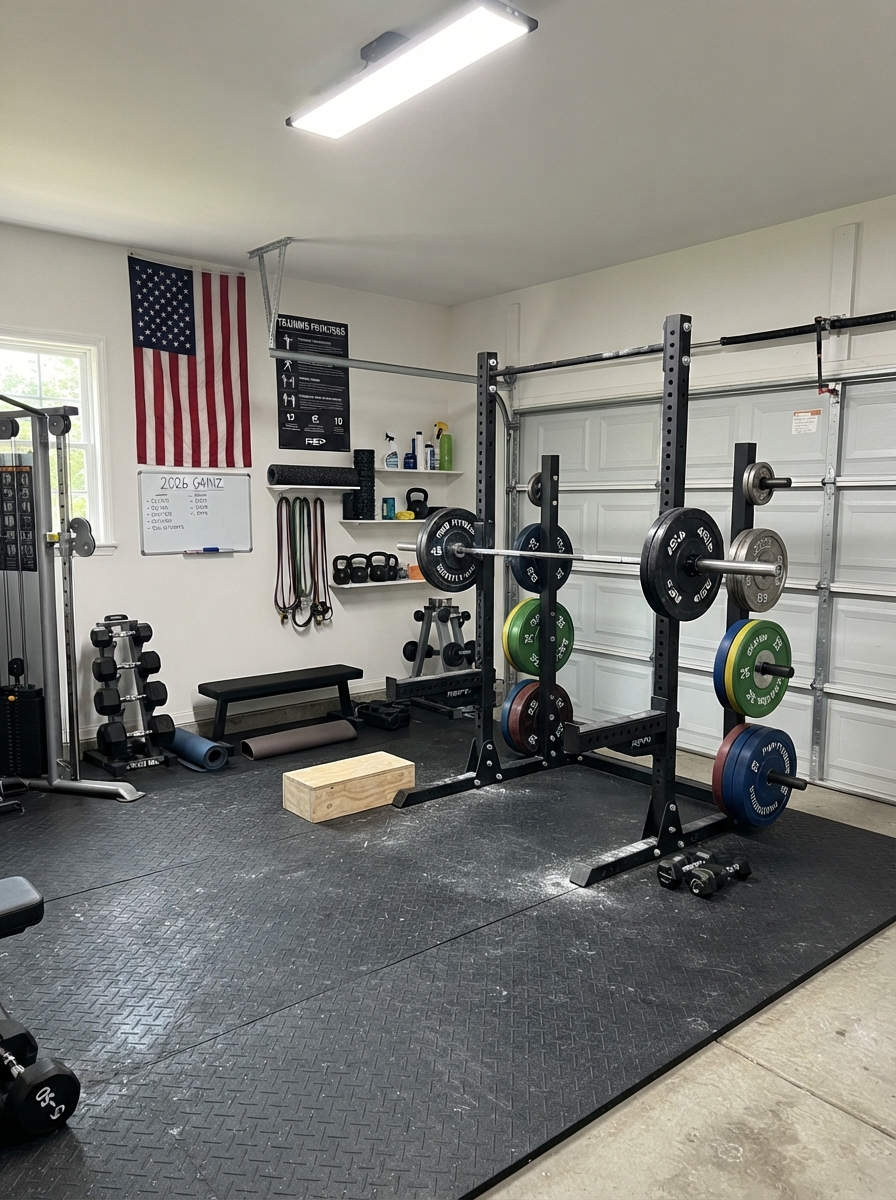
Layout comes first. Every other decision you make, flooring type, equipment selection, wall storage, depends on how much usable space you’re actually working with. A common mistake in any garage gym build is buying equipment before mapping the floor. You end up with a rack that blocks a door swing, a barbell that won’t clear the wall, or a treadmill that cuts off the only path to the side entry. Getting the garage gym layout right from the start prevents all of it.
One-car and half-garage setups: making every square foot work
In a one-car garage, the layout principle is simple: anchor your rack or primary strength station against the back wall or the longest usable wall, keep plates and bars within one step of that anchor, and protect a clear training lane down the center. That lane is where you warm up, do barbell work, and move. Everything else builds around it.
Half-garage configurations require a more compact approach, and floor footprint matters more than equipment variety. A folding or half rack, wall-mounted plate storage, and a bench that stores vertically or slides under the rack are the non-negotiables in this setup. If the car still needs to fit, plan the car rectangle and door swing first, then fit the gym into the remaining strip. Tight, yes. Workable, absolutely.
Two-car garage gym: separating zones cleanly
A two-car garage offers the most flexibility of any standard residential setup. The cleanest approach is to dedicate one full bay to training and keep the other for parking or general storage, running your flooring only where training happens. This gives you a self-contained gym zone with clear physical boundaries and no conflict between the car and your equipment.
If both bays need to stay partially functional, keep all equipment on the perimeter and preserve the center as a shared lane. Avoid placing anything in the garage door swing path. When a car needs to come in, the gym stays usable on the sides; when you’re training, the center stays clear.
The one layout rule every garage gym needs
Regardless of size, every garage gym needs one open training lane. This is the strip of floor where you move, warm up, and perform barbell lifts. It cannot be an afterthought. Plan for it first, then fit equipment around it. If your layout eliminates that lane, the gym will feel cramped and is likely to stop getting used, no matter how good the equipment is.
Garage Gym Flooring Options: What to Put Down and What to Skip
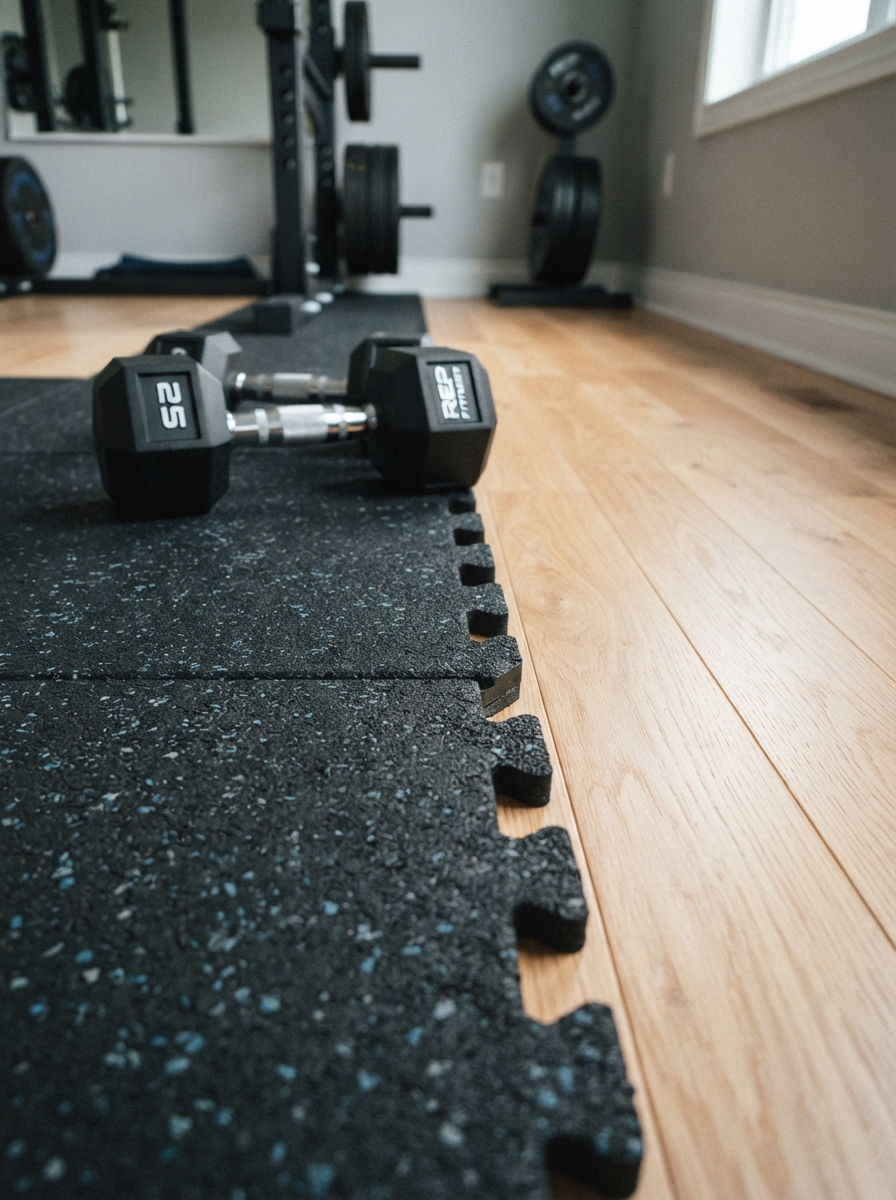
Flooring is one of the most important investments in a garage gym build, and it’s typically where budgets get cut first. Bare concrete is slippery, hard on joints, and destructive to equipment over time. Many foam tiles look fine on day one but degrade quickly under heavy use and are not recommended for lifting zones. Getting this decision right early saves money and prevents real problems.
Rubber stall mats for the lifting zone
Three-quarter-inch rubber stall mats are the standard recommendation in strength training communities for any area where heavy weights are involved. They handle dropped dumbbells, loaded barbells, and deadlifts without cracking, shifting, or compressing under the feet of a loaded rack. They are also the most durable flooring option available at an accessible price point.
Most farm supply stores carry these in 4×6 panels. Prices vary by supplier, thickness, and region, but a rough budget of $1.50 to $2 per square foot is a reasonable starting estimate for standard stall mats, check current retailer pricing before committing. They’re heavy and not especially easy to cut, but they will outlast almost anything else you put in that space. This is one area where spending more upfront pays off.
Rubber tiles and rolls for cardio and mixed-use areas
Thinner rubber tiles or rolls work well under treadmills, rowing machines, and general mobility areas. They reduce vibration, protect the concrete, and provide solid traction without the density needed for heavy drops. Interlocking rubber tiles are easier to install and replace in sections, which is useful if one area takes more wear than others.
For a two-zone garage gym, the most practical setup is thick stall mats under the rack and lifting area, with interlocking rubber tiles covering everything else. This keeps costs reasonable while putting the most durable material exactly where the punishment happens.
What to avoid on garage concrete
Foam puzzle tiles are not appropriate for lifting zones. They compress under rack feet, degrade quickly under dropped weight, and create an unstable surface for heavy barbell work. If you want to use them for a yoga or stretching corner, that’s fine. Under a power rack, they are a liability. Cheap vinyl and carpet tiles present their own issues: both can trap moisture in garages with significant temperature swings, which can compromise traction and material integrity over time.
Equipment Placement and Garage Gym Storage Solutions
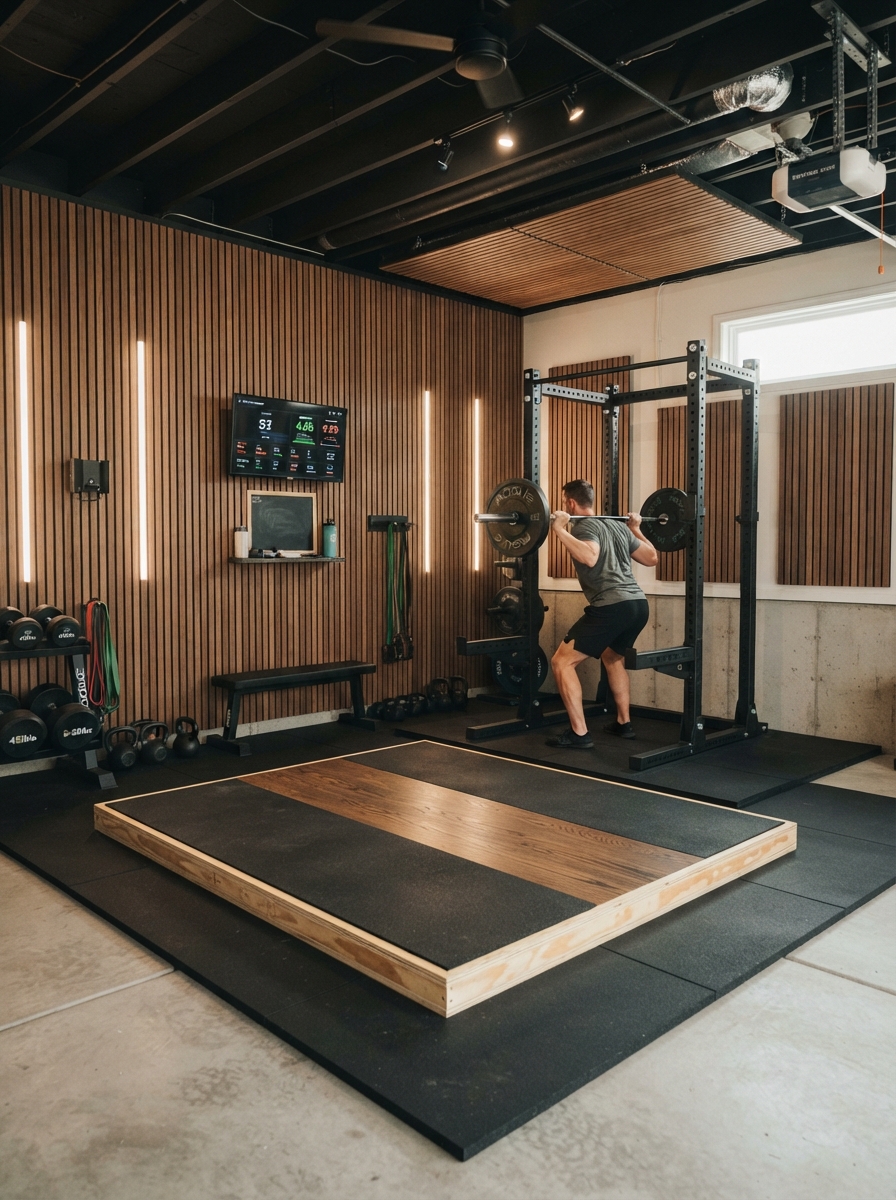
Once the flooring is down, equipment placement determines whether the gym functions or just looks like one. The goal is a clear center lane, a defined strength station, and zero unnecessary floor footprint. Every square foot of floor space you claim for storage is a square foot you can’t train in.
Where to anchor your rack and primary strength station
The rack goes against a wall. Back wall or a long side wall are both strong placements. Position it so a loaded barbell clears the wall on both sides and you have room to step back into a squat without bumping anything behind you. Check ceiling height too: 9 feet is the practical minimum for a full-size rack with overhead pressing, and 10 feet gives comfortable clearance for taller lifters.
Keep your bench, plates, and bars within one step of the rack. This cluster becomes your strength station, a self-contained unit that functions without requiring you to walk across the gym for every load change. When the station is organized this way, workouts flow faster and the rest of the floor stays clear.
Wall-mounted storage for plates, barbells, and accessories
Vertical wall-mounted plate pegs are the single most space-efficient storage solution for weight plates. A well-designed system holds 200 to 400 pounds of plates in under two square feet of wall depth, which is a meaningful trade compared to a plate tree sitting on the floor. If your rack has integrated weight horns, use them, that makes the rack the storage hub and eliminates the need for a separate freestanding tree entirely.
Horizontal bar holders keep barbells off the floor and out of the training lane. Multi-bar wall systems keep everything vertical and organized, freeing up floor space that matters far more than the few inches of wall they occupy. Wall-first storage is the rule in any garage gym where floor space is the real constraint.
Keeping cardio machines from swallowing the room
Bulky cardio machines go on the perimeter, never in the center. If the machine folds, make folding it part of the post-workout routine and store it against the wall. For treadmills and rowers that don’t fold, dedicate a corner to them and keep the footprint as tight as the machine allows. The training lane always takes priority over machine convenience.
Lighting and Climate Control for a Gym You’ll Actually Use Year-Round
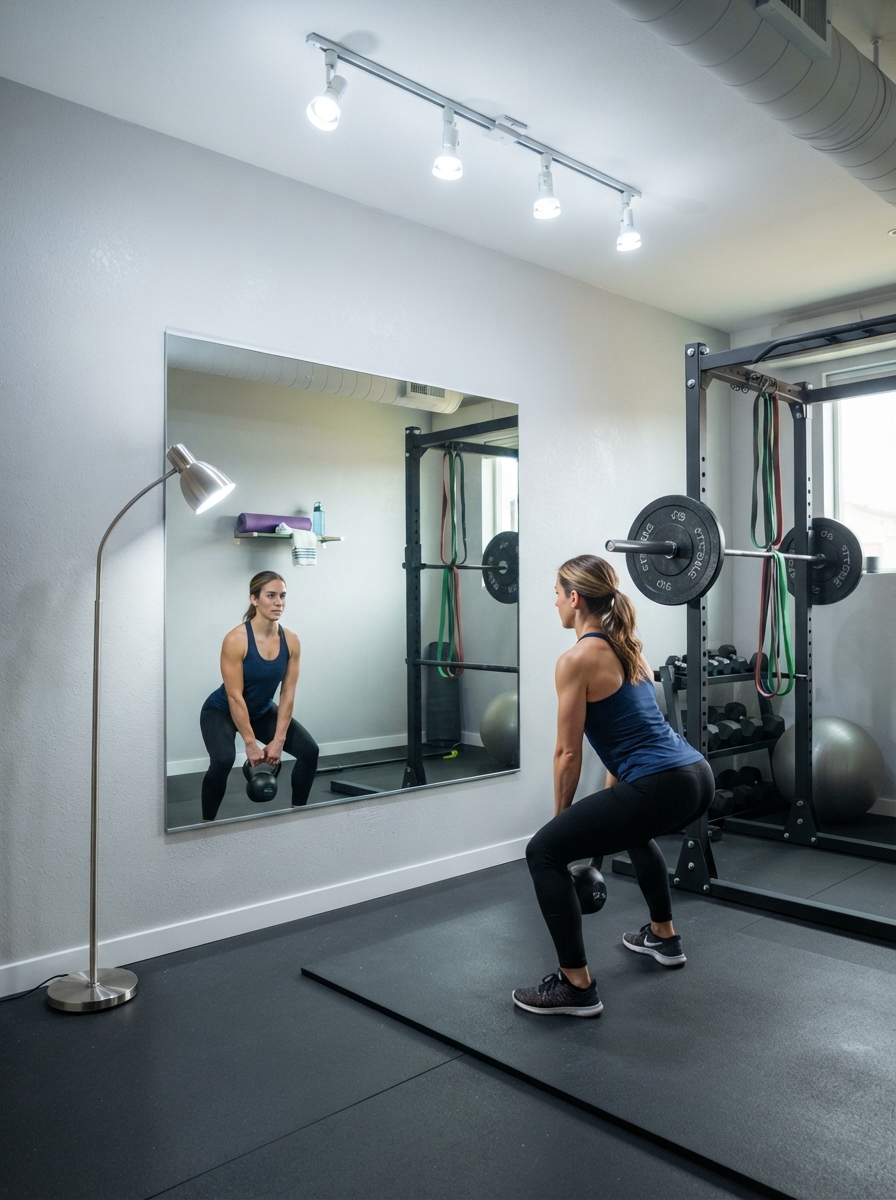
A garage gym that is dark, sweltering in August, or freezing in January will not get used consistently. Lighting and climate are practical problems with straightforward solutions. Getting them right early is far cheaper than retrofitting after everything else is built out.
LED shop lights and how to position them
LED shop lights in a 4-foot or 8-foot format at 5000K daylight temperature are the standard for garage gyms. They’re bright, energy-efficient, and built for the temperature swings garages experience. Brands like Barrina, Hykolity, and Sunco consistently perform well at accessible price points, with a single fixture typically running $25 to $60.
For a 400-square-foot garage gym, target 20,000 to 30,000 lumens total for training-level brightness. That usually means four to six fixtures arranged in two rows above the training lane and strength station. Position lights directly overhead where you actually work, not just in the center of the room. Two rows on chain mounts give even coverage and eliminate shadows over the rack.
Garage gym insulation and ventilation for year-round training
An insulated garage door alone can cut temperature extremes significantly. Foam board insulation panels sized to fit the existing door panels are the most budget-friendly approach, typically running $150 to $350 in materials for a two-car door. This single upgrade extends your comfortable training season on both ends of the year.
For ventilation, a wall-mounted exhaust fan combined with a window or door crack for intake creates effective cross-ventilation in mild weather. In hot, humid climates like the Gulf Coast or Southeast, open-door ventilation is not enough. A ductless mini-split paired with a dehumidifier is the answer, nothing else reliably handles both heat and humidity year-round. In cold climates, a ceiling-mounted electric infrared heater warms the space quickly without taking any floor area.
Decor and Motivational Touches That Turn a Garage Into a Training Space
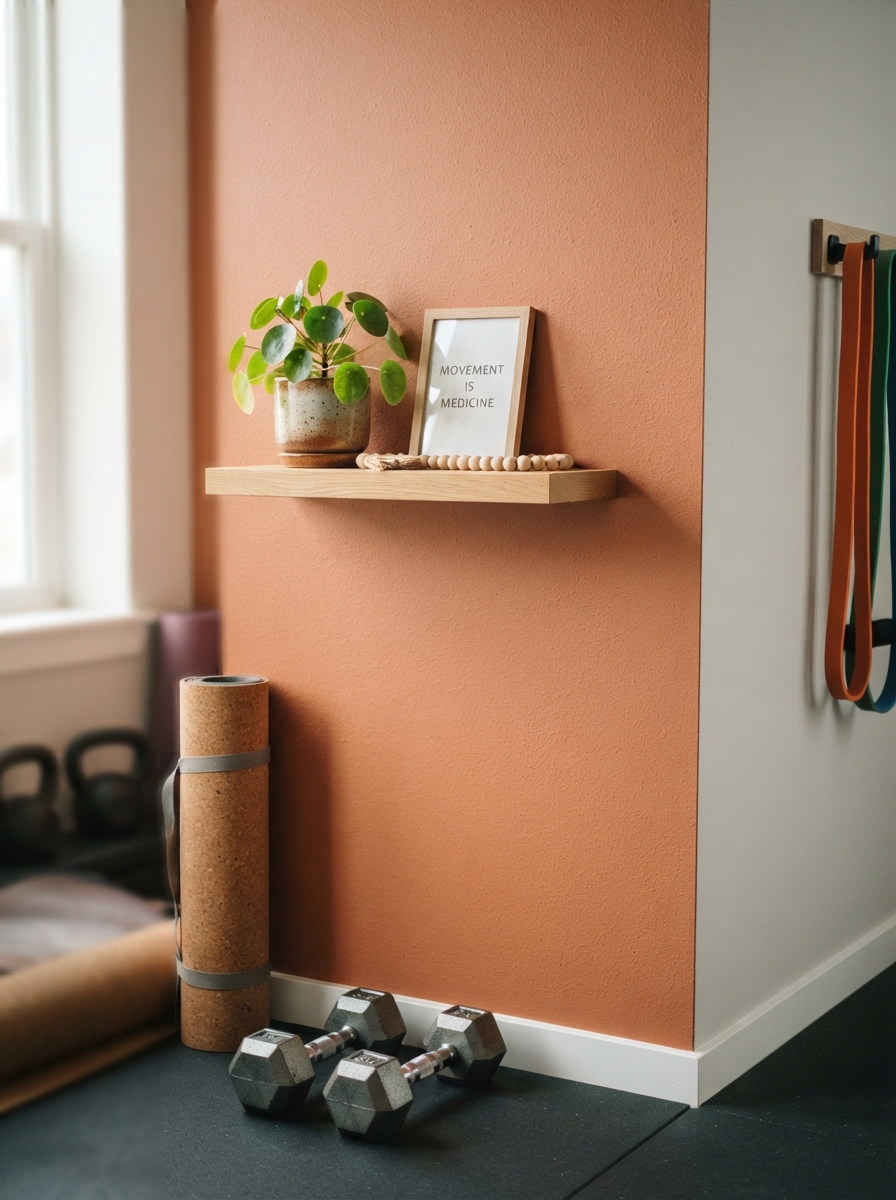
Most garage gym guides stop at equipment and flooring. That leaves the space looking like a storage unit that happens to have a rack in it. The finishing touches are what separate a gym you enjoy walking into from one you tolerate. At Aesthetic Nest Decor, every room gets intentional styling, and the garage is no different.
Mirrors, color, and wall art as performance tools
A single large mirror along the wall opposite the rack serves two functions: it lets you check form during lifts and makes the space feel larger and brighter. For barbell work, a 48-inch by 72-inch tempered glass mirror with a safety backing is the practical standard. Mount it at standing eye level, positioned wide enough to see your full body during a squat or overhead press.
Dark, saturated wall colors tend to work well in garage gyms from a design standpoint. Charcoal, deep navy, and forest green create visual focus, are more forgiving of scuffs, and make the space feel deliberate rather than accidental. Motivational art doesn’t need to be generic gym posters: a framed print, a vinyl wall graphic, or even a chalkboard section for tracking lifts adds personality without clutter.
Styling your garage gym like any other room you actually enjoy
Treat the non-equipment surfaces the way you’d treat any room you want to spend time in. A small shelf near the entrance with a speaker, a wireless clock, and a water bottle station takes ten minutes to set up and makes every workout feel deliberate rather than improvised. Cable management along the wall keeps the space looking clean; velcro cable ties along the baseboard cost almost nothing and make a real visual difference.
Building Your Garage Gym on a Realistic Budget
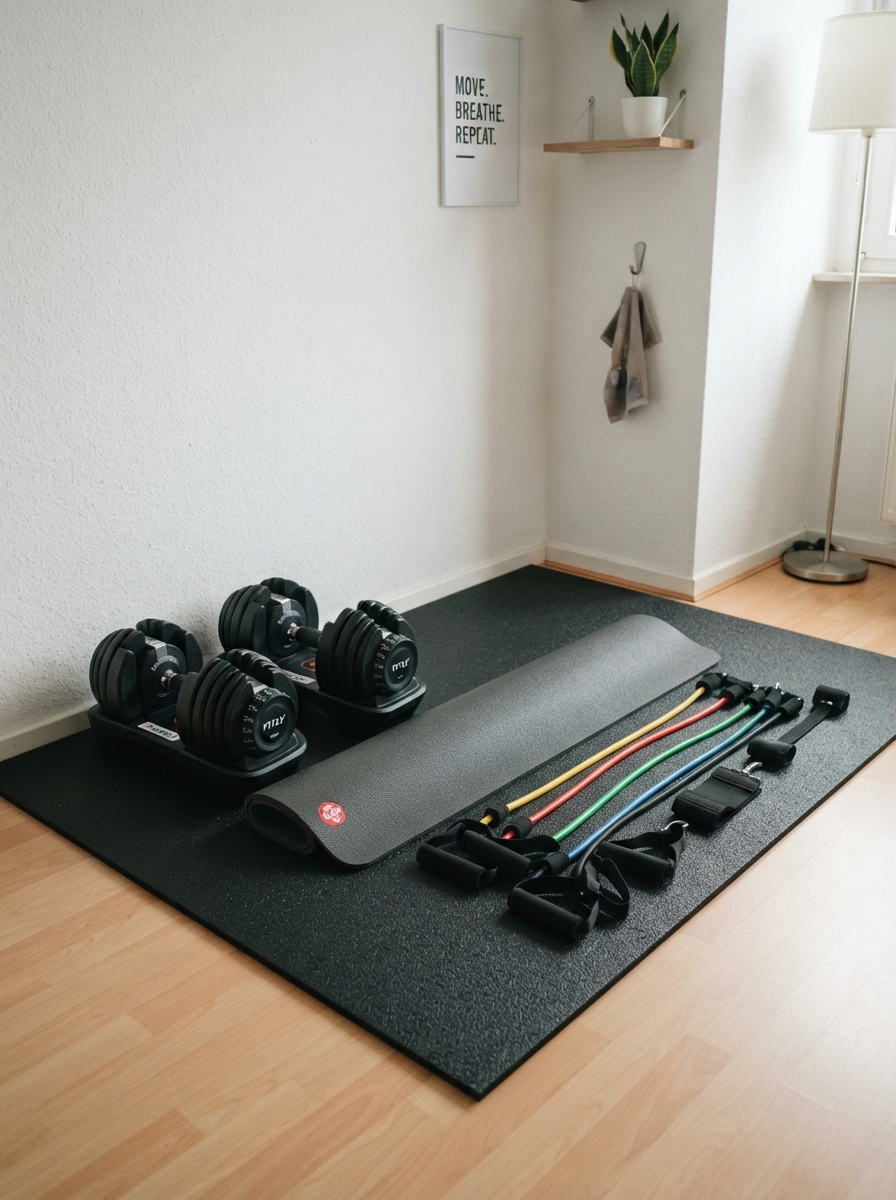
Garage gym conversions span a wide cost range depending on how much structural work the space needs and where you land on the equipment spectrum. Knowing the tiers upfront helps you prioritize the right things at every price point.
What budget, mid-range, and premium setups actually cost
A budget setup in the $3,000 to $8,000 range covers basic rubber flooring, a power rack, a barbell and plate set, and minimal lighting upgrades. Much of this can be sourced used, quality brands like Rogue and Titan hold their value well on the secondhand market, so buying used doesn’t mean settling. A mid-range setup in the $9,000 to $24,999 range adds proper insulation, better lighting, a climate control solution, and a broader equipment package including a cardio machine and adjustable dumbbells. A premium build at $25,000 and above includes HVAC integration, commercial-grade machines, custom flooring, full mirror coverage, and extensive wall storage systems.
Where to spend and where you can pull back
Do not cut corners on flooring under the lifting zone. Three-quarter-inch rubber mats are worth every dollar, this is exactly where injuries happen if the foundation is wrong. Equipment is the most flexible budget line: a quality used power rack and a solid barbell will outlast almost any budget cardio machine. Buy the best rack and bar you can afford and add to the gym over time as budget allows.
Lighting is low-cost and high-impact. LED shop lights typically run $25 to $60 each and take an afternoon to install. There is no reason to leave this upgrade on the table at any budget tier. It changes how the space looks and feels immediately, and it makes every session easier from day one.
Start With the Floor Plan, Not the Shopping Cart
A well-executed garage gym design is a real room design project. It starts with the right garage gym layout for the space you have, builds on a solid flooring foundation, runs through intentional equipment placement and garage gym storage solutions, and finishes with the lighting, climate, and decor choices that make the space genuinely worth using. Every decision builds on the one before it, which is why the floor plan always comes first.
The garage is not a second-class room. It deserves the same thoughtful, intentional approach that transforms any area of the home from just functional to actually enjoyable. If you walk in and feel like you’re in a well-designed space, you’ll use it more. That’s the whole point.
Before you buy a single piece of equipment, sketch your floor plan. Mark the training lane first, then the strength station, then storage, then everything else. Treat the rack, the flooring, and the lighting as your three anchor decisions and let the rest grow from there. Approach your garage gym design by locking in the layout before anything else, and you’ll build a space you actually show up to use. For more room-by-room design guidance across every space in your home, Aesthetic Nest Decor covers it all, from entryways to outdoor balconies, with the same practical, real-life focus you found here.