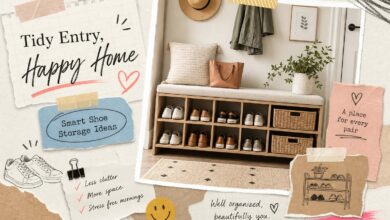

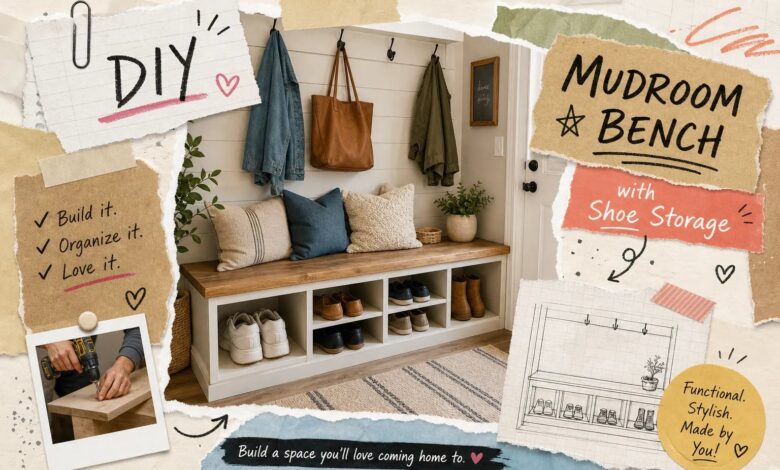
Shoes piled at the door. Boots tipped sideways on the floor. Bags dropped on top of bags with nowhere useful to land. If your entryway looks like a gear explosion every single day, you already know the problem: there’s no structure holding the space together. A built-in mudroom bench with dedicated shoe storage fixes that by giving every item a designated place, a stable seat, organized cubbies, and a finished look that reads as intentional rather than improvised.
As an Amazon Associate I earn from qualifying purchases. Some links in this post are affiliate links, at no extra cost to you.
This guide gives you everything you need to go from blank wall to finished bench: dimensions, a complete cut list, step-by-step assembly, safe wall-fastening instructions, and finishing tips that make the result look custom. Readers frequently request a detailed tutorial for this exact project, so here it is in full. The skill level is beginner to intermediate. There’s also an IKEA shortcut included, many builders finish the KALLAX-hack version in a single day versus a full weekend for the scratch-build, so you can spend less time on carcass assembly and more time on the finished look. No cabinetmaking background required.
Plan your mudroom bench dimensions and storage style before you cut anything
The most expensive mistake in any built-in project is buying lumber before you know your exact dimensions. Your wall width controls everything downstream: the number of cubbies, the cut list quantities, how many plywood sheets you need, and whether the finished bench looks proportional to the space or awkward in it. Measure your wall twice, then plan around those numbers.
If you are still deciding on a layout, start with our mudroom storage ideas overview.
Two bench widths cover most mudroom situations: 48 inches works well for smaller entries and single users, while 72 inches suits family mudrooms with multiple people sharing the space. For seat height, the practical range for adults is 17 to 18 inches from floor to seat top. If young school-age kids use the bench regularly, 16 to 17 inches is the better compromise. It’s low enough for kids to sit comfortably while still being usable for adults.
Cubby sizing that fits real-world shoes
Generic cubby dimensions rarely account for the full range of footwear a real household owns. Sneakers and dress shoes fit well in a cubby that’s 12 to 13 inches deep, 7 to 8 inches wide, and 6 to 8 inches tall. Tall boots are the problem case: they need at least 16 to 18 inches of vertical clearance if they’re standing upright, which means the bottom row of your bench should be designed with boots in mind. Build the lower section taller and reserve any upper cubbies (if your design includes them) for everyday flat footwear.
Fixed cubbies vs. hinged-top bench: which one to build
Fixed cubbies give you the fastest daily access. Shoes go in, shoes come out, and every pair has a designated slot. That grab-and-go function makes fixed cubbies the right call for family mudrooms and anyone who rotates footwear frequently. A hinged-top bench, by contrast, works best in a narrow entry where a single piece of furniture has to serve as both a seat and concealed storage. The build steps in this guide follow the fixed cubby format, which is the more practical choice for most mudroom setups.
Built-in mudroom bench with shoe storage, DIY materials list and cut list
Price this out before you commit. For a 48-inch bench, you need one sheet of 3/4-inch plywood, one sheet of 1/4-inch plywood for the back panel, and several 8-foot 1×4 boards for the face frame. For a 72-inch bench, budget for two sheets of 3/4-inch plywood. Add pocket screws, brad nails, wood glue, sandpaper, a quality primer suited to the substrate (oil-based or shellac-based primers work well on plywood), paint, and a clear topcoat to the list. Total material cost for the scratch-build route runs $250 to $400 depending on your region and lumber prices at the time you shop.
The IKEA hack that cuts build time in half
The KALLAX shelving unit is the most practical IKEA base for this project. It comes in modular sizes that map cleanly onto typical bench layouts, and the cube openings are already sized close to standard shoe cubby dimensions. The concept is straightforward. Use the KALLAX as the internal storage frame, then box it in with 3/4-inch plywood panels on the sides and a 1×4 face frame across the front. That face frame is what creates the custom built-in look. You eliminate most of the carcass assembly, skip a significant chunk of the cut list, and end up with the same finished appearance. This approach is ideal for anyone who wants a polished result with less cutting involved.
Built-in bench cut list, 48-inch and 72-inch scratch builds
48-inch build:
- Bench top: 48″ x 18″ in 3/4-inch plywood
- Bottom shelf: 48″ x 18″ in 3/4-inch plywood
- Side panels (x2): 16.5″ x 18″ in 3/4-inch plywood
- Vertical dividers (x2): 16.5″ x 18″ in 3/4-inch plywood
- Back panel: 48″ x 17″ in 1/4-inch plywood
- Face frame rails and stiles: 1×4 stock cut to fit the front opening
For a 72-inch version, increase the top and bottom shelf to 72 inches, add a third vertical divider, and plan on two full sheets of 3/4-inch plywood to have enough material without piecing together scraps.
How to assemble the bench frame and shoe cubbies
Before you drive a single screw permanently, dry-fit every piece. Lay all the parts out, clamp them together, and verify that everything lines up as planned. This step catches measurement errors before glue is involved and gives you a clear picture of the assembly sequence. Pocket-hole joinery using a Kreg jig is the recommended connection method here. It creates clean, strong joints without requiring advanced carpentry skills, and it’s forgiving enough for a first build.
Building the carcass: sides, bottom, and back panel
Start by attaching the two side panels to the bottom shelf to form a U-shape. Apply wood glue to the mating surfaces, clamp the joint, then drive pocket screws through pre-drilled holes to lock it together. Once the U-shape is assembled, slide the 1/4-inch back panel into position and nail it in place with brad nails. The back panel is what keeps the whole box square. Before the glue sets, measure corner to corner diagonally in both directions. If the two measurements match, the box is square. If they don’t, apply gentle pressure to the longer diagonal until they do.
Adding vertical dividers and attaching the bench top
Space your vertical dividers evenly across the interior width, then secure each one with glue and pocket screws driven through the top and bottom shelf. Check that each divider is plumb before the glue cures. Attach the bench top last, gluing and screwing it down through the top edges of the side panels and dividers. The final step before installation is the face frame: cut your 1×4 boards to fit the front opening, then glue and brad-nail them over the front edge of the carcass. This face frame is one of the most important details that separates a plywood box from a built-in piece. Take your time getting those joints tight and the reveal even across all the cubby openings.
Fastening the built-in bench to the wall safely
This is the step most tutorials rush through, and it’s the one that matters most for long-term safety. A mudroom bench takes real dynamic loads: adults sitting down hard, kids jumping onto it, heavy bags dropped from shoulder height. Drywall anchors alone will not hold under that kind of stress. The bench must fasten into studs, full stop.
Finding studs and prepping the wall
Use a stud finder to locate and mark stud centers across the installation area, then confirm each location by probing with a finish nail. American homes are built on standard 16-inch on-center stud spacing in most cases, so once you find the first stud, you can measure from there to predict where the rest fall. If your wall has existing baseboard, you have two clean options: remove the baseboard within the bench footprint entirely using an oscillating multi-tool, or notch the back panel of the bench to fit over the baseboard. Never fasten the bench into baseboard trim alone; the load needs to transfer into the wall framing behind it.

Installing the ledger board for maximum load capacity
The ledger board method is the most reliable approach for a bench of this size. Cut a 1×4 or 2×4 cleat to span the full width of the bench, then drive 3-inch structural screws through it into at least three studs. Set that cleat at the height where the back of the bench frame will rest against it. Slide the assembled bench into position, level it, and then fasten the back of the carcass through the cleat using additional screws. On a 72-inch span, add front legs or a full toe-kick panel to provide vertical support at the front edge so the wall fasteners handle racking prevention rather than carrying the entire load.
Finishing the bench so it looks like it came with the house
The difference between a bench that looks like a weekend project and one that looks like original millwork comes down entirely to finishing. Fill every nail hole, every seam, and every plywood edge with wood filler. Sand progressively, finishing around 150 to 220 grit depending on your desired smoothness. Apply a quality primer appropriate for the substrate before paint, oil-based or shellac-based primers perform well on plywood and give you a smooth base for topcoats. These steps take time, but they’re what give the surface a furniture-quality result instead of a lumpy, obviously-homemade one.
Run a thin bead of paintable caulk along the seam where the bench meets the wall and along the edges where the face frame meets the adjacent baseboard, then smooth it with a wet finger. Once painted, those caulk lines disappear and the bench reads as a continuous part of the wall. Caulking is one of the fastest, highest-impact finishing steps you can take to make a DIY piece read like built-in millwork, don’t skip it.
Paint vs. stain: what holds up better in a mudroom
Paint wins in a mudroom. Stain looks beautiful in a dry environment, but mudroom surfaces deal with wet boots, salt residue in winter, and grimy hands every single day. A satin or semi-gloss latex paint in a neutral white or greige wipes clean easily and hides minor scuffs far better than a flat or matte finish. For the bench top specifically, apply a water-based polyurethane topcoat over the painted surface. The bench top is the highest-contact area in the whole project, and a dedicated topcoat gives it the extra layer of protection it needs to hold up over years of daily use.
Hardware, cushion, and final details
Mount wall-hung coat hooks above the bench, spacing them so each hook sits roughly centered over a cubby bay below. This alignment creates visual order and makes the whole unit feel designed rather than assembled. A cut-to-fit foam bench cushion with a washable slipcover adds comfort for putting on shoes without blocking any of the cubby openings. These additions often take under an hour to install depending on your tools and wall conditions, and they make a dramatic difference in how finished and intentional the entire entry looks.
Style the completed bench to finish your mudroom the right way
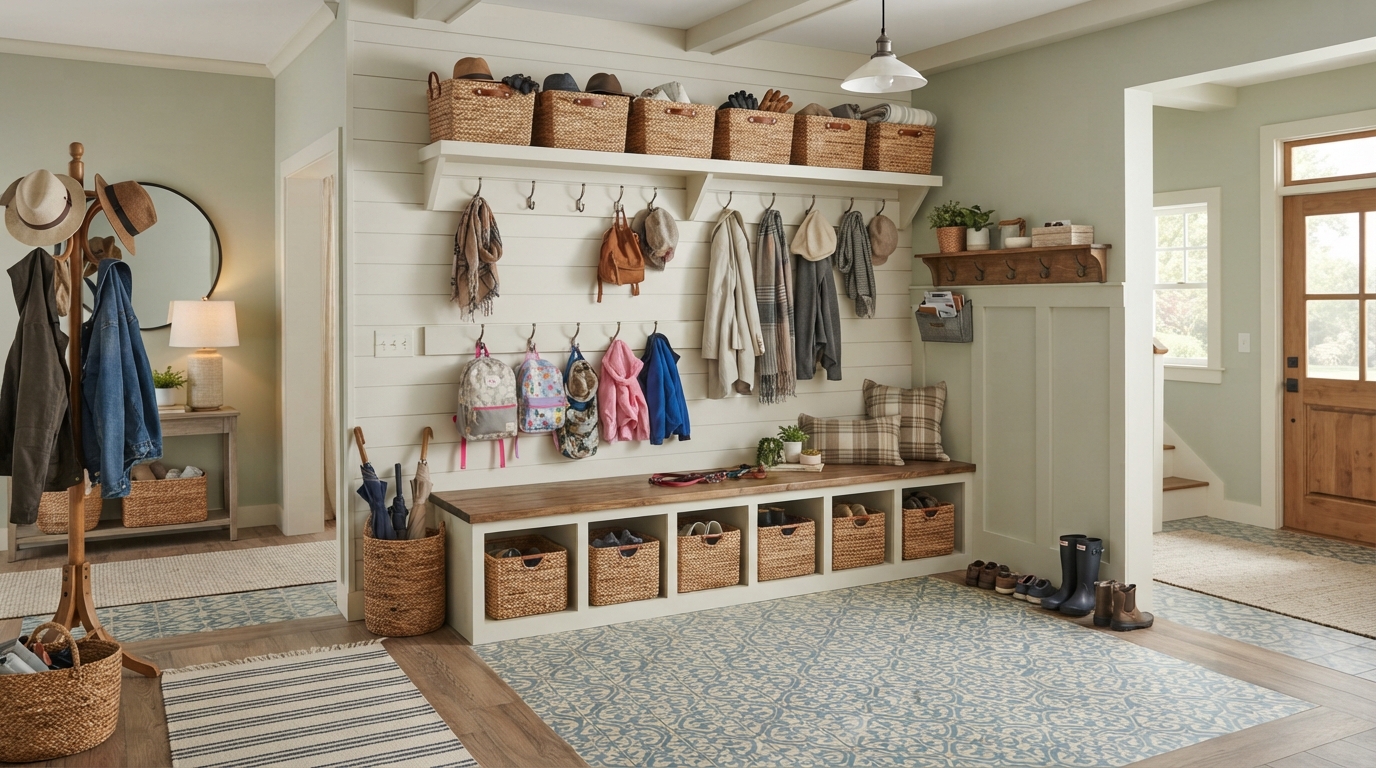
The bench is built, sealed, and fastened. Now it needs to be styled so the entry feels pulled together rather than just storage-functional. A simple formula works well here: one basket or bin per cubby for overflow items that don’t have a fixed slot, a small tray on the bench top for keys and daily mail, and a flat-woven indoor-outdoor rug anchoring the space in front of the bench. Keep the colors cohesive with whatever palette you’re running in the rest of your entryway so the bench reads as part of the room rather than an object sitting in it.
Where to go next for mudroom and entryway inspiration
The build is the foundation. Styling is what makes it feel like home. Aesthetic Nest Decor’s full library of entryway and mudroom guides picks up exactly where this tutorial ends. Once your bench is installed, browse room-by-room decor guides on the site covering locker-style mudroom organization, small-entry layout strategies for tight square footage, and seasonal refresh ideas for keeping the space functional through every part of the year. Every guide follows the same practical, livable-space approach that this tutorial does: real homes, real budgets, results that hold up past opening day.
You’re ready to build your built-in mudroom bench with shoe storage
Here’s the full arc in one place. Pull it up before you head to the lumber yard:
- Measure your wall and choose your bench dimensions
- Plan your cubby layout for the shoes your household actually owns
- Build the carcass using pocket-hole joinery
- Install with a ledger board fastened into at least three studs
- Finish with a quality primer, semi-gloss paint, and a topcoat on the bench top
- Style it with hooks, a cushion, and a rug
That’s a complete mudroom built-in, start to finish. This is a genuine weekend project for a first-time builder, especially if you take the KALLAX shortcut for the internal cubby structure. The scratch-build route takes a full weekend; the IKEA hack version can be wrapped up in a day with time left over for the finishing work. Either path gets you the same result: a bench that looks like it was designed with the house, not assembled after the fact.
Save the cut list from this guide, bookmark the IKEA hack section for reference at the lumber yard, and head over to Aesthetic Nest Decor for the mudroom styling content that completes the picture. You have everything you need to complete a built-in mudroom bench with shoe storage DIY project this weekend. When your bench is done, share a photo, seeing these builds finished is exactly why this tutorial exists.

Diy Mudroom Bench shopping list
- Cube storage shelf — the IKEA hack base
- Bench cushion — turns a box into a seat
- Wood screws and brackets — buy more than you think
- Cordless drill — the one tool you cannot skip
- Wood stain and sealer — sealed survives wet boots
- Shoe cubby inserts — divides the space properly
Prices and availability change. Links open on Amazon.
Frequently asked questions
How tall should a built-in mudroom bench with shoe storage be?
The standard seat height for adult use is 17 to 18 inches from floor to seat top. If young children regularly use the bench, 16 to 17 inches is a better compromise, comfortable for kids to sit on independently while still functional for adults.
How deep should the shoe storage cubbies be on a DIY mudroom bench?
Plan for 12 to 13 inches of depth for everyday footwear like sneakers and dress shoes. If your household includes tall boots, design the bottom row of cubbies with at least 16 to 18 inches of vertical clearance so boots can stand upright.
Can I build a built-in mudroom bench with shoe storage using IKEA units?
Yes. The KALLAX shelving unit from IKEA is a practical base for this project. Use it as the internal shoe storage frame, then box it in with plywood side panels and a 1×4 face frame across the front. Many builders complete the IKEA-hack version in a single day versus a full weekend for the scratch-build approach.
What is the best paint finish for a mudroom bench?
Semi-gloss or satin latex paint holds up best in high-traffic, high-moisture mudroom conditions. Apply a water-based polyurethane topcoat on the bench seat itself for added durability against daily wear.