
As an Amazon Associate I earn from qualifying purchases. Some links in this post are affiliate links, at no extra cost to you.
If you’ve ever asked yourself what do I need to build a home coffee bar that actually looks good, the answer starts with sequence, not shopping. Many home coffee bars lose their appeal within days of setup. The machine lands on the counter, a bag of beans sits beside it, a box of pods gets stacked on top, and suddenly the whole thing looks less like a dedicated station and more like a storage problem that happens to make coffee. The visual chaos is often a sequencing failure as much as anything else. People buy equipment before they figure out where it’s going, then try to organize around it after the fact.
This checklist fixes that by giving you the right order: equipment first, then furniture, then storage, then styling, then layout. These are your core home coffee bar essentials, arranged so each decision informs the next. Work through each section before you spend anything and you’ll avoid the most common mistakes. If you want to see what a well-styled coffee nook actually looks like before you commit to a direction, the coffee station galleries at Aesthetic Nest Decor are worth bookmarking now. But first, start with what goes on the counter.
What Do I Need to Build a Home Coffee Bar That Actually Looks Good, Start with Equipment
Every other decision in this setup flows from your brewer. The machine you choose determines your counter footprint, how much weight your furniture needs to support, and what supporting tools you actually need. Buying the wrong machine first causes a chain of bad decisions downstream, so get this right before anything else.
Our coffee bar setup guide walks through the equipment list in order of priority.
The brewer is the anchor, so choose it based on your actual habit
Espresso-based drinks (lattes, cappuccinos, Americanos) require an espresso machine. Drip coffee, pour-over, and French press each need their own brewer or just a kettle. The machine you choose sets the visual vibe and the physical footprint of the whole station, so this decision comes before you measure furniture or pick a cart.
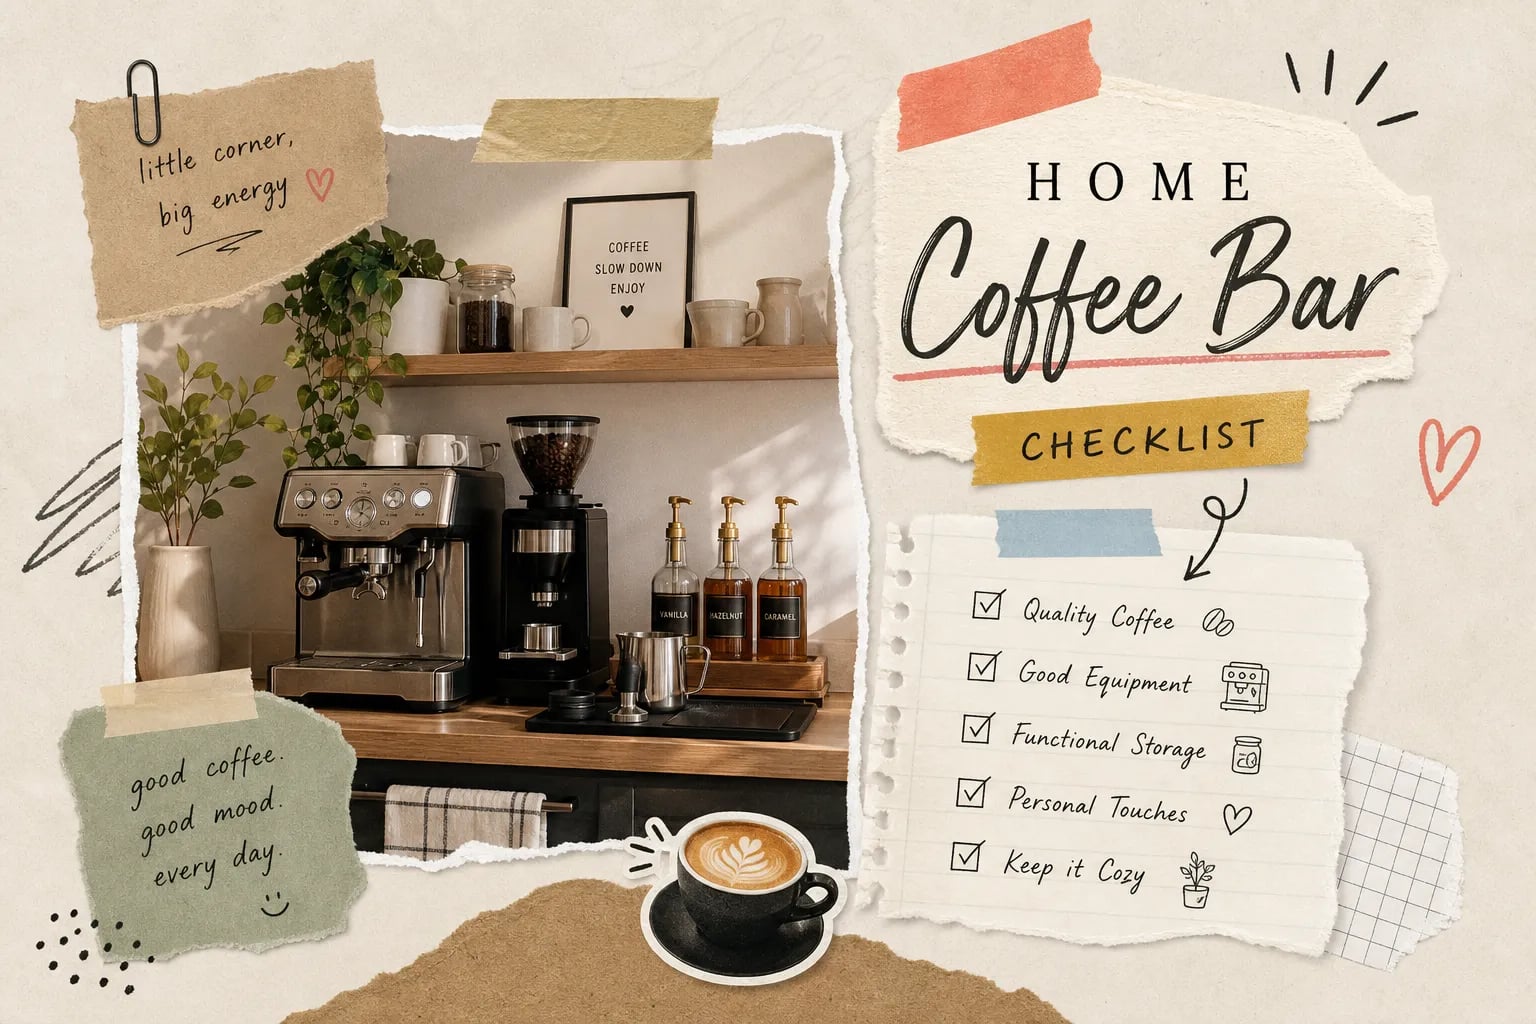
A few compact picks stand out for 2026. The Breville Bambino (around $300, 400) is a strong compact espresso machine for small kitchens, though note that the Bambino and Bambino Plus models differ slightly in width, confirm the exact model dimensions on the manufacturer’s site before purchasing. The De’Longhi Dedica ($250, 350, 5.9 inches wide) is the slimmest true-espresso option when counter width is your tightest constraint. For pod users who want the smallest possible coffee cart setup, the Nespresso Essenza Mini ($150, 200) takes up almost no space at all.
A good grinder matters more than most people expect
A burr grinder produces a consistent particle size that a blade grinder simply can’t match, and that consistency is what makes your coffee taste the same every day. A modest burr grinder paired with a decent machine will outperform a great machine paired with a poor grinder. On the compact electric side, the Baratza Encore ESP (around $200, 250) and the Fellow Opus (around $180, 200) are both solid picks. If saving counter space entirely is the priority, a manual hand grinder like the 1Zpresso J-Ultra works exceptionally well and takes up almost no room on the counter.
The supporting tools: scale, kettle, and knowing when to stop
A digital scale with 1-gram precision makes your coffee-to-water ratio repeatable, which is one of the biggest factors in getting consistent results. A gooseneck kettle matters for pour-over because the narrow spout gives you control over pour speed and direction. These are precision tools, not luxuries, and they belong on the counter alongside the brewer. Combined with the machine and grinder covered above, these four pieces form the complete core setup for most brewing methods. If you’re pulling espresso shots, you’ll also want a tamper, it’s listed in the equipment checklist below. Beyond that core group, resist the urge to add more before you’ve brewed a week’s worth of coffee.
2. Choose furniture that actually fits your footprint
Before you shop for furniture, take measurements. The surface needs to be at least 24 inches wide and 16, 20 inches deep for a basic one-machine setup. Plan for 18, 22 inches of clearance above the counter if you intend to add a shelf, though some sources suggest up to 24 inches depending on your tallest item, when in doubt, measure your machine with the portafilter attached or the lid open. Getting these numbers wrong means returning furniture, and furniture returns are a pain. Measure your space, then choose a format.
Rolling carts for renters and anyone who needs flexibility
A slim two- or three-tier cart is the most space-efficient furniture option for small kitchens and the easiest coffee cart setup to adjust over time. The brewer sits on top; supplies, mugs, and extras live on the lower shelves. A wall-mounted shelf above the cart adds vertical storage without taking up any additional floor space. For renters, a cart is especially practical because you can roll it into a corner, move it to another room, or take it with you when you leave.
Consoles, sideboards, and built-in nooks for a permanent look
A narrow console table against an empty wall creates a dedicated home coffee station without taking over the room. A compact sideboard adds hidden storage for mugs and backup supplies inside closed doors. Built-in nooks using existing counter corners or a recessed wall section look the most intentional of any option here. The first floating shelf should sit 18, 22 inches above the counter surface, with shelves spaced 12, 18 inches apart to accommodate most mugs and canisters comfortably.
3. Add storage that keeps the counter clear
A coffee station looks bad when supplies sprawl across the surface. Good storage isn’t about buying more containers; it’s about giving every single item a specific home so the counter stays clear between uses. These three storage moves handle the most common sources of visual clutter.
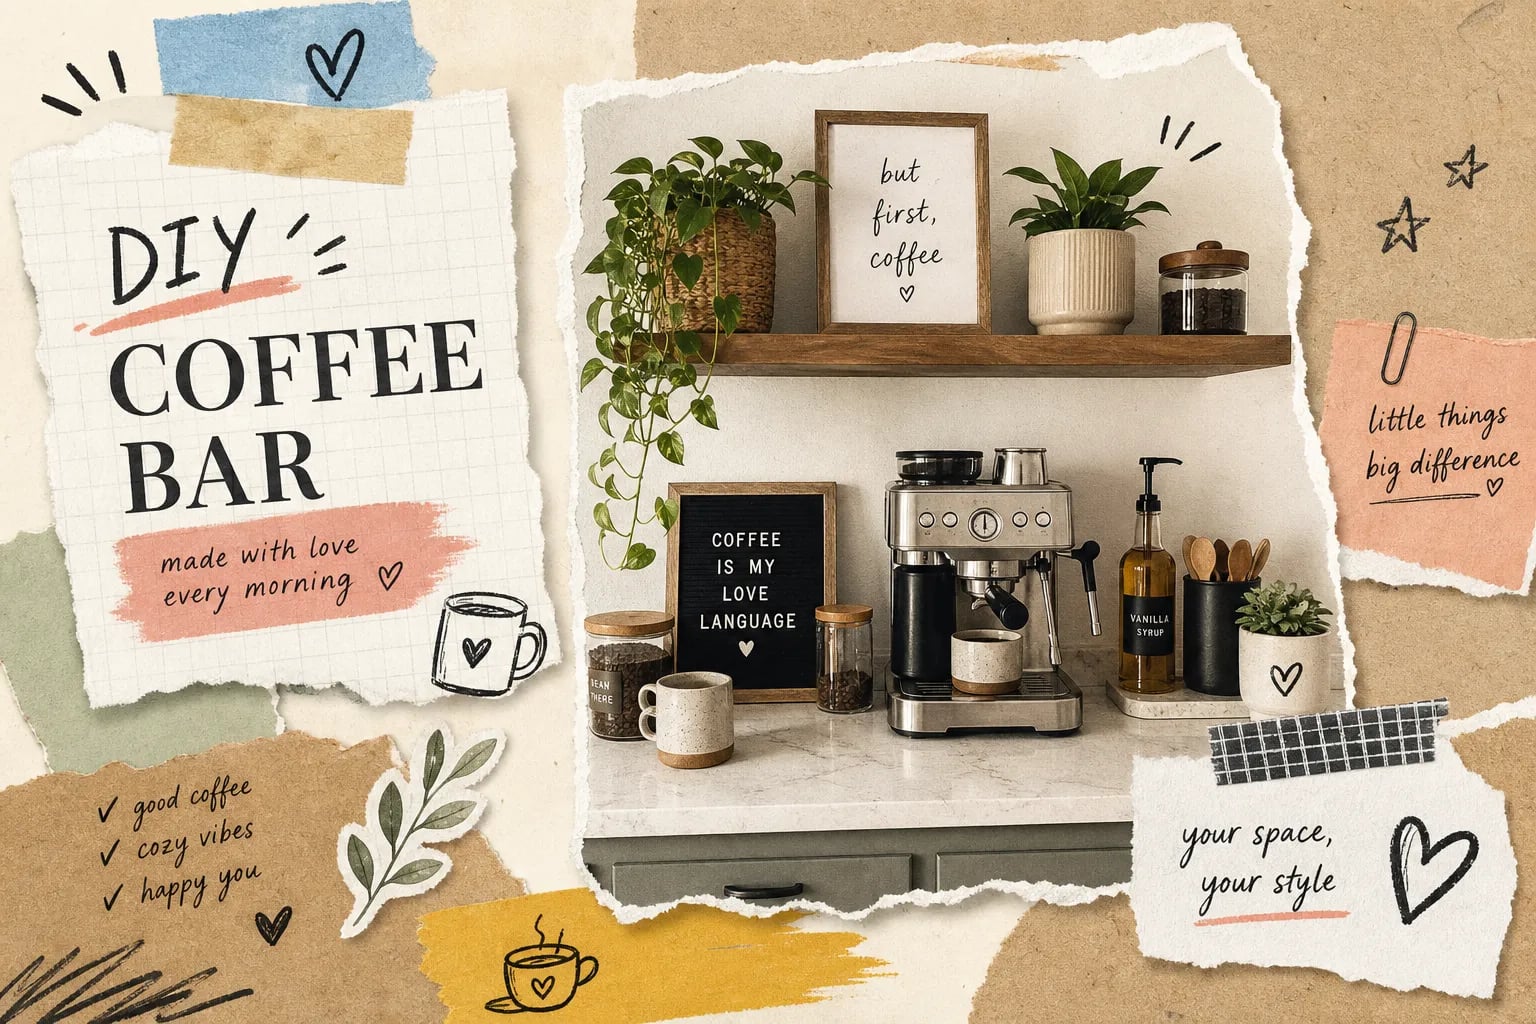
Glass jars, canisters, and a tray are the core three
Airtight glass canisters for beans and grounds immediately replace the visual chaos of mixed packaging. One thing worth noting: glass canisters work well for short-term storage or if kept away from direct light, but vacuum-sealed or opaque options like the Fellow Atmos or Airscape preserve freshness better over longer periods. A single neutral tray corrals smaller items (sugar, syrups, spoons, creamers) into one visual unit instead of scattered individual pieces. These two moves together transform a cluttered counter into something that looks styled and intentional. Go with clear glass for a clean, open look or ceramic for a warmer feel, just pick one and stay consistent.
Hooks and baskets handle everything else
Under-shelf or wall-mounted hooks in a matching metal finish free up counter space by getting mugs off the surface entirely. Wire baskets or stackable bins on lower shelves hold filters, pods, napkins, and backup supplies out of sight and out of the way. If you use it daily, it stays on the counter, everything else goes below or behind. Hardware finish (black, brushed brass, or chrome) should match across hooks, tray, and shelf brackets to make even budget pieces look cohesive and considered. Consistent finishes are one of the most reliable low-cost moves in coffee bar styling.
Coffee Bar Styling Tips for a Polished, Cohesive Look
A coffee bar looks polished when it follows a consistent visual formula, not when it has expensive pieces. The work here is mostly about editing, choosing materials intentionally, and resisting the urge to add one more thing. Both rules below come down to restraint, not spending. Two principles cover most of the styling work.
The two-material rule keeps it from looking busy
Pick two materials and repeat them throughout the entire setup: clear glass plus black metal, or light wood plus white ceramic, for example. Every item on the counter should belong to one of those two material families. Limiting yourself to two primary materials is an effective low-cost approach that design guides consistently recommend, mixing three or more is what commonly makes a home coffee station look unfinished, even when everything is clean and tidy. If an item doesn’t fit one of your two materials, it doesn’t belong on the counter.
Vertical layers and one anchor piece do the heavy lifting
A shelf above the station creates visual height and gives the whole setup a built-in quality that a flat counter arrangement can never achieve on its own. One anchor piece, a statement espresso machine, a matching canister set, or a framed print above the shelf, gives the eye somewhere to land so the station feels curated rather than assembled. Add a trailing plant or a small linen cloth for texture. A small plug-in puck light under a cabinet or a battery-powered shelf light makes the station feel intentional even in a dim kitchen corner.
5. Map out your workflow zones before you arrange anything
Even a perfectly styled coffee bar fails if the workflow is awkward. Bad sequencing means you’re reaching over equipment mid-brew, turning around between steps, or using two different surfaces for one task. A zone framework eliminates all of that before anything gets placed on the counter.
The three-zone strip: input, brew, serve
Every functional coffee bar follows the same sequence: input, brew, and serve. The input zone holds beans, water, and cups. The core brew zone positions the grinder and machine side by side. The output zone handles milk, finishing touches, and the finished drink. Arrange these left to right or right to left depending on your dominant hand. The grinder should sit immediately beside the machine on your dominant side, that’s the most natural, fastest hand-off. In a small-space home coffee station, all three zones should be within one arm’s reach of each other.
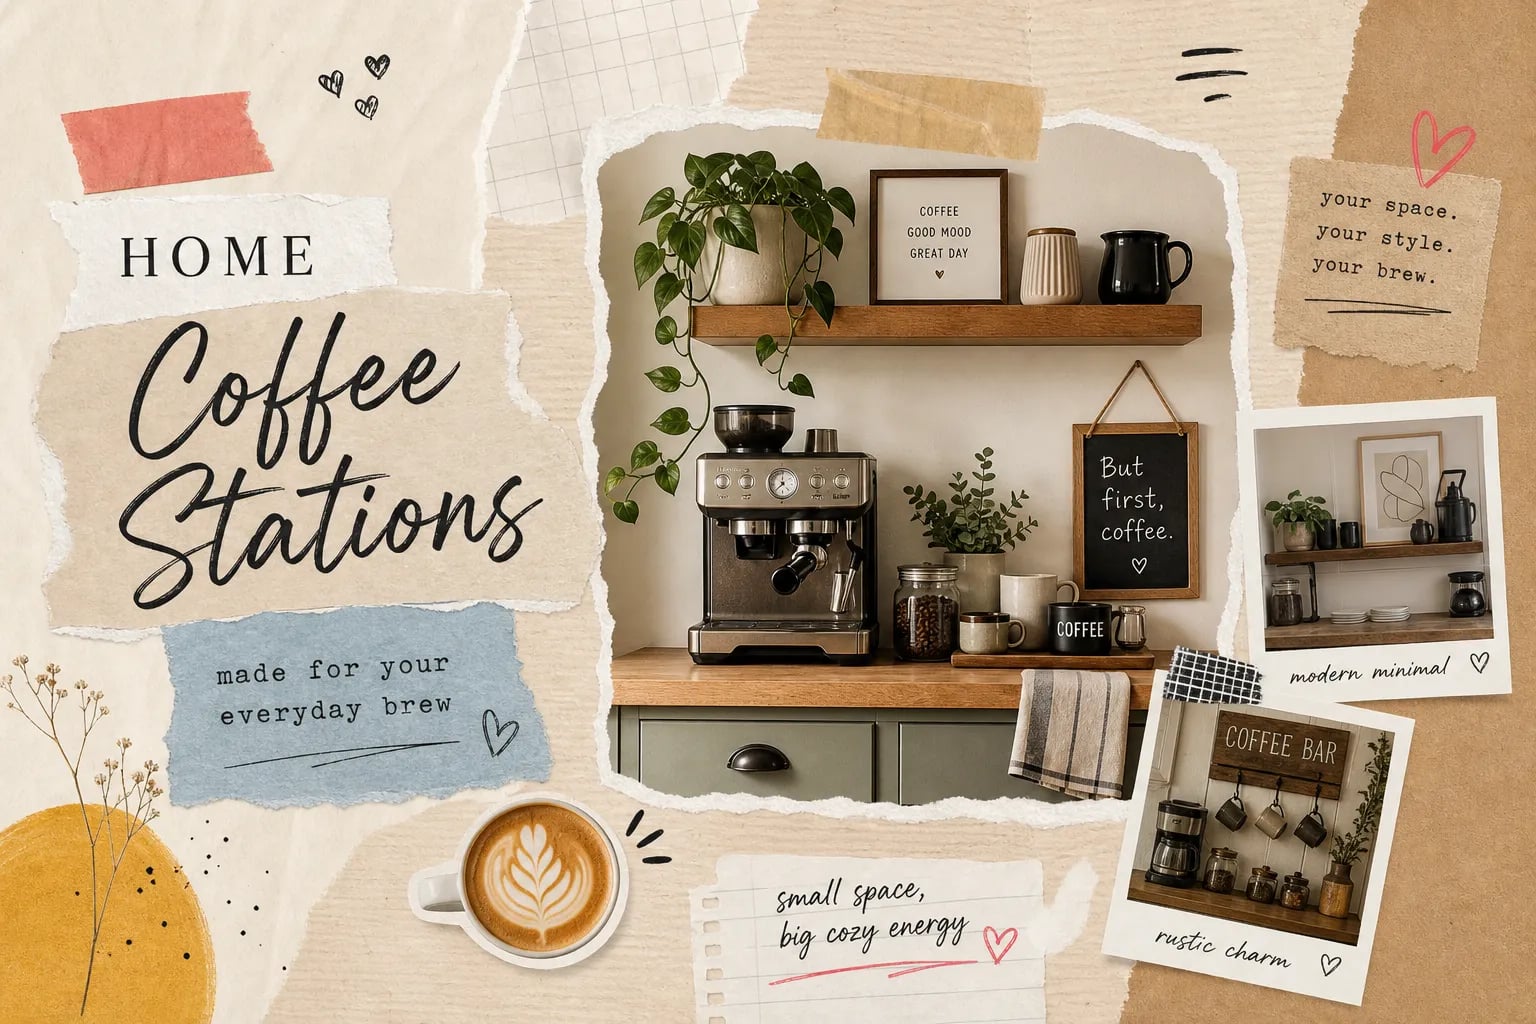
How to sequence a setup under 6 square feet
For under 4 square feet, a straight-line three-zone strip is the only layout that works without creating awkward cross-movement. For under 6 square feet, add a dedicated landing zone at the far end for finished drinks so brewing and serving don’t compete for the same surface at the same time. Build the station in the same order the drink is made, and keep the serve zone physically separate from the brew zone. That one rule covers the majority of small-space layout problems.
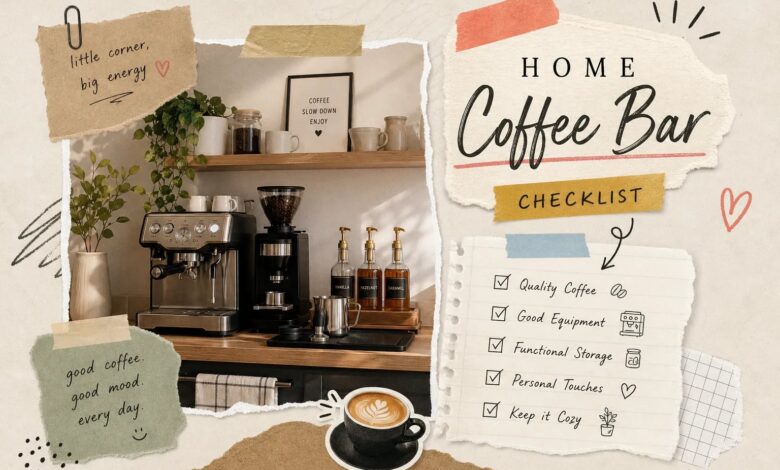
6. Your complete home coffee bar checklist
Use this as your reference before shopping. Each category maps back to a section above, so if something here raises a question, the answer is already covered.
Equipment checklist
- Espresso machine or brewer (essential; choose based on your drink habit)
- Burr grinder (essential for espresso and pour-over; optional for pod setups)
- Digital scale (essential for repeatability)
- Gooseneck kettle (essential for pour-over; optional for espresso)
- Tamper (essential for espresso machines; not applicable to other brew methods)
Furniture and storage checklist
- One furniture piece: rolling cart, narrow console, compact sideboard, or built-in nook
- One floating shelf or wall shelf above the station
- Glass jars or airtight canisters for beans, grounds, and dry goods
- One neutral tray to corral smaller items
- Under-shelf or wall hooks in a consistent metal finish
- One basket or bin type for backup supplies on the lower shelf
Styling and layout checklist
- Two materials chosen and confirmed before shopping (pick them first)
- One anchor piece identified for visual focus
- One lighting source: plug-in puck light or battery-powered shelf light
- One trailing plant or textile for texture
- Three-zone layout sketched out before anything is placed on the counter
The sequence is what makes the difference
The reason most home coffee bars never look quite right isn’t the equipment or the budget, it’s the order. Equipment purchased before furniture leads to surfaces that don’t fit. Furniture chosen before storage leads to cluttered counters. Styling applied before layout leads to a station that looks good in photos and works badly in practice. Getting the sequence right is what separates a polished coffee nook from a cluttered corner with a nice machine sitting in it. If you want to go further, small laundry room decor ideas that look as good as they work covers it in detail.
None of this requires a big budget or a big kitchen. The most effective setups use a slim cart, a few glass jars, one tray, and two materials repeated consistently across every piece. The gear scales with your interest and budget over time; the foundation doesn’t have to.
Now you have a clear answer to what do I need to build a home coffee bar that actually looks good: the right gear, furniture that fits, smart storage, two materials, and a workflow that makes sense. Your best next step before purchasing anything is to spend a few minutes with Aesthetic Nest Decor’s coffee station galleries. The visual reference locks in your style direction before you commit to a layout or furniture piece, which means fewer returns, less second-guessing, and a setup you’ll actually want to use every morning.